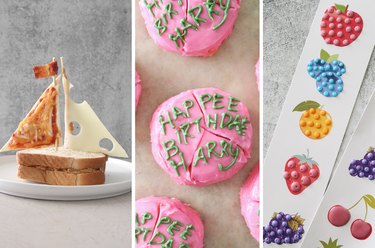
Calling all bookworms! If you've always drooled over descriptions of food in your favorite books, you'll want to check this trio of literary-inspired recipes. They're recreations of iconic treats from children's literature, so you can enjoy mouthwatering food with a nostalgic, fictional twist. Our tutorials explain how to make the bread boat from Cloudy with a Chance of Meatballs, Hagrid's birthday cake from Harry Potter and the Sorcerer's Stone and lickable wallpaper from Charlie and the Chocolate Factory—the last of which is made of homemade dot candy. How fun is that?
Video: A Trio of Treats Inspired by Famous Works of Fiction
Video of the Day
Of course, fictional treats from great books aren't just for kids. Whether you're hosting book club or planning a themed birthday party, these literary foods will be a hit with grown-ups too. Let's turn the page and dive into a wonderland of flavor!
Recipe 1: Bread Boat from "Cloudy with a Chance of Meatballs"
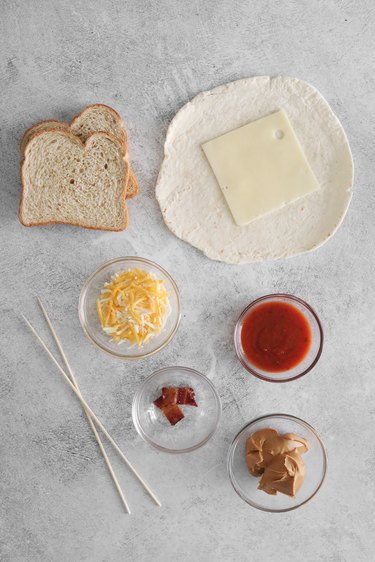
Things You'll Need
2 slices of bread
Peanut butter
2 bamboo skewers
1 tortilla
1 slice of Swiss cheese
Pizza sauce
Shredded cheese
Small piece of cooked bacon
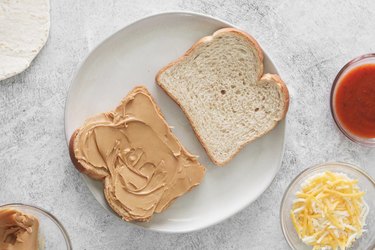
1. Make peanut butter sandwich
Preheat oven to 350°F. You'll be using the oven to make a pizza sail for boat. You can also use a toaster oven.
Spread a thick layer of peanut butter on one slice of bread. Top with second slice to make a sandwich. Set aside.
2. Prepare skewers

Take bamboo skewers and break off top 4 inches, making sure to keep pointed ends intact. Discard flat ends.
Soak one skewer in water to ensure it doesn't burn in the oven.
3. Cut tortilla and cheese

Place slice of Swiss cheese on tortilla.
Slice diagonally across Swiss cheese, corner to corner. Be sure to cut through tortilla, as well. This will create a Swiss cheese triangle.
Cut tortilla, using flat sides of cheese as a guide. Remove extra pieces.

You'll be left with two identical triangles: one tortilla and one cheese.
4. Make pizza sail

Insert soaked skewer through one side of tortilla triangle. Make sure there's about an inch of skewer left above triangle.
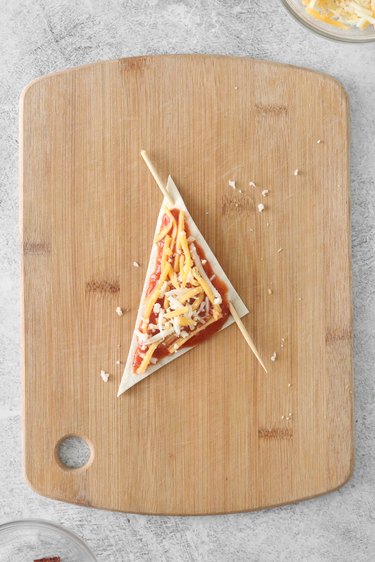
Spread a thin layer of pizza sauce on tortilla. Sprinkle with shredded cheese.
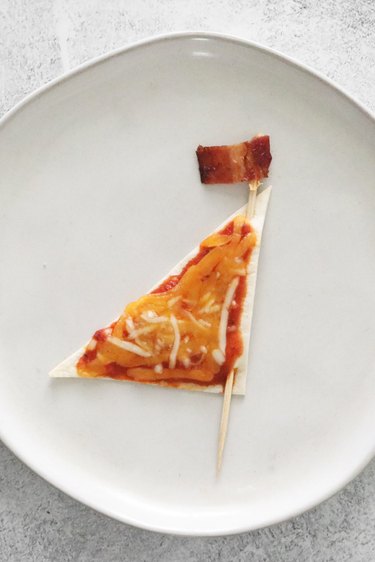
Place on baking sheet. Bake for five minutes, or until cheese is melted and tortilla is toasted. Spread a bit of peanut butter on top of skewer, then add a piece of cooked bacon for a "flag."
5. Make cheese sail
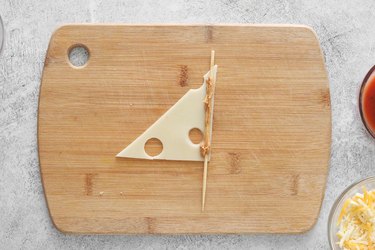
Spread peanut butter on second dry skewer. Carefully press it along side of Swiss cheese triangle.
6. Construct bread boat
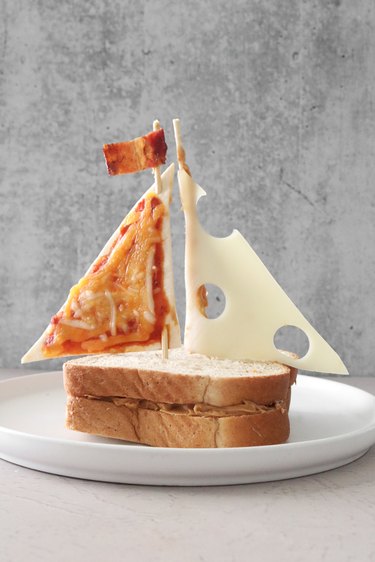
To complete bread boat (and one of the most memorable meals you'll ever eat!), place peanut butter sandwich on a plate. Insert pizza sail, skewer side down, into center of sandwich. Insert cheese sail next to it.
Recipe 2: Mini "Harry Potter and the Sorcerer's Stone" Birthday Cakes
Things You'll Need
Cake batter
Parchment paper
8-in. square cake pans
Circle cookie cutter
Pink frosting
Green frosting
Piping bag
Small piping tip
1. Bake cake
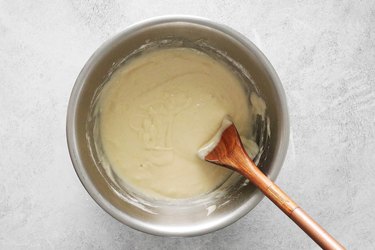
Preheat oven according to your favorite cake recipe. Prepare batter accordingly; you're welcome to use a boxed mix!
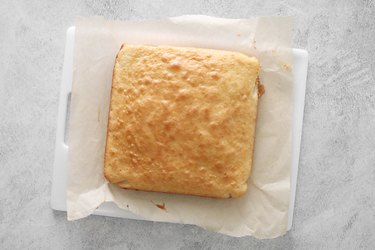
Line two 8-in. square pans with parchment paper for easy and clean removal. Divide cake batter between two pans, then bake according to recipe.
Tip
Alternatively, fill one pan and save remaining batter for another recipe. Depending on the size of your circle cookie cutter, one 8-in. square cake will make about eight or nine mini cakes.
2. Cut out mini cakes
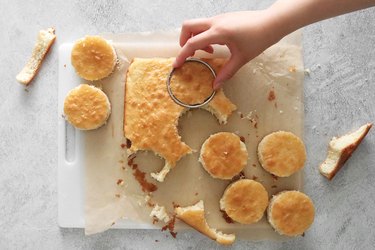
Let cake(s) cool. Remove from pan.
Using the cookie cutter, cut out as many circles as you can.
Tip
Don’t toss the cake scraps! You can easily turn them into cake balls. In a bowl, combine leftovers with enough frosting to create dough. If needed, add a splash of milk for moisture. Mold mixture into balls, then coat with melted chocolate to make cake balls.
3. Coat with pink frosting
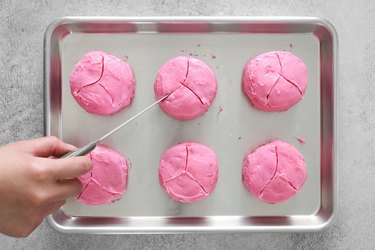
Spread pink frosting onto sides and top of each cake. You can smooth frosting by dipping a small metal spatula in boiling water, then wiping it with a clean towel. Swipe warm spatula across frosting to smooth.
Next, use a knife to make cracks in top of cake, just like Hagrid's version. For clean cracks, carefully wipe down the knife before each cut.
Tip
If frosting is too warm, it might not hold cracks. In this case, chill cakes in the fridge for 15 to 30 minutes first.
4. Add birthday message
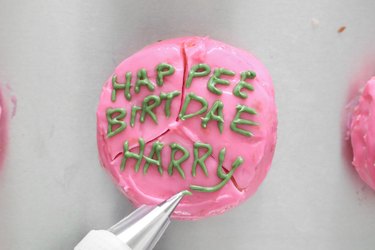
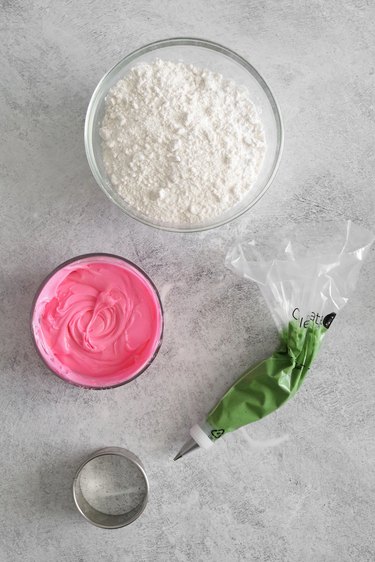
Fill a piping bag with green frosting.
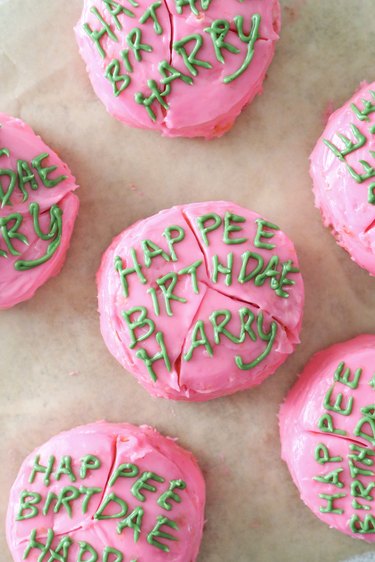
Write "Happy Birthday Harry" on top of each cake. (Or, if you're like us, you might opt for the film's endearingly misspelled "Happee Birthdae Harry.") Don't worry about making it perfect. Remember, the cake's imperfections are precisely what make it so charming!
Recipe 3: Lickable Wallpaper from "Charlie and the Chocolate Factory"
Things You'll Need
Parchment paper, wax paper or edible paper
Edible ink and/or food-safe markers
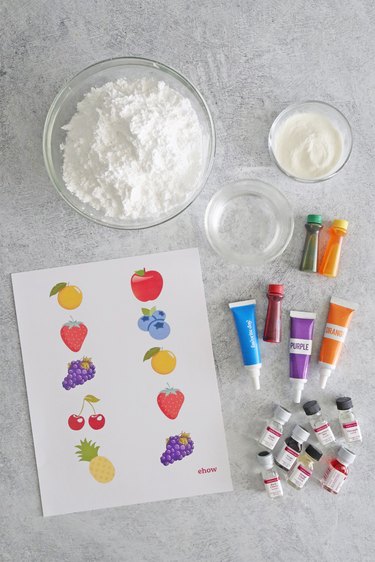
4 cups powdered sugar
3 Tbsp. meringue powder
Water
Food coloring
Flavoring extracts
Piping bags
Small piping tips
Warning
For this project, be sure to use only food-safe paper, food-safe markers and/or edible printer ink (which does exist!).
1. Prepare fruit pattern
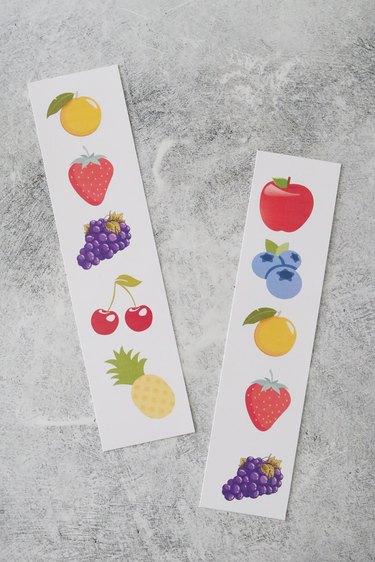
Download fruit printable. Print it on food-safe paper using edible printer ink, or simply use our template as inspiration for drawing fruit shapes with food-safe markers on food-safe paper, like parchment or wax paper.
Don't have edible ink or food-safe markers? No problem! You can always use our template as a guide to draw food shapes with icing or melted chocolate.
2. Make dot candy base

In a large bowl, combine powdered sugar, meringue powder and 6 tsp. of water to start. Mix and add another 6 tsp. water.
Keep mixing and adding water, 6 tsp. at a time, until the mixture becomes a glossy and thick icing. You'll likely need to do this about four times, using 24 tsp. of water in total.
Tip
To check if candy icing is ready, scoop up a bit of mixture. If it drops and melts back into itself within a few seconds, it’s ready for the next step. You can also drip some of the icing onto scrap paper. It should form smooth, round drops.
3. Add flavoring and color
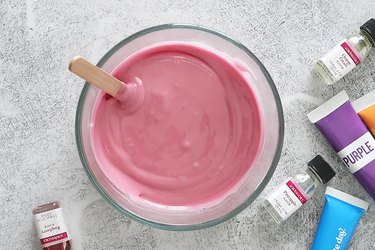
Divide icing into smaller bowls, depending on your desired number of colors. To each bowl, add a few drops of flavoring extract and food coloring. Repeat until it reaches desired shade.
Cover each bowl while you make dot candy.
Tip
To avoid wasting icing, plan to make darker colors out of lighter colors. For example, make yellow candy dots first, then return excess icing to a bowl. Add red or orange food coloring to turn it into orange icing. Similarly, you can make blue candy dots first, then add purple or red food coloring to leftover icing to make purple.
4. Pipe candy onto paper
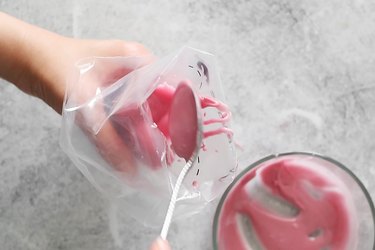
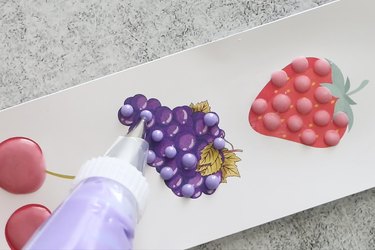
Fill a piping bag with icing.
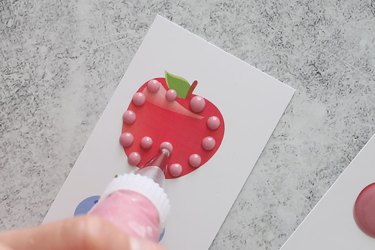
Carefully pipe dots onto corresponding fruits.
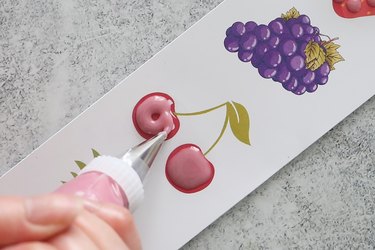
For smaller fruits, such as cherries, you can fill them in for a fun oversize candy dot.
For best results, practice piping dots on scrap paper before doing the real thing. This way, you'll get a feel for how much pressure to use.
Tip
If any icing colors become too thick, simply add a tiny bit of water and mix.
If you need to redo a fruit, gently wipe away icing with a damp paper towel.
5. Let dry
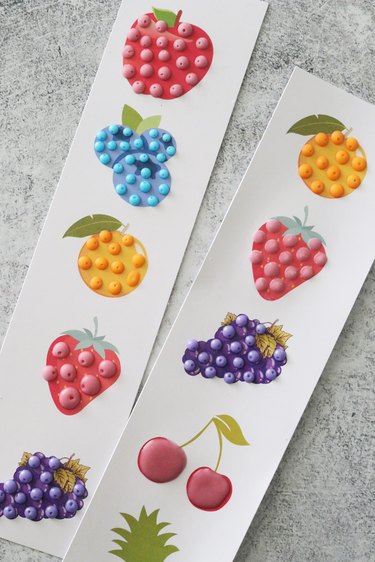
Let candy wallpaper dry overnight. When it's time to dig in, tape to the wall and enjoy. And just like that, you have a treat right out of a Roald Dahl masterpiece!
These treats might come straight from works of fiction, but their deliciousness is all too real. And the fun doesn't have to stop there: Whether you're a fan of Little Women, Winnie the Pooh, The Hobbit or so many other beloved books, endless examples of food in literature are just waiting to be made. Your next great meal or treat awaits!