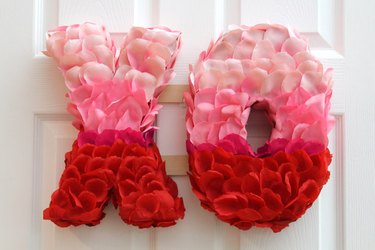
Valentine's Day is all about hugs and kisses, so greet everyone who comes to your door with a wreath that's like a big embrace. This wreath, in the form of the kiss/hug "XO" shorthand, is covered with silk rose petals arranged in an ombre pattern. And the foundation underneath? They're two upcycled cereal boxes. Now that's thinking outside the boxes.
Video of the Day
Things You'll Need
Black Marker
Newspaper Or Tissue Paper
Scissors
Hot Glue Gun
Balsa Wood Or Foam Core
2 Large Cereal Boxes
Red Duct Tape
Straightedge
Silk Rose Petals
Step 1
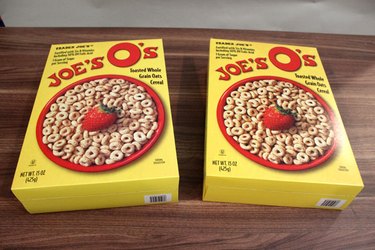
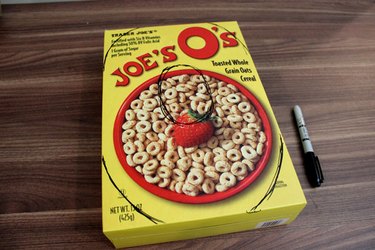
Two large, empty cereal boxes will be the foundation of the wreath. You can use flat cardboard instead of cereal boxes, but the boxes give the wreath thickness and dimension.
Video of the Day
Step 2
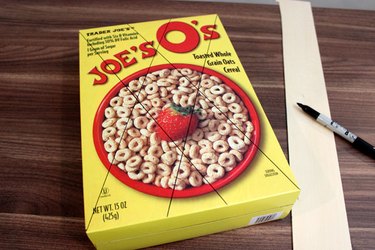
Using a black marker and a straightedge, draw an X on the first cereal box. Make the "legs" of the X about 3 inches wide. Draw an identical X on the back of the cereal box.
Step 3
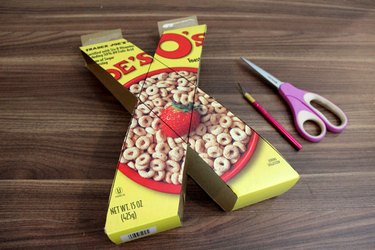
Cut out the Xs with scissors. Leave the Xs from the front and back of the box connected by the top and bottom flaps.
Step 4
Draw an O on the second cereal box with the black marker. Do the O freehand by drawing wedges in the four corners, leaving most of the sides intact. Remember to draw the hole in the middle. Draw another O on the back of the box, making it as similar as possible to the one on the front.
Step 5
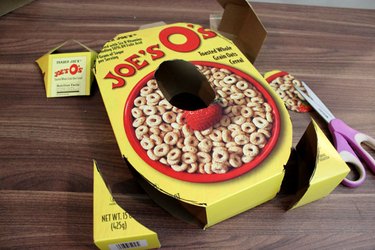
Cut out the Os along the lines you drew. Again, keep the front and back shapes connected by the top and bottom flaps.
Step 6
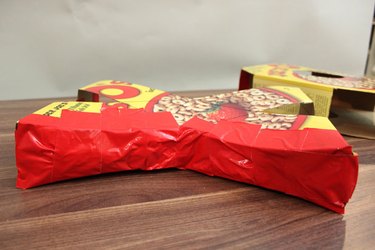
Use red duct tape to cover the sides of the letters, as they are now open. Do not worry if your duct tape is lumpy as you go around. In the finished project, you will not notice any lumps.
Step 7

Before you completely seal off the letters with duct tape, fill them with crumpled newspaper or tissue paper. Press the paper against the duct tape. The paper will help the letters hold their shape.
Step 8

After all the sides are sealed with duct tape, cover the entire front and back of the letters with additional duct tape. This way, the printing from the cereal boxes will not show through the rose petals.
Step 9

To create an ombre pattern with the silk petals, use three shades of petals – light pink, medium pink and red. You can find silk rose petals on the wedding supply aisle of craft stores. The petals are not actually silk, but polyester.
Step 10
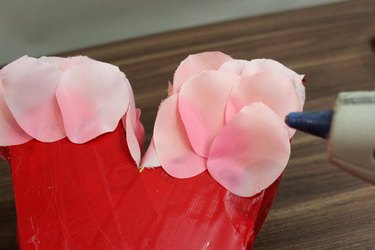
Beginning at the top with the lightest shade, hot glue the rose petals to each letter, overlapping the petals as you go. Cover the sides and tops with the petals as well. Continue until you are about a third of the way down.
Step 11

In the middle section, hot glue the medium pink petals, also in an overlapping fashion. You will notice that the silk rose petals are covering up all the imperfections in the cereal boxes, even if you did not cut the shapes out evenly or the duct tape went on lumpy.
Step 12
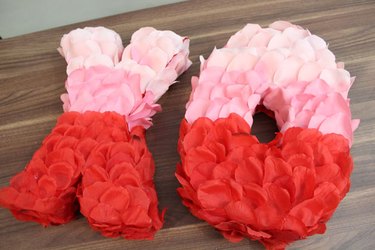
Finish with the red rose petals on the bottom third of the letters. Again, overlap the petals as you hot glue them, and remember to cover the sides and bottoms. Do not cover the backs of the letters with rose petals.
Step 13
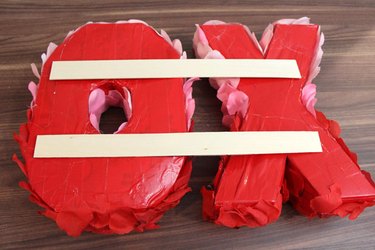
Turn the letters over. Cut two pieces of balsa wood or foam core about 1 inch wide that will go across the two letters. These pieces will be the support beams that connect the two letters. Hot glue these crossbars to the backs of the letters. You might also want to duct tape them for additional support.
Step 14

Besides connecting the two letters, the crossbars are useful for hanging the wreath on a hook. Display your wreath and you're sure to get a lot of XOXOs for your Valentine's Day creation.
Tip
You can also use this technique to make monogram wreaths to personalize your home any time of the year.
Warning
Never leave a hot glue gun unattended or around small children.