Want to make your drawers or closets smell great and practice your sewing skills at the same time? As the eighth project in our Learn to Sew series, these lavender-filled pouches pack a big punch when it comes to filling spaces with a calming scent. You won't be able to stop smiling when you slide open a drawer or open your closet door and get a whiff of lavender, knowing that you made these cute sachets all by yourself!
Video of the Day
Things You'll Need
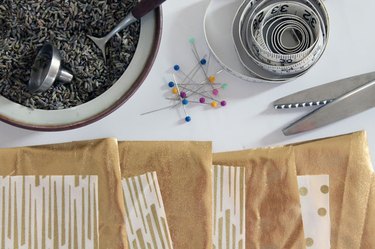
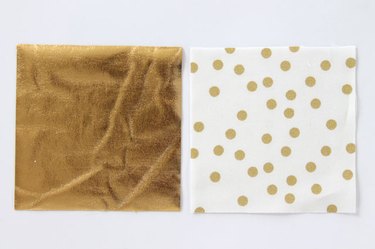
Four-inch squares of fabric (two for each pouch)
Pins
Sewing machine
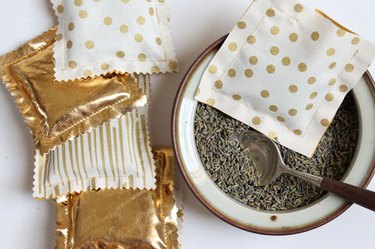
Dried lavender
Small funnel
Pinking shears
Step 1: Cut Four-Inch Squares of Fabric
Choose some fun fabrics and cut them into four-inch squares. You will need two squares for each sachet, and each square will become one side of the sachet. You can make each side from the same fabric, or you can mix it up and make each side using different fabrics -- the choice is yours.
Video of the Day
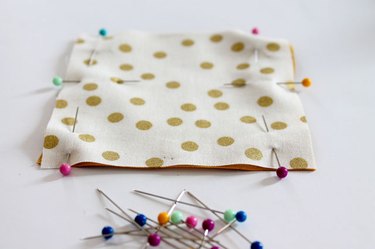
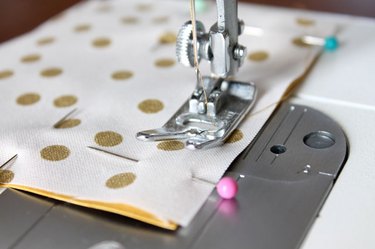
Step 2: Match Up the Edges and Pin Together
Match up the edges of the squares and pin them with the wrong sides together.
Step 3: Sew a Half-Inch Seam Around the Square
Sew a half-inch seam around the fabric square, and leave a one-inch opening on one side. This is important because it will allow you to fill the pouch with dried lavender (more on this in the next step). Be sure to remove the pins as you sew.

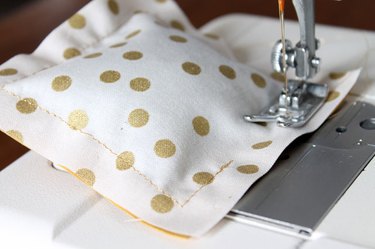
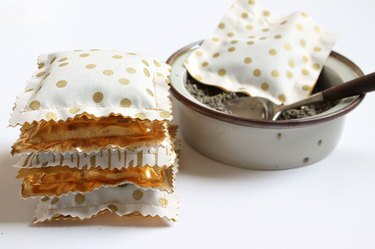
Step 4: Insert the Lavender
Insert the lavender through the opening using a small funnel, if possible. Continue to fill the pouch to your desired amount.

Step 5: Stitch the Opening Shut
Stitch the opening closed with your machine.
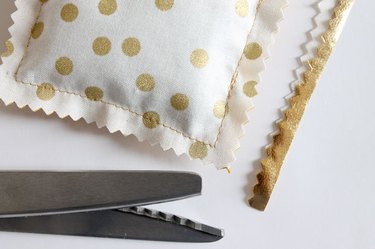
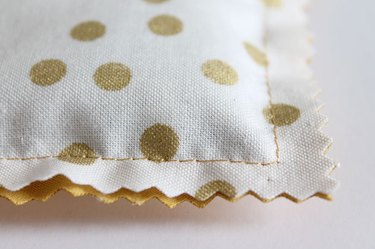
Step 6: Trim the Edges for a Decorative Finish
Trim the sides of the square with pinking shears for a decorative edge.

Don't miss the rest of the "Learn to Sew" series: