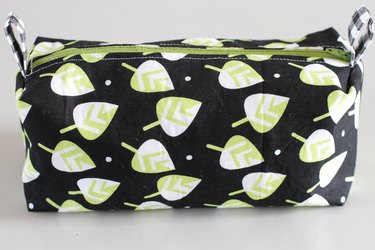
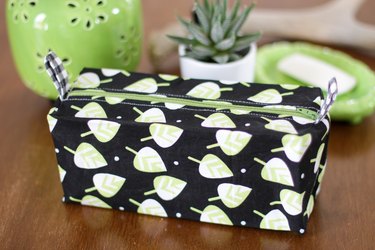
What's not to love about a practical zippered box pouch? Especially one you made yourself from your favorite fabric. This versatile bag can be used to hold make-up, a shaving kit, school supplies, or even small toys for those car trips. It's fully lined with no exposed seams, and to make it even better, it is machine washable. Make one for yourself or make a few to have on hand for the next time you need to give a gift.
Video of the Day
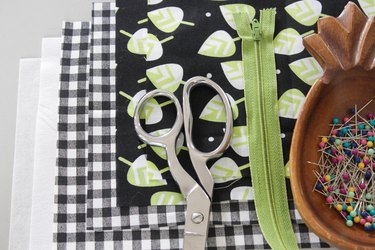
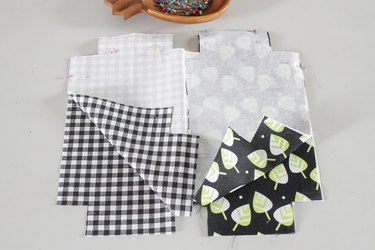
Things You'll Need
Two 12-inch x 7 1/2-inch fabric pieces for outside
Two 12-inch x 7 1/2-inch fabric pieces for lining
Two 12-inch x 7 1/2-inch pieces of fusible interfacing
Measuring tape
Marking pen
Sharp scissors
12-inch zipper
Straight pins
Two 4 1/2-inch x 2 1/4-inch fabric pieces for tabs
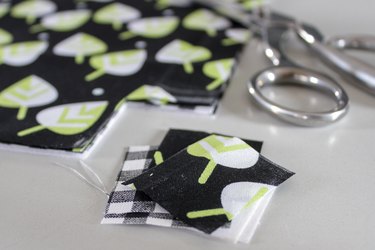
Step 1
Line up all the fabric and interfacing pieces on top of one another. Measure, mark and cut 1 1/2-inch squares out of each corner.
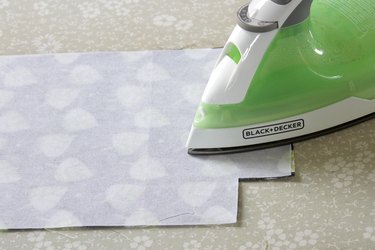
Step 2
Attach the fusible interfacing to the wrong sides of the outside fabric pieces with a hot (no steam) iron.
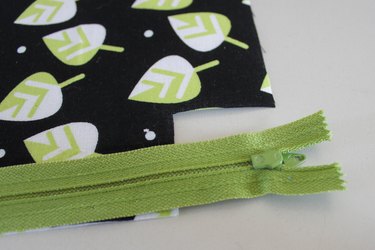
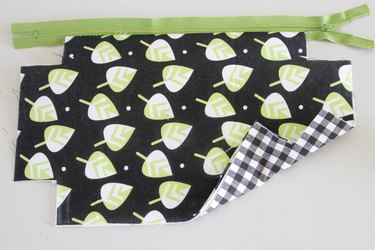
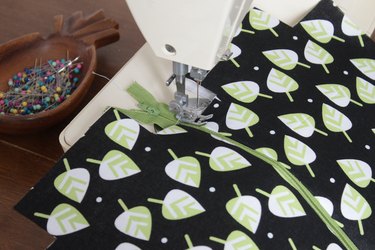
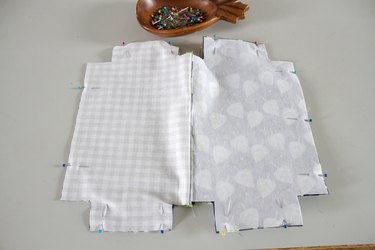
Step 3
Place the zipper face down on one long side of the outside fabric pieces with the right side facing up. Place a lining fabric piece on top of the zipper so the fabrics are right sides together. Pin and sew using a zipper foot.

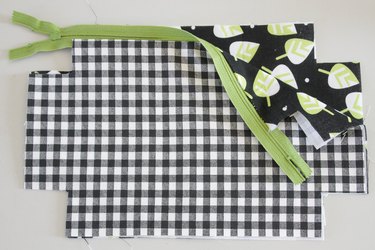
Step 4
Open the fabric pieces then flip the lining side over so the wrong sides of the fabric are now facing each other. Place the other side of the zipper face down onto the long edge of the other outside fabric piece. Be sure the right sides are facing each other. Place the lining fabric on top so right sides are together. Pin and sew using a zipper foot.
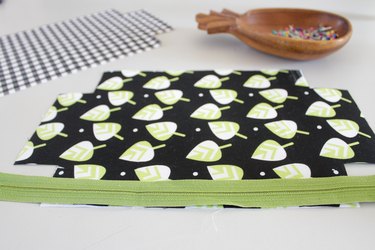
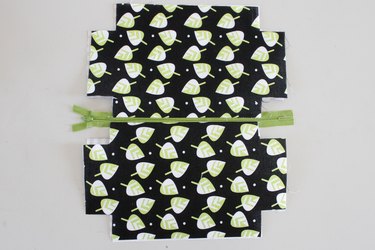
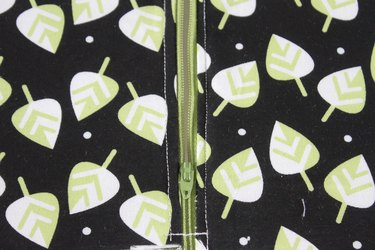
Step 5
Open the fabric pieces so wrong sides are together and the zipper is in the center. Press and topstitch along both sides of the zipper.
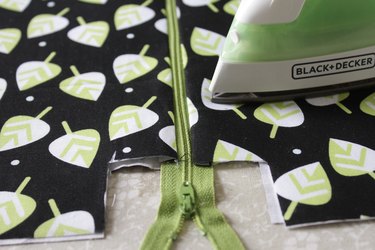
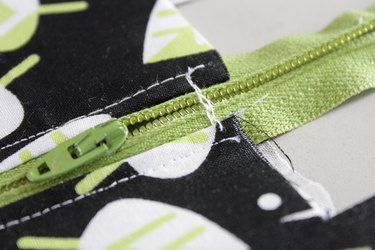
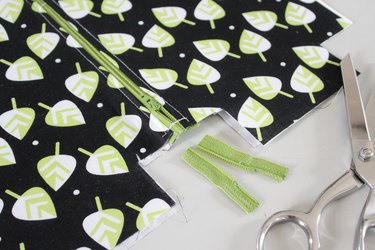
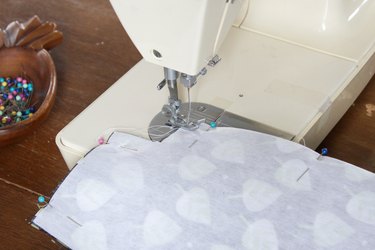
Step 6
Stitch across each end of the zipper to keep the zipper pull from coming off. Make sure the zipper pull is inside the stitch line before you sew. Cut off the extra zipper length from both sides.
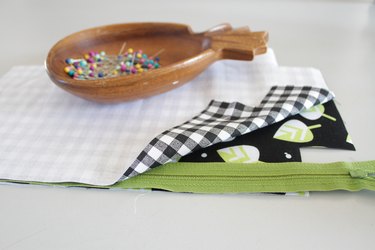
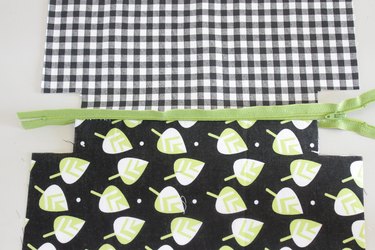
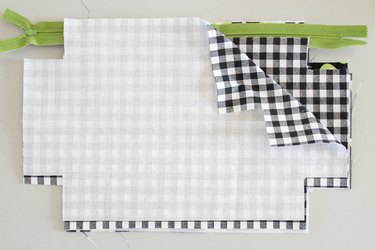
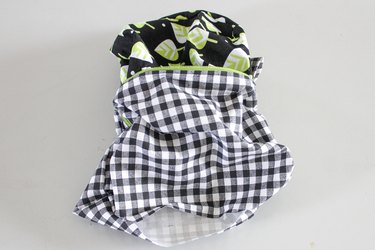
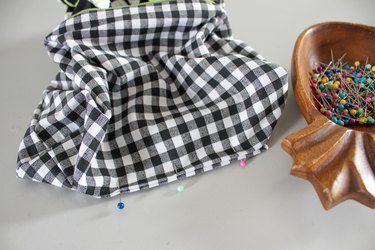
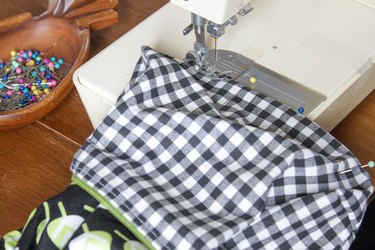
Step 7
Open the zipper then flip the sides again so the outside fabrics pieces are facing each other with right sides together and the lining fabric pieces are facing each other with right sides together. Pin and sew all of the outside edges leaving a 6-inch opening along the long side of the lining.
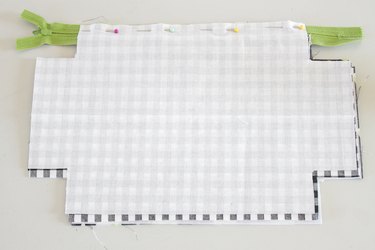
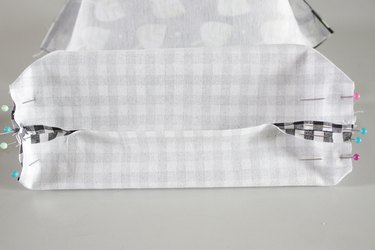
Step 8
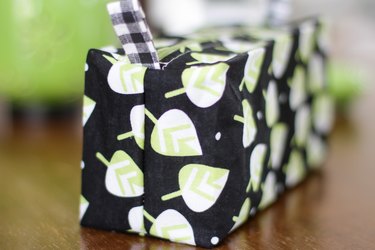
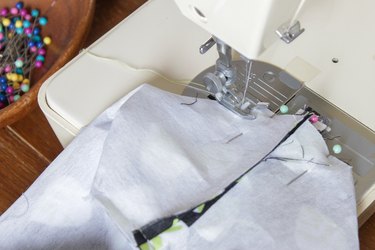
Match the seams of each of the four corners, then pin and sew.
Step 9
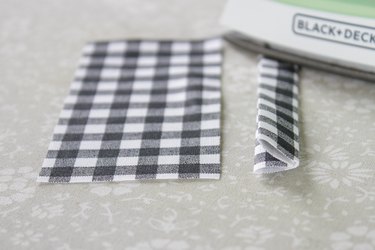
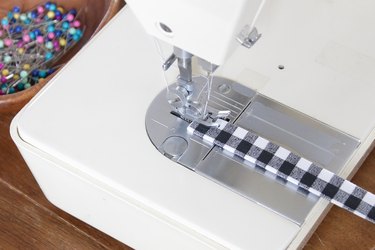
Fold the tab pieces in half lengthwise twice and press with an iron. Sew along the long sides of each tab.
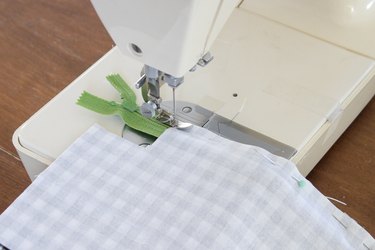
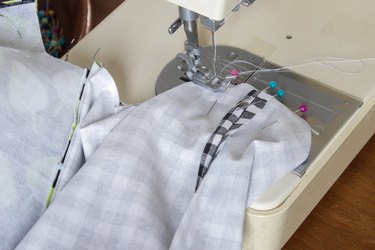
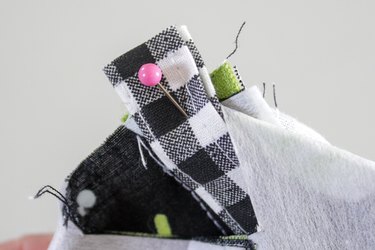
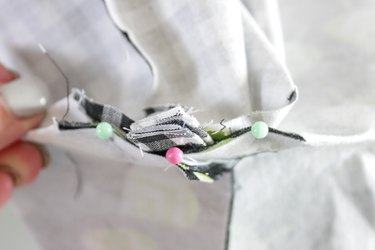
Step 10
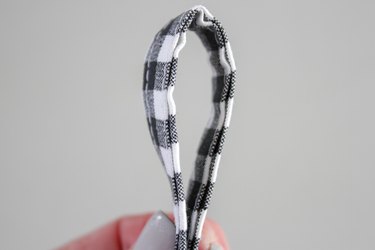
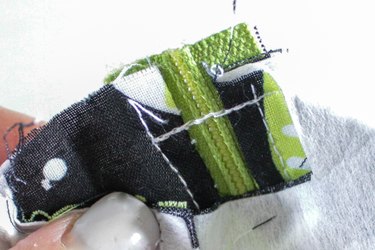
Fold the tab in half and place it fold side in, along the center of the zipper. Leave about a 1/2 inch sticking out and pin in place. Line up the other layers of the outer fabric and the lining fabric just like you did with the other corners and pin together. Sew across all of the layers. You may have to use the hand wheel to help your machine to get over the zipper. Do this on both ends of the zipper.

Step 11
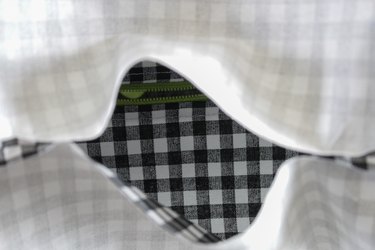
Turn the pouch right side out through the opening in the lining.
Step 12
Pin and sew the opening closed.
Step 13
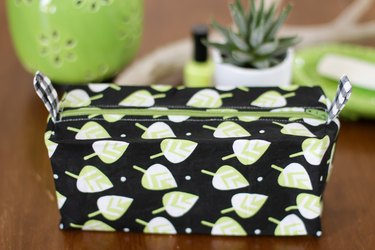
Tuck in the lining, give the corners a good press with an iron, pack it up and away you go.