Now that the holidays are in full swing, cookie exchange season is upon us. But the last thing you should do is show up to the sugar fest with plastic-wrapped sweets resting on boring paper plates. Bah, humbug! Give your delicious cookies the presentation they deserve with a festive handmade carrier. Using a holiday-ready fabric, you can tote your cookies to the party with care and present them in style. By the end of the night, everyone will want your recipe — and the tricks to making your cookie bag.
Video of the Day
Things You'll Need
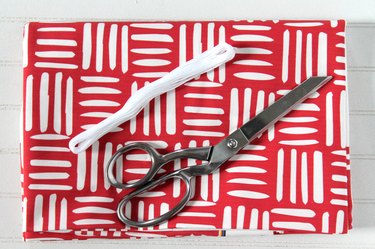
1/2 yard of heavy cotton fabric
Sharp scissors
Pins
Prepackaged cookie mix or cookies
Tassels (optional)
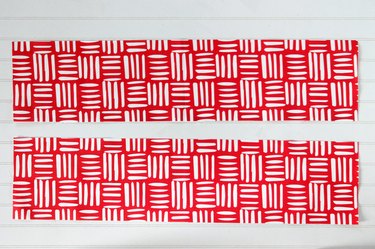
Step 1: Cut the Bag Sides
Cut two 6 inch x 25 inch rectangles from your fabric.
Video of the Day
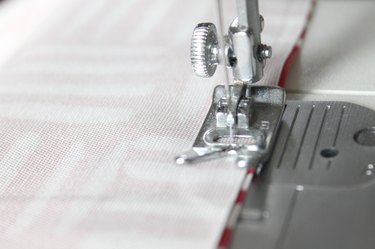
Step 2: Pin and Sew the Sides and Bottom
Place the right-sides of the rectangles together. Pin and sew the two long sides with the one short side to create a long fabric tube.

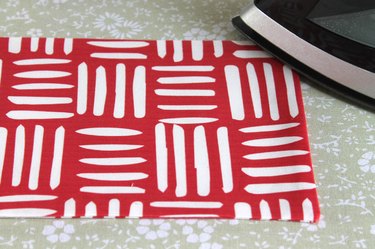
Step 3: Turn the Tube Right-Side Out and Press
Turn the fabric tube right-side out and press with an iron. Then, fold 1/4-inch of fabric toward the inside of the bag on the raw edges and on the open end.
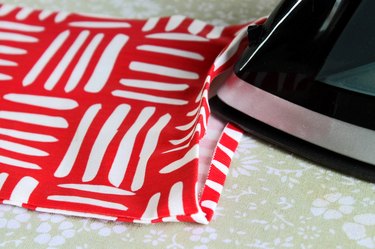
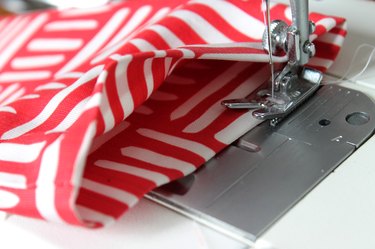
Step 4: Close the Open End With a Topstitch
Close the open end of the bag by topstitching through both layers of fabric with a medium-stitch length.

Step 5: Push the Top Down Into the Bag
Push the topstitched end down into the bag. Your bag should now have a double layer of fabric.
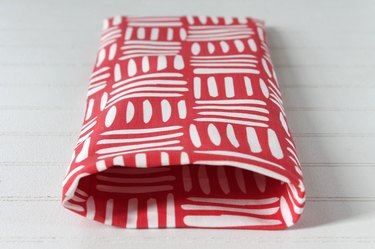
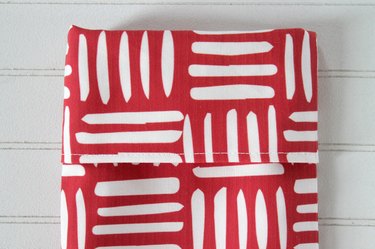
Step 6: Press and Sew
Press the top edge with an iron. Then, topstitch around the top edge.

Step 7: Insert Cookies Into the Bag
Put your cookies in a plastic bag and then place them into the cookie bag. Or, if you're using a mix, remove the mix from the box and cut off the directions. Insert the bag of mix and its directions into the bag.

Tip
If you'd like to personalize the directions, you can retype them and print them out on special paper.
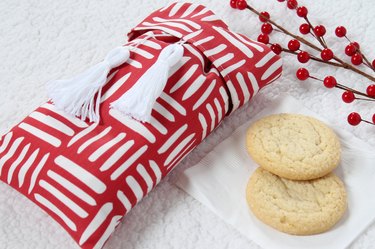
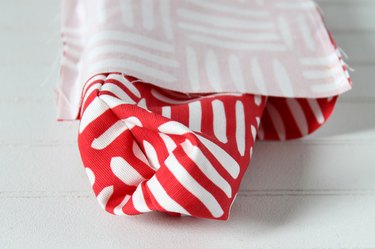
Step 8: Tie the Bag With a Ribbon
Tie the bag with some decorative ribbon and fold the top of the bag down to form a cuff.
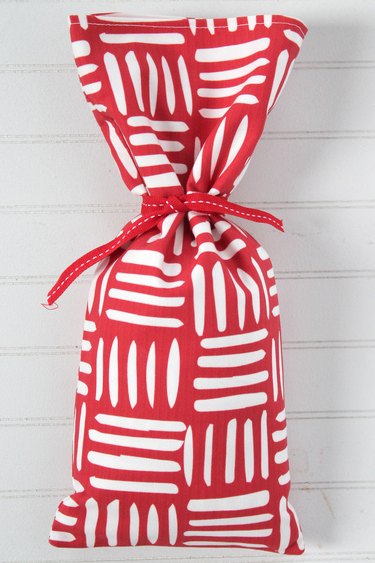
Step 9: Add Tassels
Make your own tassels and add them to your cookie bag for a trendy detail.

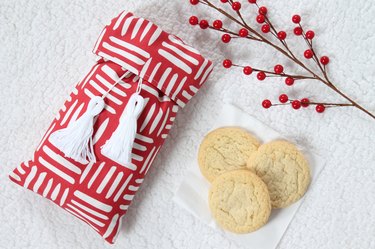
Step 10: Take Your Bag to the Party
Look out cookie exchange, here you come!