Around springtime, one home decor accessory you might see in homes is manicured moss figures of rabbits, pigs or other animals. In the spirit of these verdant topiaries, here are some adorable bunny sugar cookies that look like they're covered with moss. The moss may look real, but it's actually made of graham cracker crumbs. When dyed with green gel coloring, the smaller crumbs take on a vivid hue while a few larger crumbs remain brown. The result is a very natural-looking, faux moss covering for the cookies.

Video of the Day
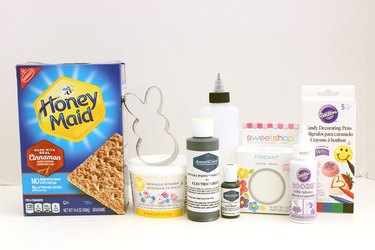
Things You'll Need
4 cups of flower
1/3 cup of corn starch
1/2 teaspoon of salt
1 cup unsalted butter
1 cup sugar
2 eggs
1 teaspoon vanilla extract
Bunny cookie cutter
Graham crackers
Zip lock bag
Rolling pin
Green gel food coloring, two shades
Vodka
Confectioner's sugar
Meringue powder
Squeeze bottle dispenser
White fondant
Candy decorating pens
Edible adhesive
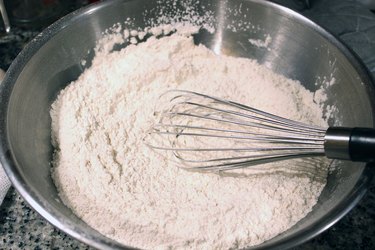
Step 1: Sift Dry Ingredients
Sift four cups of flower, 1/3 cup of corn starch and half a teaspoon of salt. Blend the ingredients with a whisk.
Video of the Day
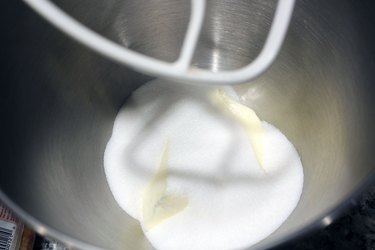
Step 2: Mix Butter and Sugar
In a stand mixer, mix one cup of unsalted butter and one cup of sugar on medium speed for about five minutes.
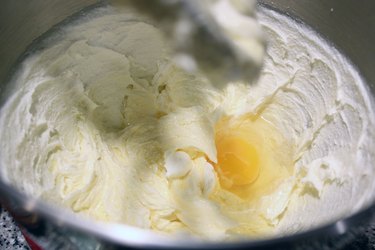
Step 3: Add Eggs
Add two eggs one at a time and mix. Then add a teaspoon of vanilla extract.
Step 4: Mix in Dry Ingredients
Mix in the dry ingredients, adding about a third at a time to avoid having a cloud of flour cover your kitchen. The flour mixture will disappear and the dough will come together into one buttery lump.

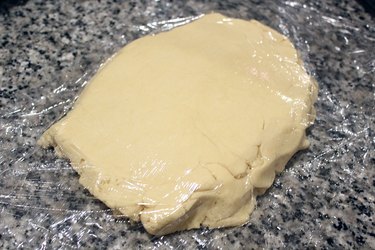
Step 5: Wrap & Refrigerate
Wrap the cookie dough in plastic wrap and refrigerate overnight.
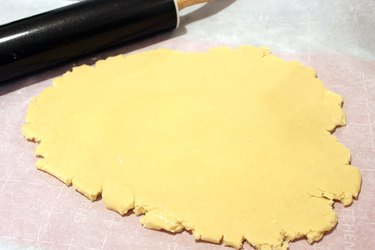
Step 6: Roll the Dough
Remove the cookie dough from the refrigerator for about 20 minutes to soften slightly. Spread some flour on your work surface as well as your rolling pin, and flatten the dough to about a quarter inch.
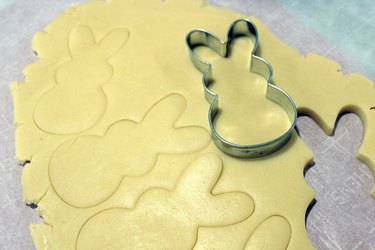
Step 7: Cut Out the Shapes
With a bunny cookie cutter, cut out the shapes.
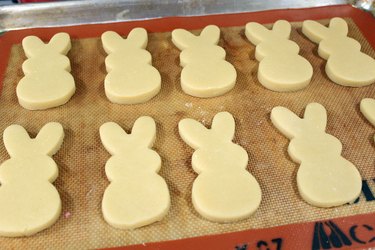
Step 8: Bake
Place cookies on a silicone mat on a cookie sheet. Bake according to the instructions in your recipe. I baked mine for 12 minutes at 375° F. Let cool.
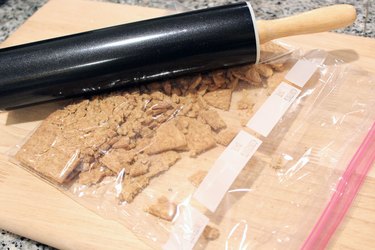
Step 9: Crush Graham Crackers
Place about 10 graham crackers in a zip lock bag. Crush them with a rolling pin until they resemble sand. If you prefer, you can also pulverize them in a food processor.
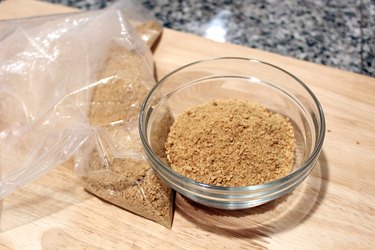
Divide the graham crackers in two, placing one half in a bowl for now.
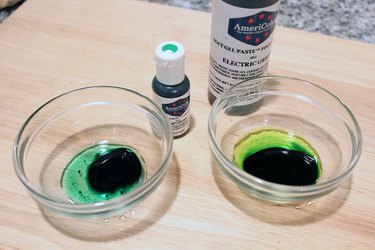
Step 10: Prepare Dye
To mimic the variegated look of moss, I selected two different shades of green gel food coloring. The gel is thick and difficult to mix in with the graham cracker crumbs, so stir about a half teaspoon of coloring with a tablespoon of vodka to make it more liquid. Don't worry, the alcohol will dissipate.
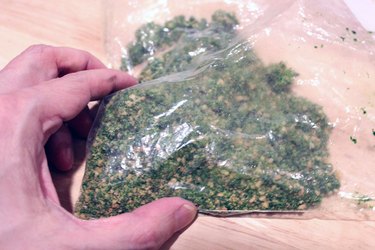
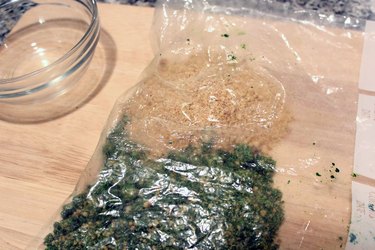
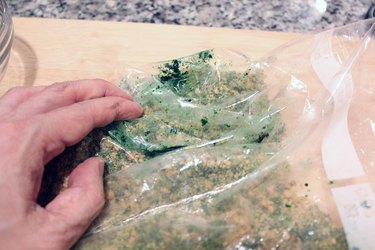
Step 11: Dye the Graham Cracker Crumbs
Pour one of the shades of green food coloring into the zip lock bag with the graham cracker crumbs. Mix it all around, squeezing the bag from the outside. Add more dye if necessary to reach the color you want. Notice how some of the larger crumbs do not absorb the dye. These brown bits give the fake moss a realistic look.
Move the dyed crumbs to one side of the bag and place the second half of the crumbs on the other side.
Add the second shade of gel food coloring to the plain graham cracker crumbs and mix the color in to that section. Then mix both halves of the graham cracker crumbs together.
To dry the graham cracker crumbs and remove any residual vodka, pour the crumbs onto a baking dish and heat in an 180-degree oven for 30 minutes.

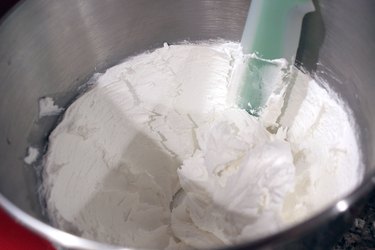
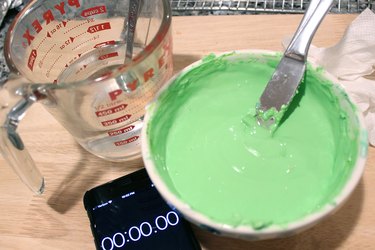
Step 12: Mix Royal Icing
Royal icing will be the glue that holds the graham cracker moss to the cookies. The great thing about royal icing is that it dries very hard, so your moss isn't going anywhere. If you don't use store-bought, you can mix four cups of confectioner's sugar, three tablespoons of meringue powder and five tablespoons of warm water in a stand mixer for about eight minutes. The icing will be thick with stiff peaks.
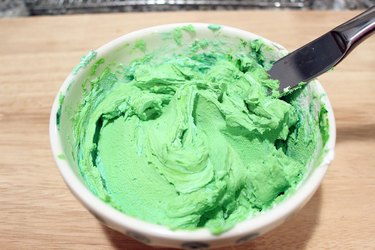
Step 13: Dye the Royal Icing
Using the same two shades of green food coloring as we used for the graham crackers, dye the royal icing, mixing a few drops at a time until you achieve the desired green. I recommend using a knife to stir the icing as we'll use it later to test the consistency.
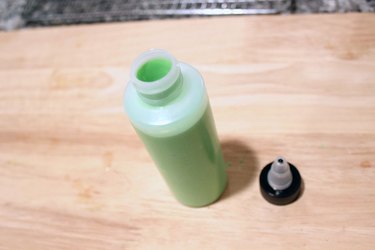
Step 14: Thin the Icing
Now we'll need to thin the royal icing so it can flood, i.e., cover the cookies. Stir in a half teaspoon of water at a time until the icing has the consistency of a thick milkshake. For this project, I made what is called "20 second icing," meaning that when you run the knife across the bowl of icing, the line you created with the knife will disappear in 20 seconds. Pour the royal icing into a squeeze bottle, either by spooning it in or with a funnel.
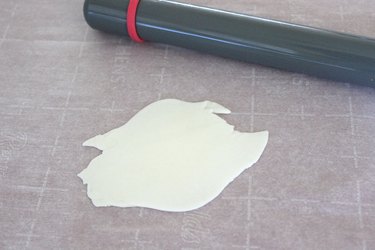
Step 15: Shape Fondant
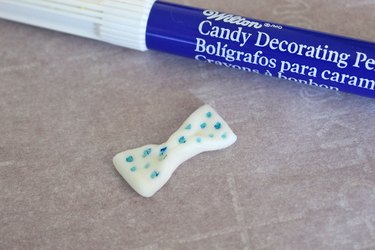
Our bunnies may look rustic covered with moss, but they are very natty wearing their bow ties. To make the bow ties, start by rolling a piece of white fondant between two sheets of parchment paper until it is very thin.
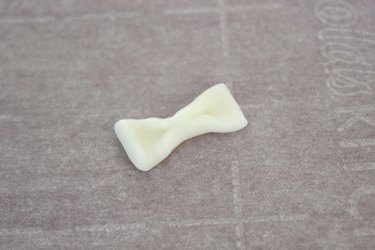
With a sharp knife or pizza cutter, cut small rectangles of about a half inch by one and a half inches.

Pinch the middle of the rectangles to create a bow tie shape.
Step 16: Draw Polka Dots
Decorate the bow ties with polka dots using candy decorating pens. A set of pens comes in different colors so you can also vary the color of the dots.
Assembling the Cookies
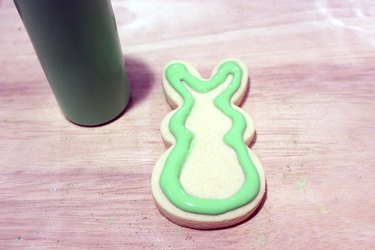
Step 1: Apply Royal Icing
Royal icing is usually applied to cookies in two steps — first with a thicker icing around the edge, and then with a runnier icing to flood the middle. I decided to keep the outline and inside icing the same consistency, as I wanted them both equally liquid to hold on to the moss. Squeeze a line of royal icing around the perimeter of the cookie. Do not go all the way to the edge. I leave about an eighth of an inch all around.
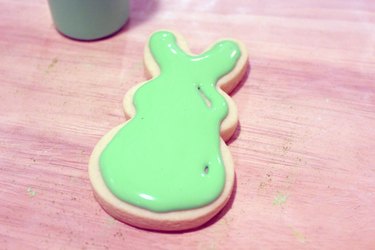
Squeeze more royal icing within the outline. It doesn't have to fully cover the cookie, as it is runny and will fill in naturally.
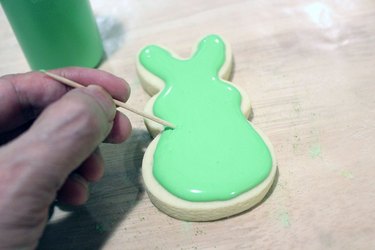
Use a toothpick to help spread the icing evenly.
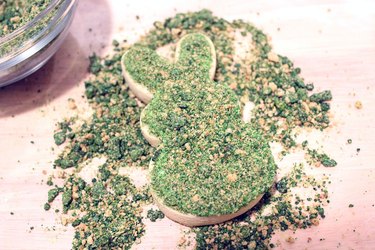
Step 2: Cover With "Moss"
Sprinkle the green graham cracker crumbs over the cookie. I like to completely cover the cookie with the crumbs to make sure the moss goes to the edges. Gently press down on the crumbs so they get locked into the royal icing.
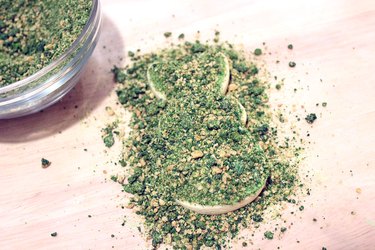
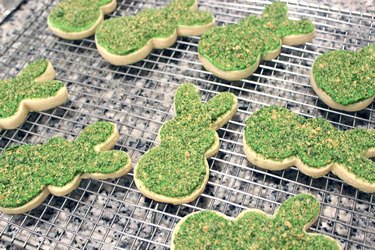
Shake off any excess crumbs. If you see any "bald" spots, sprinkle more crumbs over those areas and press gently in place.
Place the cookies on a cooling rack or cookie sheet and allow the icing to harden overnight.
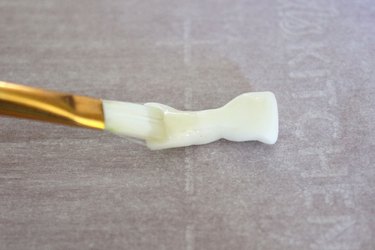
Step 3: Add the Bow Ties
The texture of the graham cracker crumbs makes it difficult for embellishments like our bow ties to adhere. The secret is edible adhesive, which you can find in the baking aisle at crafts stores. With a clean brush, apply a layer of edible adhesive to the back of each bow tie.
Place the bow tie between the head and the body of the bunny and press down gently to adhere it to the cookie.
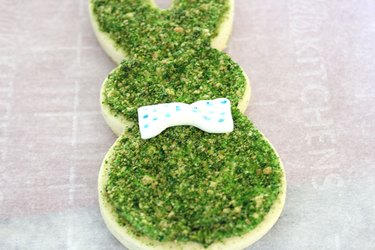
These whimsical cookies are the epitome of springtime happiness.
