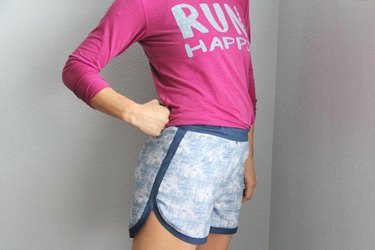
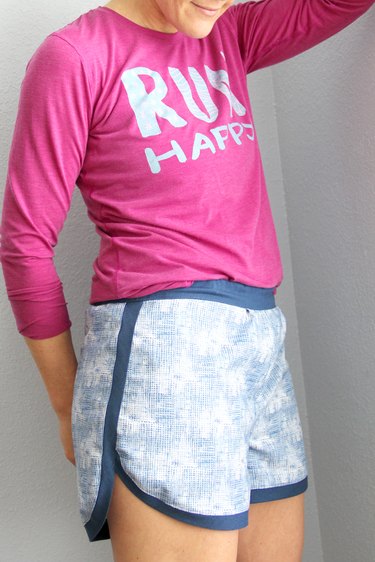
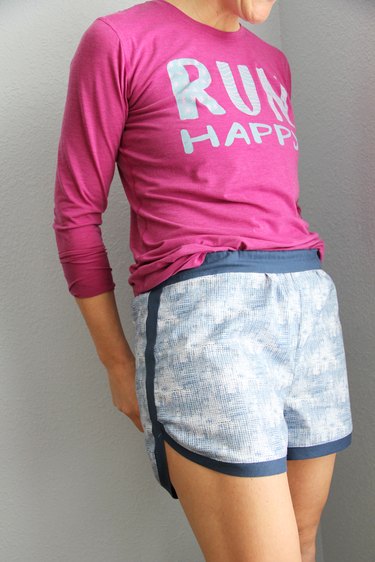
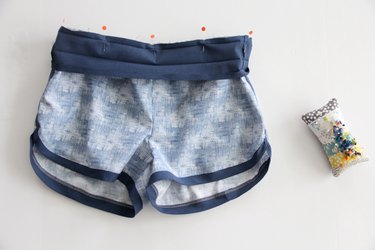
With summer around the corner, we are all looking for a comfortable pair of shorts to wear. The kind of shorts that you can wear when working out at the gym, jogging around the block, or just lounging around the house. Gym shorts, in all their glory, with the curved side seams Prefontaine style. Download your free gym shorts pattern to get started on this easy-to-sew women's shorts pattern, perfect for a beginning sewing project.
Video of the Day
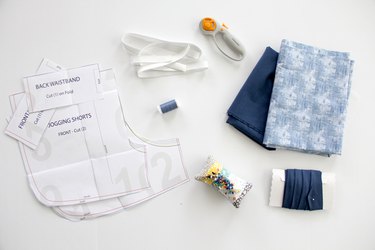
Things You'll Need
Free gym shorts pattern
1 yard woven fabric
Bias tape
1-inch wide elastic
Fabric scissors / rotary cutter
Coordinating thread
Pins
Universal regular point needle
Sewing machine
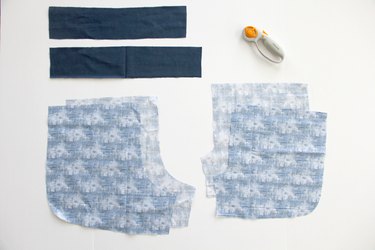
Step 1: Cut Out Pattern
Print out the free gym shorts pattern on regular printing paper and assemble. Once put together, cut around the pattern lines for your pattern size. Lay the pattern flat on top of your fabric, with the fabric on the fold so that you can cut mirror images. Cut two fronts, two backs, one front waistband and one back waistband.
Video of the Day
Tip
Pattern includes a 1/2" seam allowance.
Step 2: Sew Shorts Front and Back Together
Place the two fronts right sides together. Pin and sew the crotch seam. Finish the seam with either a serger, zigzag stitch, or pinking shears. Repeat for the backs, and press.
Place the front and back shorts on top of one another, right sides together, matching up the crotch seam. Pin and sew the inner leg together. Finish the seam with a serger, zigzag stitch, or pinking shears. Press.
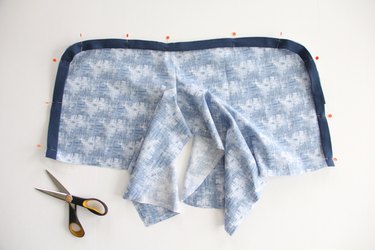
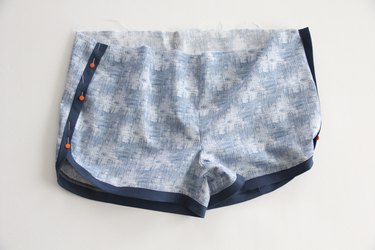
Step 3: Sew Bias Tape
Open the shorts so that one of the entire curved leg and side seam is flat. Pin the raw edges of the bias tape to the curved shorts seam. Sew, and then trim the seam allowance.
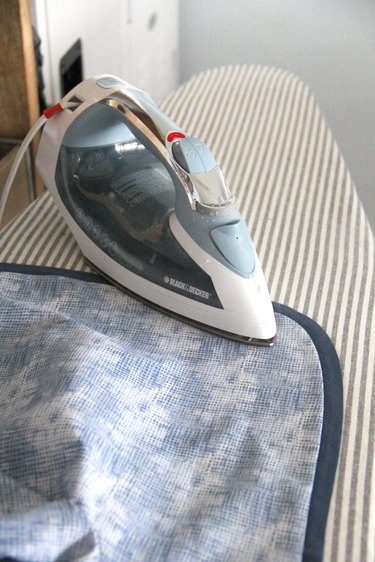
With the shorts right side up, press the bias tape and the seam toward the outside. Flip shorts over, so they are wrong side up. Fold over bias tape toward the inside of the shorts, enclosing the seam. Pin and stitch down the bias tape. Repeat for other leg.
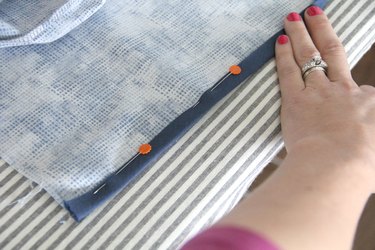
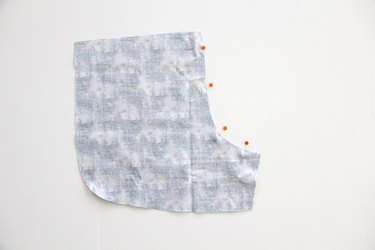
Step 4: Overlap Side Seam and Sew
Overlap the side seams at the waist by 2 inches, with the back side seam on top of the front side seam. Pin the side seam down, until you reach the curved edge. Carefully try on your shorts and , if necessary, adjust the seam to ensure a proper fit. Stitch along the bias tape edge to secure the seam R.peat for other side.
Step 5: Sew Waistband
Place waistband front and back right sides together, matching up the side seams. Pin the side seams and stitch. Press side seams open.
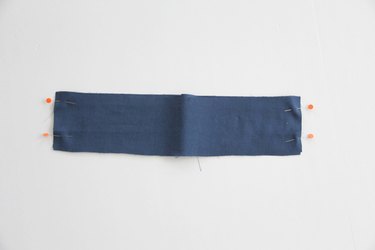
Fold both raw outer edges 1/4 inch toward the wrong side and press. Fold the waistband in half, wrong sides together, matching up the folded outer edges and press.
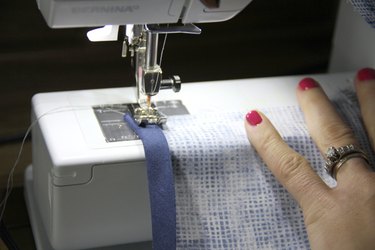
Step 6: Sew Waistband to Shorts
Sew a gathering stitch around the waistband of your shorts. Gently pull the bobbin thread until the top of the shorts is the same width as the waistband. Unfold the waistband and slip over the top waist of the shorts, right sides together. Match up the side seams of the waistband with the bias tape seams. Pin around the top unfolded line and sew. Press seam up.
Fold waistband toward the inside of the shorts, enclosing the raw seam. Pin around and sew, leaving a 3-inch opening for inserting the elastic.
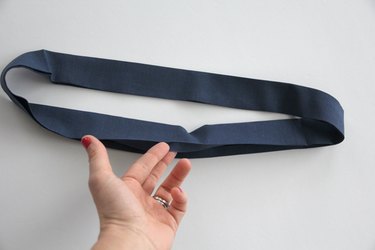
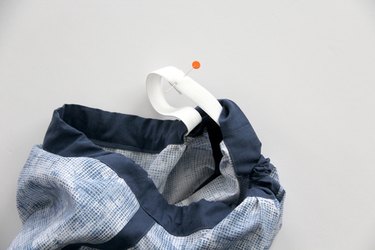
Step 7: Inserting the Elastic
Wrap the elastic around your waistband, and subtract 3 inches from that measurement. Cut elastic to size. Attach a safety pin to one end of the elastic, and slip into the opening in the waistband. Gently work the elastic through the entire waistband casing, making sure it does not twist, until it reaches the opening again and pull out. Pin the two ends of the elastic together and sew. Insert the elastic fully into the waistband, and finish sewing the waistband opening closed. Press.

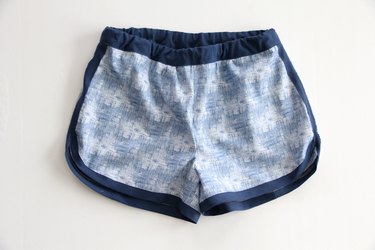
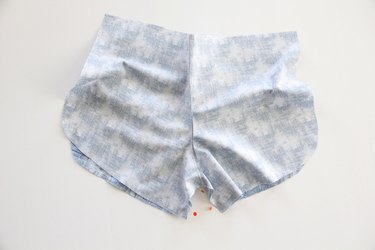
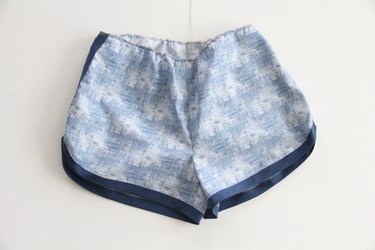
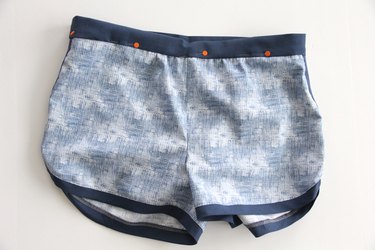
Step 8: Press Shorts to Finish
Press all seams. To care for your shorts, simply wash and on a gentle setting in cold water and hang dry.