Things You'll Need
Tissue paper in your preferred color
Small paper cup
White tissue paper
Scissors
Ribbon
White paper
Glue stick
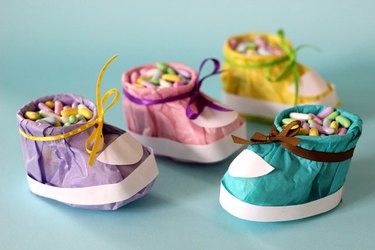
If you're looking for an adorable party favor for a baby shower, these baby booties are a perfect fit. Made of tissue paper and a small paper cup, they can be assembled in just a few minutes. Create an assortment in various colors or match it to your shower's color scheme.
Step 1
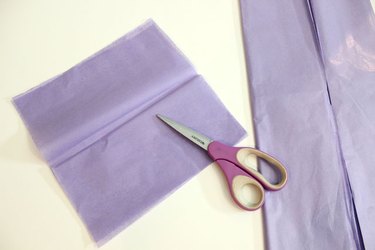
Cut the tissue paper into a 10 inch by 10 inch square.
Video of the Day
Step 2
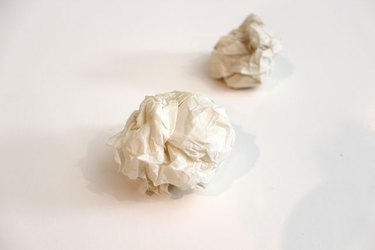
Crumple up a piece of plain white tissue paper into a ball that's about 2 inches in diameter. You can also use cotton balls or even a piece of the colored tissue paper.
Step 3
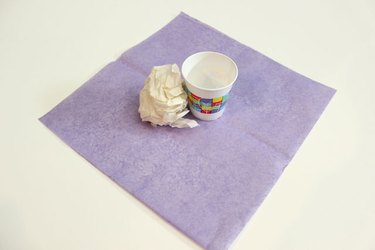
Place the paper ball in front of a small paper cup, and then position it in the center of the tissue paper square facing one of the corners.
Step 4
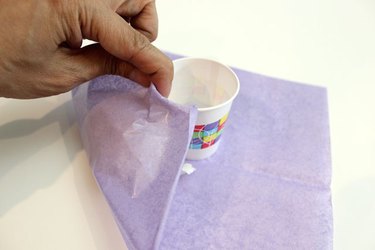
Take the corner facing the paper ball and cup and wrap it over, tucking the extra tissue into the cup.
Step 5
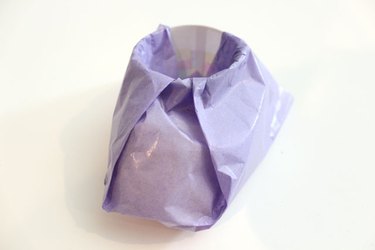
Fold in the corners to the left and right of the bootie, tucking in the extra tissue in the paper cup.
Step 6
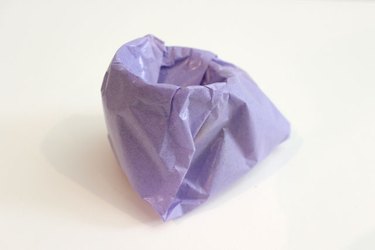
Fold the back corner of the tissue into the bootie, tucking in the extra tissue in the cup. The bootie should be completely wrapped in tissue now.
Step 7
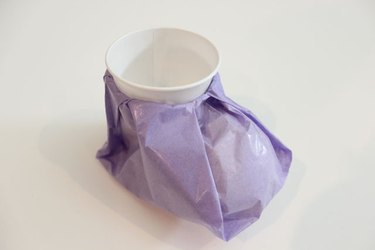
Place another paper cup in the cup of the bootie. Press down to lock in the tissue paper on the inside, and then remove the cup.
Step 8
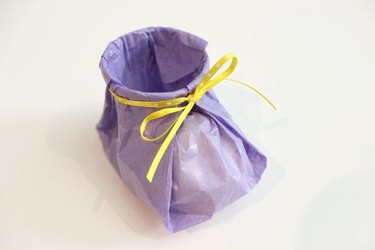
Tie a ribbon beneath the rim of the paper cup, just above the paper ball. The ribbon keeps the paper from coming undone and also doubles as the shoelace for the bootie.
Step 9
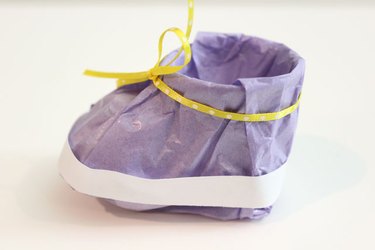
The booties look great as is, but to give them an extra stylish touch add sneaker details. For rubber sidewalls, cut a 1/2-inch strip of plain white paper and wrap it around the bottom of the bootie. Use a glue stick to adhere it.
Step 10
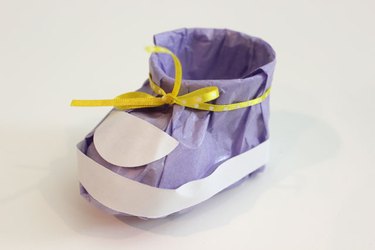
Cut a half circle out of the white paper that's about 2 inches in diameter. Attach the half circle to the front of the bootie with a glue stick. Now the bootie has a rubber cap toe. Yes, this baby's going to be on the go!
Tip
These also make great tree decorations for Baby's first Christmas.
Video of the Day