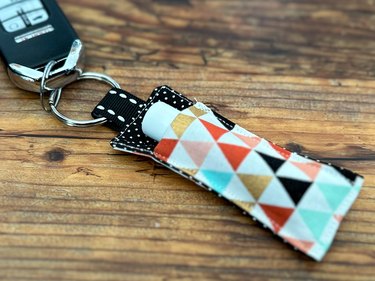
Winter has officially rolled in, and your lips are on the frontline, bracing against those frosty gusts. But hey — we have a plan of attack that's as fun as it is functional. We're making a fabric lip balm holder!
Picture this: Your go-to lip balm always within arm's reach, nestled in a cozy fabric holder. No more deep-diving into the abyss of your bag every time your lips start to feel dry. And let's face it — there's something pretty special about adding a personal, handmade touch to your everyday essentials. It's almost like suiting up your lip balm for the winter season! So, grab that sewing kit, pick out your favorite fabric and get ready to stitch your way to triumph over winter's harshest days.
Video of the Day
Video: Fabric Lip Balm Holder
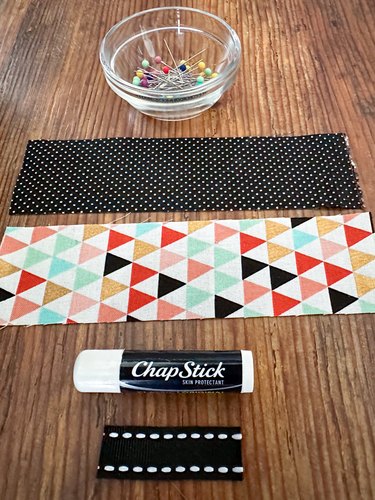
Things You'll Need
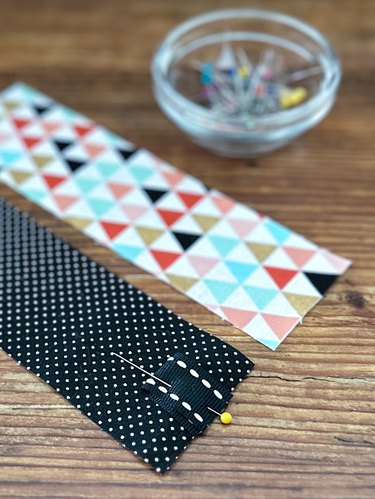
Two pieces of 2-in. by 7-in. fabric
One 2-in. piece of ribbon
Straight pins or clips
Scissors
Chopstick or wooden point turner
Key ring
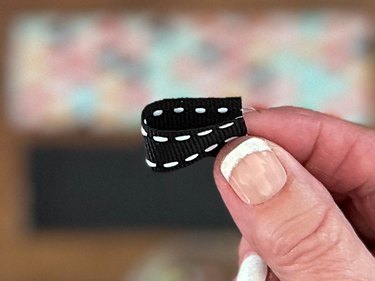
1. Attach a key ring tab
Fold a 2-inch piece of ribbon in half. Line up the raw edges on the 2-inch side of one fabric strip and pin in place.
2. Sew fabric strips together
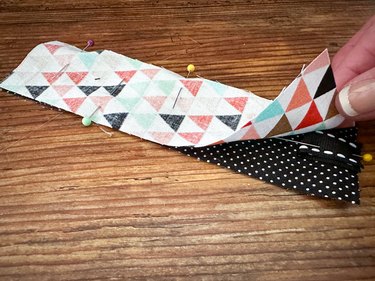
Place the other fabric strip on top of the first with the right sides facing each other. Pin in place.
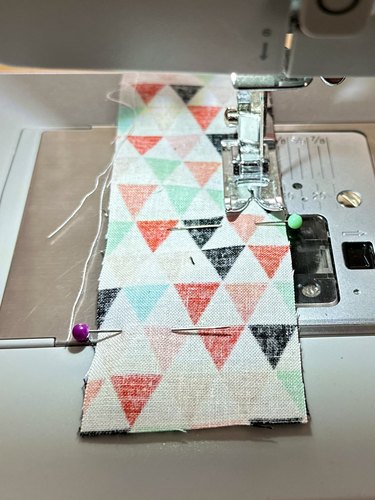
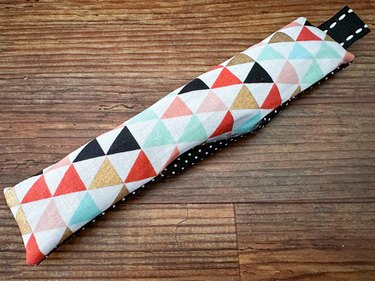
Sew a 1/4-inch seam around the fabric strips. Be sure to remove the pins as you sew. Leave a 3-inch opening in one of the long sides.
3. Turn right side out
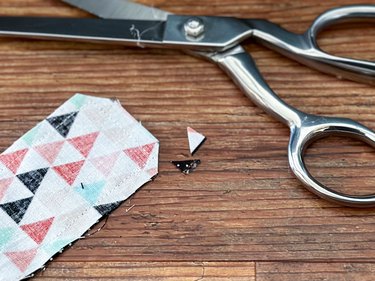
To reduce bulk and help create crisp corners, trim each corner, taking care not to unintentionally nick the stitches.
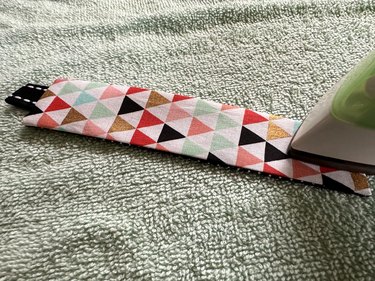
Next, flip the fabric right side out. Use a chopstick or wooden point turner to gently push the corners and edges outward. Then, with a hot iron, press down on the fabric to set everything in place. The result? Neat, crisp edges and corners that add an undeniable professional touch to your handiwork.
4. Create the pocket
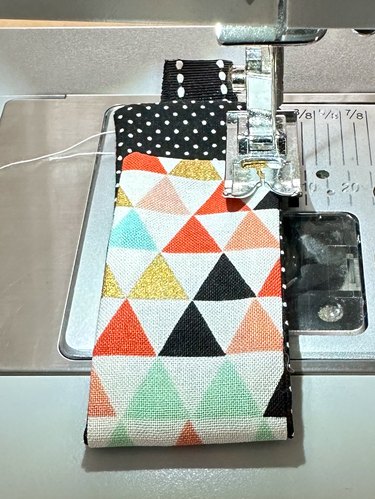
Fold the short edge without the tab up so it's an inch or so below the edge with the tab. Topstitch very close around all four edges.
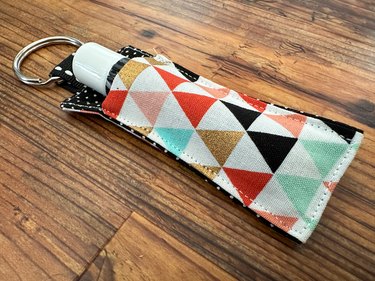
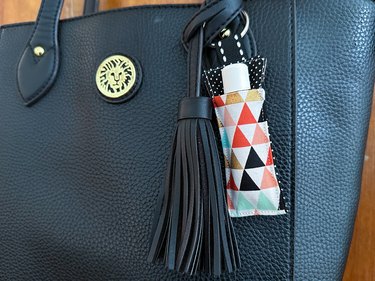
Slide a key ring onto the ribbon tab so your trusty lip balm can dangle from a key chain or gracefully hang from a purse.