There's something simply magical about gathering fresh produce straight from nature. And there's nothing like a trusty sidekick to make the experience even more delightful. That's where our charming harvest apron comes into play! In this sewing tutorial, we'll dive headfirst into the world of sewing and guide you through creating a whimsical, adjustable gathering apron that'll turn your harvesting adventures into a stylish affair. Let's get started!
Video: A Charming Harvest Apron for Gathering Fresh Produce
Video of the Day
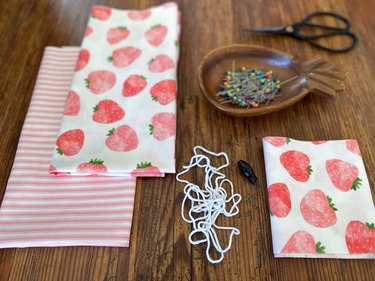
Things You'll Need
2 22-in. square pieces of prewashed fabric
Round plate
Marking pen
Sharp scissors
Straight pins
Measuring tape
Safety pin
2-yard piece of cord
Cord lock
1 60-in. x 5-in. piece of fabric
Chopsticks
Tip
To make a harvest apron that's machine washable, wash and dry fabric ahead of time to keep it from shrinking after sewing.
Part 1: Create Apron Front
1. Cut round corners
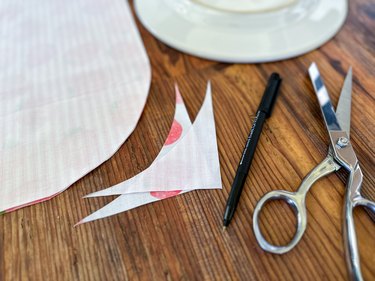
Place square fabric pieces together with printed sides facing each other. Use a plate to trace around bottoms of each piece to create rounded corners. Use sharp pair of scissors to cut along marks you just made.
2. Mark an opening
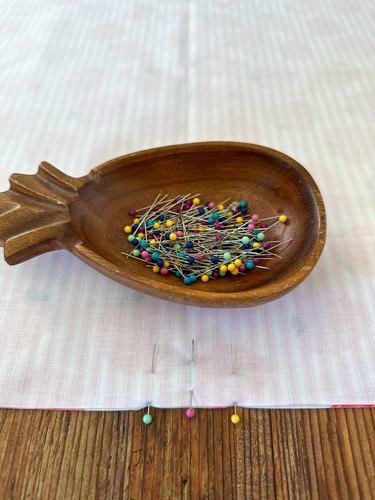
Find center spot at bottom of apron. Place pin there to mark. Next, use measuring tape to measure 3/4 in. from center pin in each direction. Mark with additional pins. The 1 1/2-in. area you just marked will become the opening at bottom of apron.
3. Sew around apron
Sew with a 1/2-in. seam allowance around sides and bottom of apron, making sure to skip opening you just marked in center bottom.
4. Reinforce opening
Open apron so bottom opening is flat and seam allowances face up. Press seam allowances under twice and sew around all four sides of opening to keep seam from fraying. This will create a sort of buttonhole.
5. Notch curves

Use sharp scissors to carefully cut small notches in seam allowance. Be sure to stay away from stitches. This will reduce bulk in seam when you turn the apron right side out and will help edges remain flat.
6. Turn right side out and press
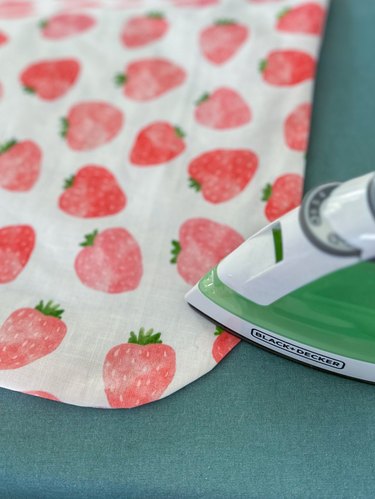
Turn garden harvesting apron right side out, push seams out with a chopstick and press flat with a hot iron.
Part 2: Create Drawstring Casing
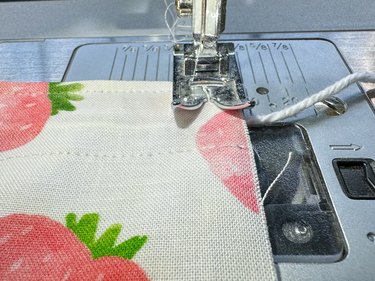
1. Topstitch
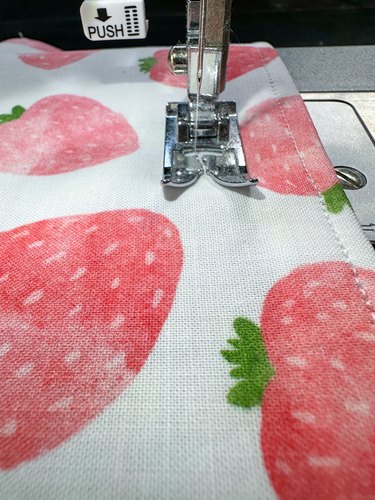
First, topstitch very close to the edge around sides and bottom of apron, skipping the area you left open at center bottom. To create casing for drawstring, stitch around sides and bottom of the apron again, this time 1 in. away from edge—no need to stop at the opening.
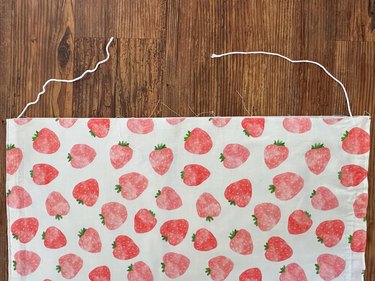
2. Insert cord into casing
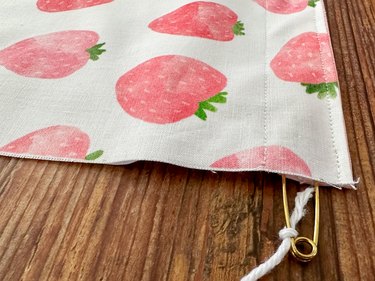
Attach cord to a large safety pin to help push it through casing. When cord is all the way through, even out two cord ends protruding from casing.
3. Attach cord lock
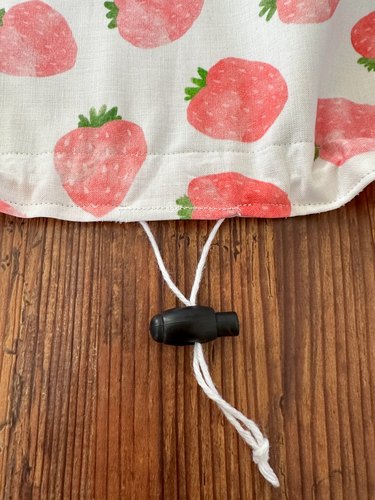
Pull several inches of cord out of bottom opening. Pinch cord lock into an open position and slide cord through. Tie a double knot in end of cord to keep cord lock from sliding off.
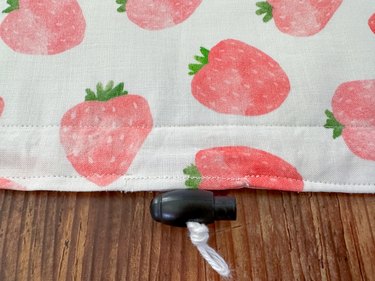
Push cord lock right up next to knot and pull cord so lock is even with apron opening.
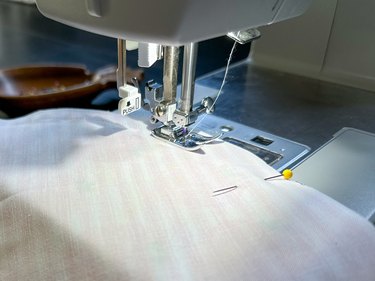
4. Sew top of apron
Sew across top of apron with a 1/2-in. seam allowance. Sew across cords several times to help keep them secure.
Part 3: Attach Waist Tie
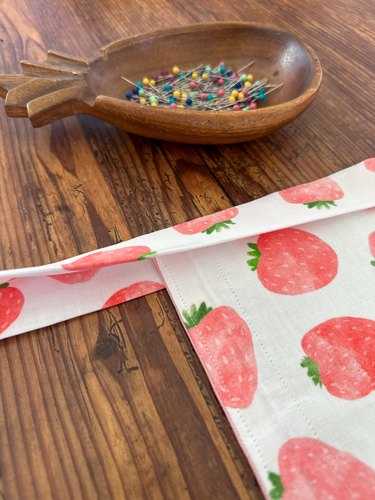
1. Fold and press
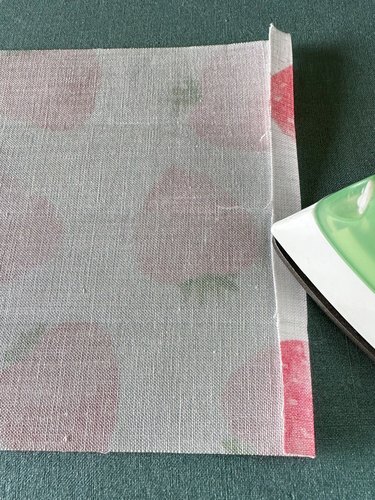
Fold 1/4 in. over on both short ends of waist tie and press.
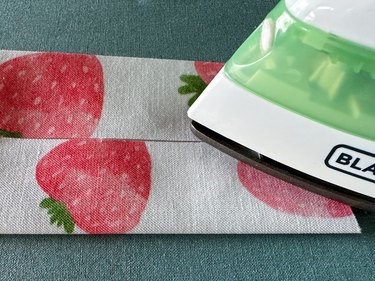
Next, fold both long edges into center and press. Fold entire waist tie in half lengthwise and press.

2. Pin waist tie to apron
Tuck harvest apron into waist tie, matching center points.
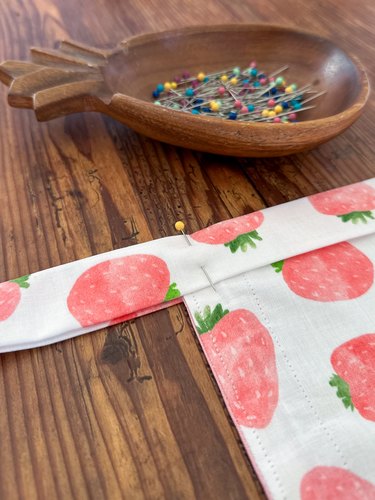
Pin it in place.
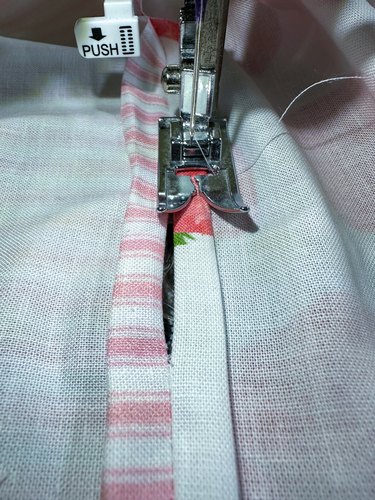
3. Sew waist tie
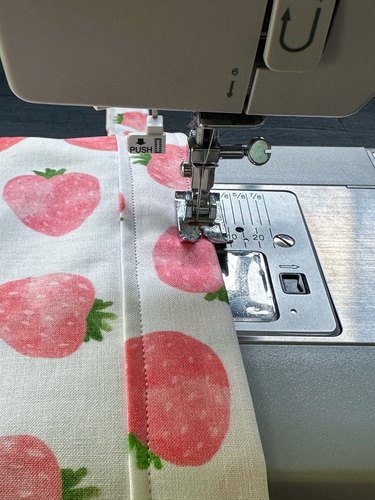
Sew around all four sides of waist tie to secure to apron.
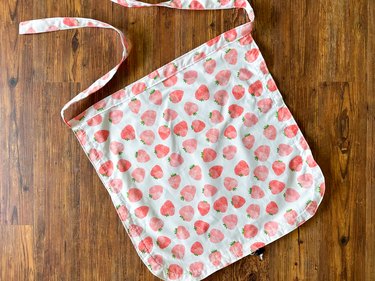
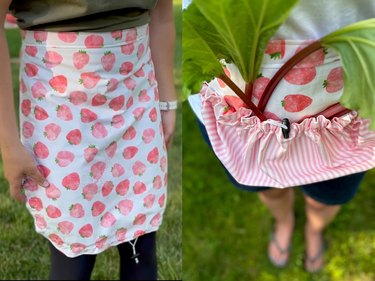
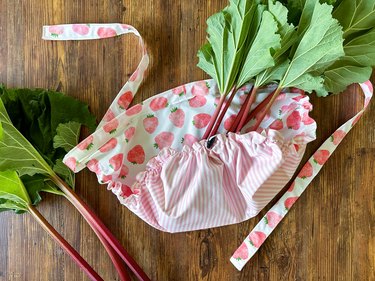
Your adorable, hands-free gathering apron is complete!
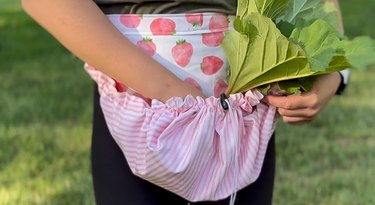
Now you're ready to soak up the summer vibes and gather nature's treasures in style with your own enchanting harvest apron! Wear it as a regular waist apron to protect your clothes while gardening or gather up the drawstring to create a perfect pouch for stashing all those ripe fruits and veggies.
Here's to a happy harvest!