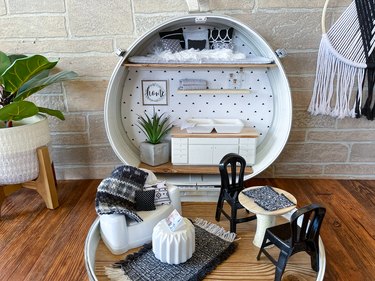
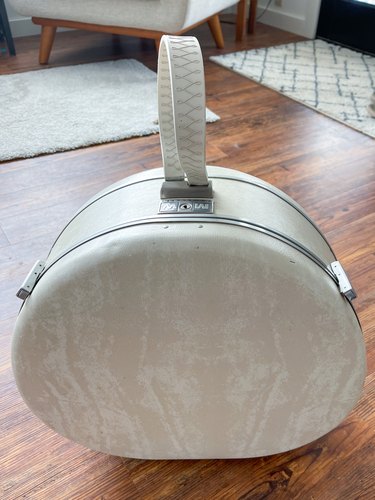
There's something wonderfully simple about vintage suitcases, which boast no-frills designs and straightforward shapes. While the heyday of these retro travel bags might be behind us, don't toss your old tote. We've got a DIY craft project that will give your vintage suitcase new life by transforming it into an adorable, portable dollhouse! Whether you're making a gift for a little one or simply embracing your inner child, this how-to is sure to charm.
Grab those craft supplies, gather supplies from around the house and prepare for an adventure as you turn your vintage travel case into a delightful miniature abode.
Video of the Day
Video: Turn a Vintage Suitcase Into a Darling Dollhouse
Part 1: Transform An Old Suitcase
Things You'll Need
Vintage suitcase
Utility knife
Thin masonite or other hardboard
Saw
Fabric
Hot glue gun
Nails
Paint
Tip
Don't have a vintage suitcase on hand? Head to the thrift store or antique shop! Look for a design with enough interior space and structure to hold your dollhouse decor.
1. Remove interior lining from suitcase
It's typically easy to pull the interior lining from a vintage suitcase. Grab some of the fabric and pull it out—that's it! You might need a utility knife to cut sections from around rivets, but other than that, the process should be fairly seamless.
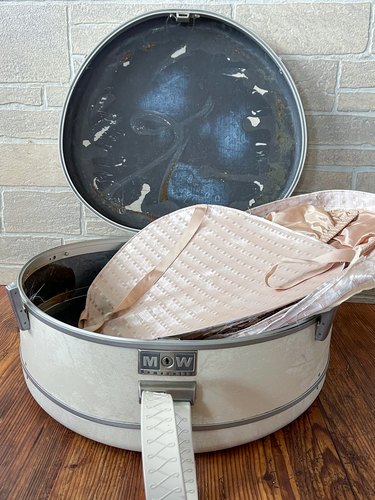
Save a piece of lining from the bottom to use as a pattern in the following steps. Don't worry about the glue remnants left on the bottom because you'll be putting a piece of masonite over this later.
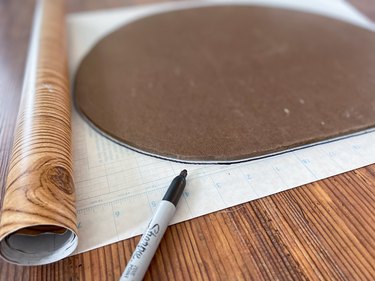
2. Trace bottom lining onto masonite

Use a retained piece of lining fabric as a pattern and trace it two times onto thin section of masonite or other hardboard.

Use a saw to cut around the lines. These pieces will become the floor and back wall of your suitcase dollhouse.
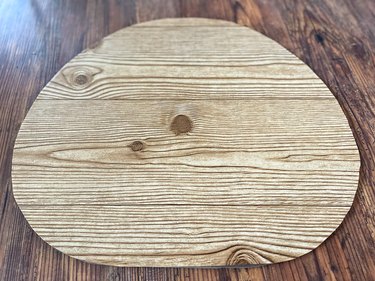
3. Cover masonite with contact paper and fabric
Use a piece of wood-grain contact paper to cover one of the masonite pieces. This piece will serve as the dollhouse's floor.
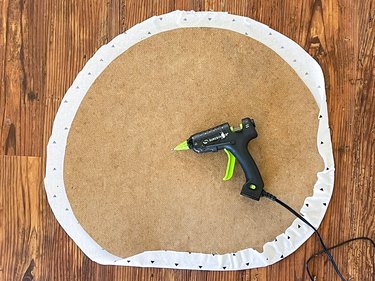
Next, choose a piece of fabric to cover the back wall of the dollhouse. Place masonite on the "wrong" side of the fabric and then use a hot glue gun to attach fabric to the back.
4. Cut and cover top and bottom floor pieces
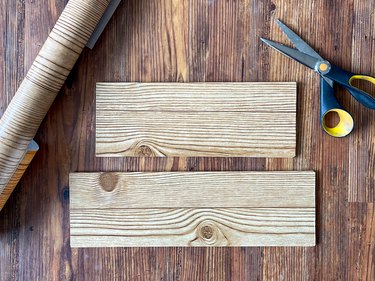
Since every suitcase will have different measurements, you'll need to measure across the suitcase to determine the placement and length for the top and bottom floors. Cut two rectangular pieces of masonite that fit into those spaces. Cover each with wood-grain contact paper.
5. Attach top floor to back wall
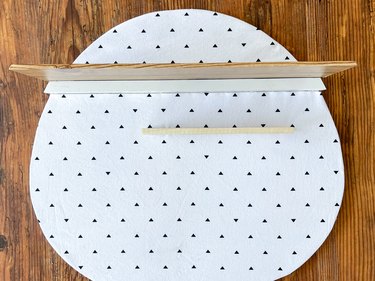
Use glue and/or nails to attach the top floor of your DIY dollhouse. If you'd like more stability, nail a cleat under the top floor. Attach it from the back so you won't see nails. To add a floating shelf, attach it the same way as the top floor.
6. Spray paint inside suitcase
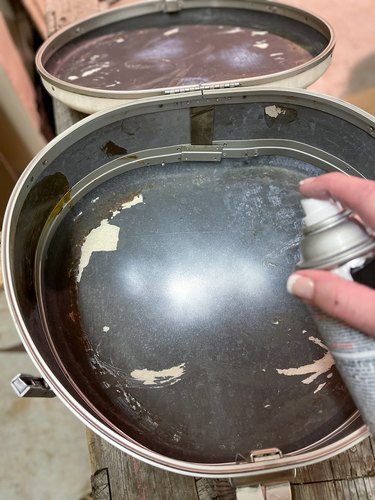
Before placing the living room floor and back wall, spray paint the inside of the suitcase. Focus on painting around the outer edge since the new flooring and wall pieces will cover the bottom areas.
Part 2: Create Dollhouse Furniture & Decor
Things You'll Need
Ceramic trinket tray
Spray paint
Woven place mat
Scissors
Fabric
Needle and thread
Preloved sweater
Old washcloth
Wooden candle lid
Birch branch
1. Spray paint dollhouse furniture
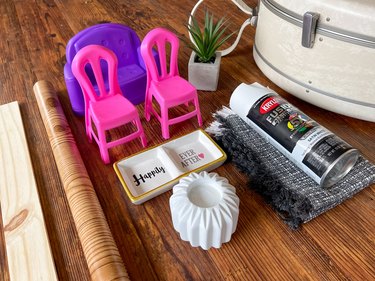
Etsy and Amazon are appropriate sources for dollhouse furniture, but you can also reuse furniture from an old childhood dollhouse or play set or check out what options your local dollar store or thrift store has on hand. The original bright pink and purple hues of our dollhouse furniture didn't mesh with our more modern design vision, so we used spray paint that works on plastic for a more neutral vibe.
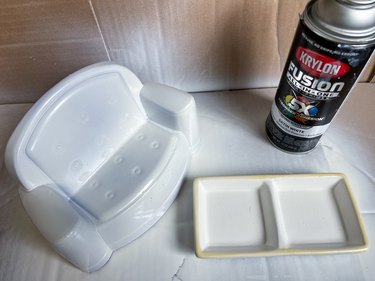
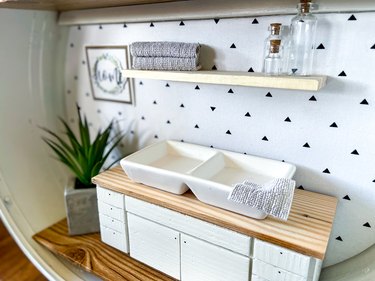
2. Turn ceramic dish into dollhouse sink
We also found a ceramic trinket dish and sprayed over the top of it to remove the words. This became our dollhouse kitchen sink.
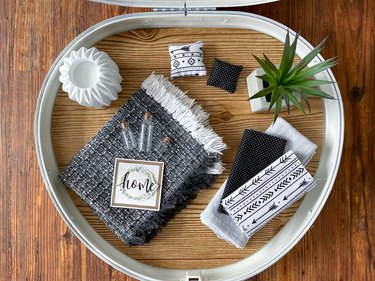
3. Create dollhouse rug from place mat

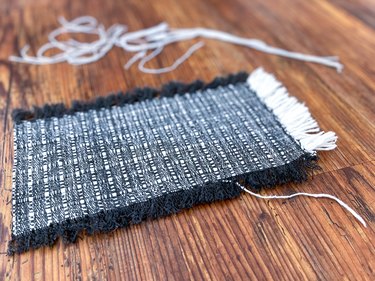
To make dollhouse accessories like a rug and tiny place mats, simply cut apart a thrifted full-size place mat.
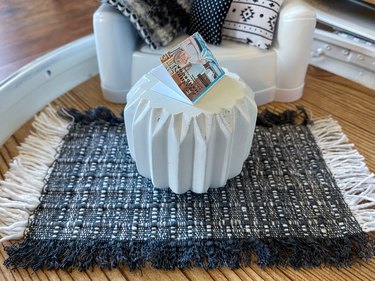
Ours already had fringe, so we continued the fringe on the cut sides by pulling out threads.
4. Sew tiny dollhouse pillows from scrap fabric
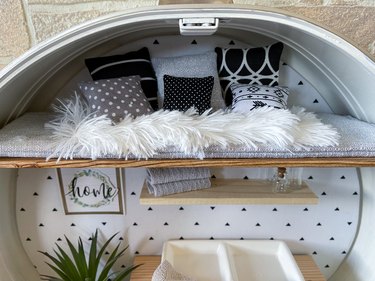
Our travel suitcase tiny home has a sleeping loft that was just asking for a pile of mini pillows to serve as dollhouse decorations.
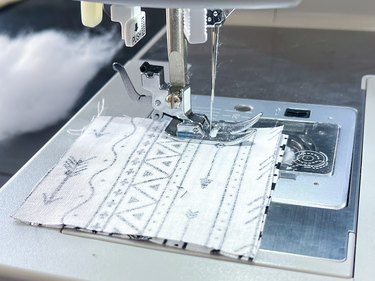
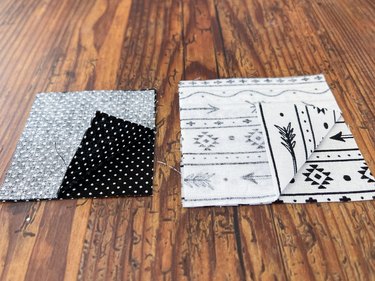
To make your own tiny pillows, cut fabric squares.
Place them with right sides together, sew around three sides, clip corners and turn them right side out. Stuff with Poly-fil and hand-sew openings.
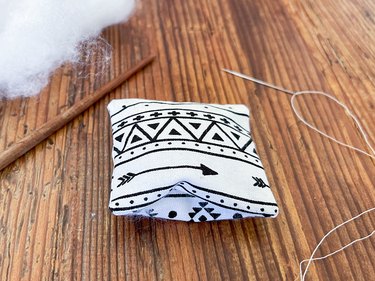
This is a quick and easy project that will use up leftover scraps of fabric. We're all about reducing waste!
5. Cut dollhouse blanket from preloved sweater
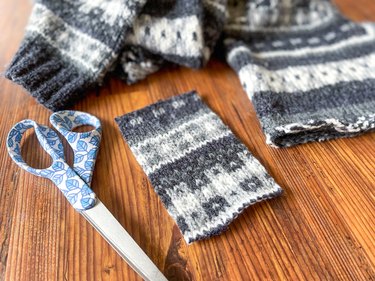
We found a sweater scrap from a previous upcycle project and cut a throw blanket for our dollhouse couch.
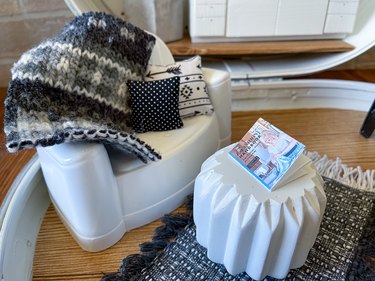
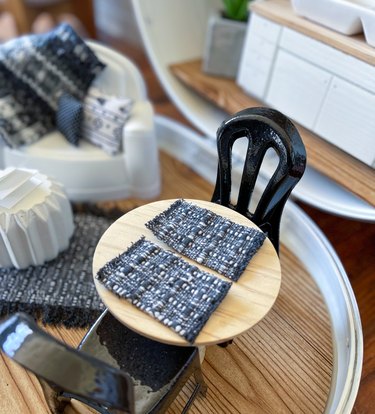
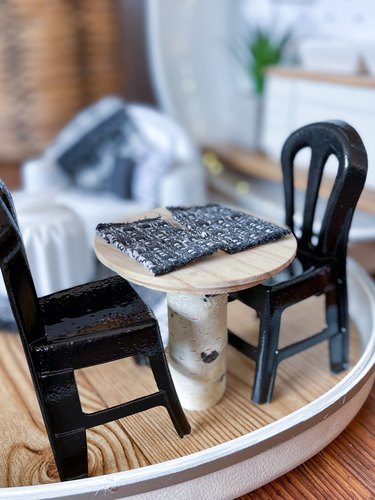
6. Make dollhouse table from wooden candle lid
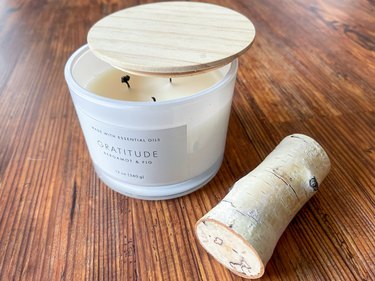
There are so many household objects that can be repurposed for your suitcase dollhouse. We found a wooden candle lid for our tabletop and snagged a birch branch from outside to use as a base.
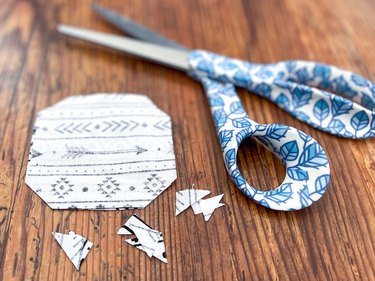
7. Create dollhouse towels from old washcloth

We cut up an old washcloth to make a sweet set of folded towels for the dollhouse's open kitchen shelving—not to mention the adorable mini washcloth in the sink!
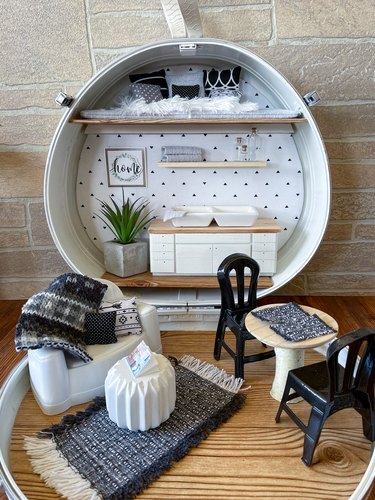
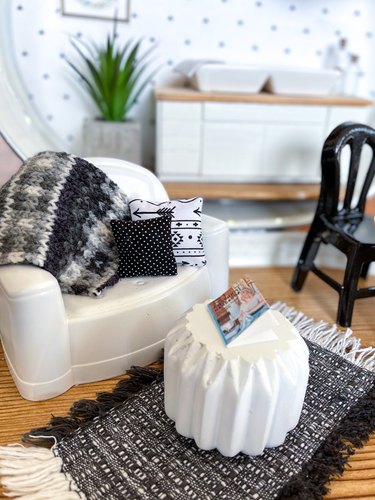
Who would have thought that simply transforming a few accessories and upcycling found objects would result in a miniature Instaworthy suitcase dollhouse? If only remodeling our full-size homes were this seamless!
Feeling inspired by all that repurposed and recycled fun? Check out some of our favorite repurposed quilt garments from Etsy.