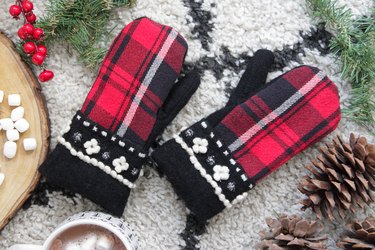
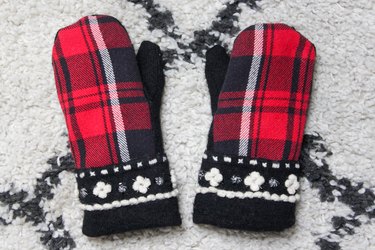
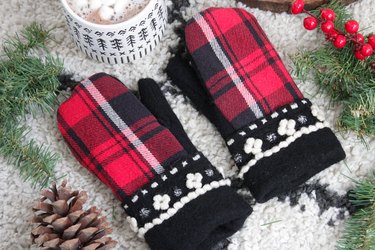
Hey, all you mitten people out there — we've got the best mitten making idea, hands down! Take an old flannel shirt that's been hanging around the thrift store or maybe even a loved one's old shirt to create some mittens. Not only will they keep your hands toasty warm, but they'll look so cute, your friends will be asking which little boutique carries them. All it takes is one of the shirt sleeves you saved after making this flannel shirt tote bag, two sweater sleeves you saved after making these holiday sweater trees and a little fleece. That's it! Just a word of warning though — you might like making these so much, no one's shirts or sweaters will be safe around you again.
Video of the Day
Things You'll Need
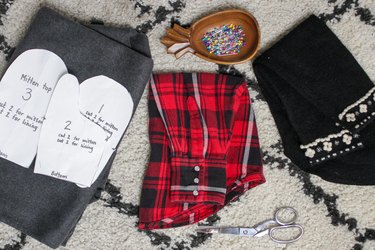
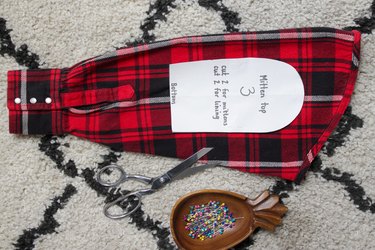
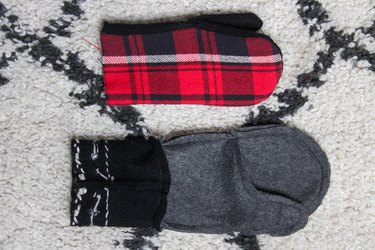
One sleeve from an upcycled flannel shirt
Two sleeves from an upcycled sweater
1/3-yard of coordinating fleece
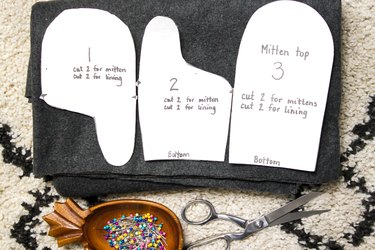
Download and print Mitten Pattern #1 and Mitten Pattern #2
Straight pins
Sharp scissors
Step 1
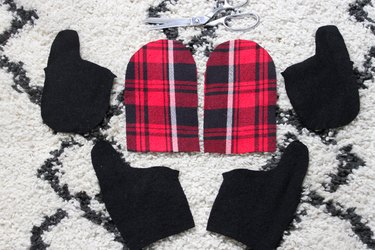
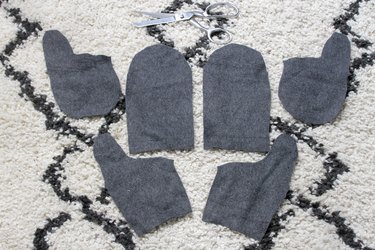
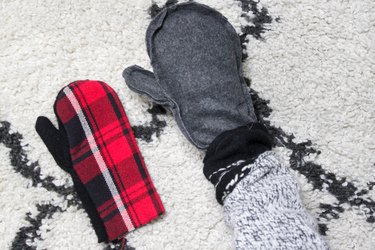
Place and pin the pattern pieces on the shirt and sweater sleeves, matching the lines on the flannel to make sure they are straight and going in the same direction. Leave at least 4 inches on the bottom of the sweater sleeve to use for later. Cut out the pattern pieces.
Tip
Make sure your pattern is printed out at 100%. Before using the pattern, place your hand over the mitten top, if it's going to be too small, reprint the patterns at a larger percentage.

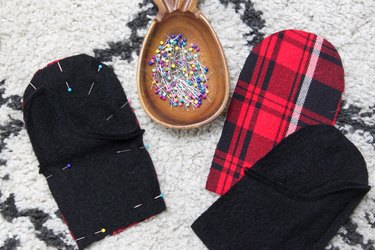
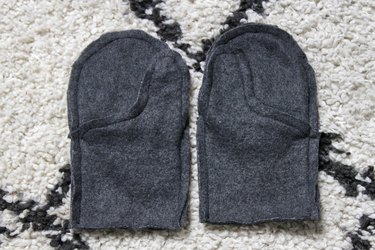
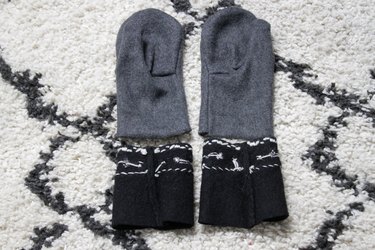
Lay out the pieces as seen in the photo below to make sure you are making a right and a left mitten.
Step 2
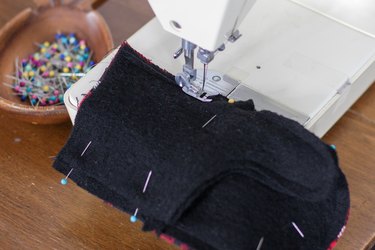
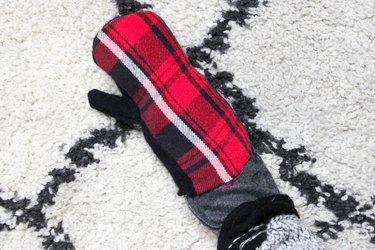
Place the right sides together as seen in the photo below. This is an important step to make sure you don't end up with two left thumbs. Sew around the thumb area from notch to notch.
Step 3
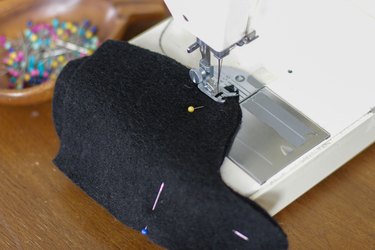
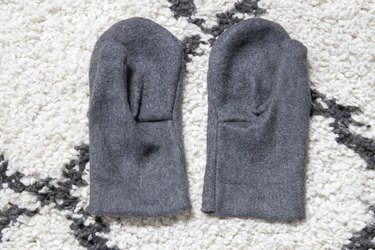
Open up the thumb piece, place and pin it with right sides together on the mitten top piece. Sew around the outer edge. Leave the bottom open.

Step 4
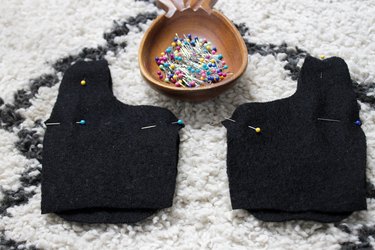
Repeat this process with the fleece lining pieces. When finished, turn the lining pieces right side out.
Step 5
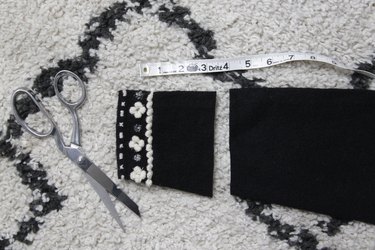
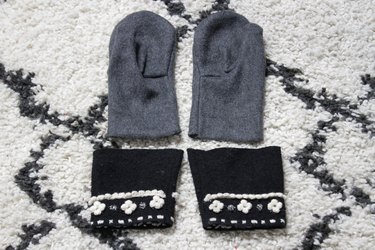
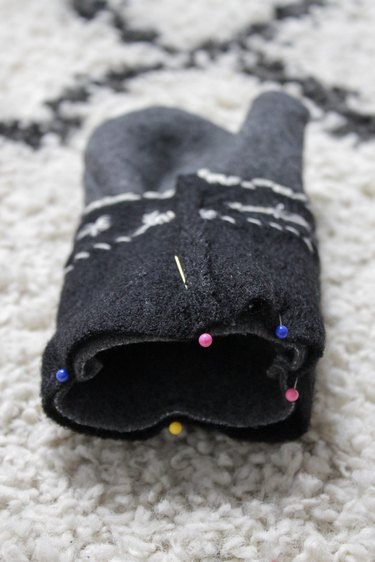
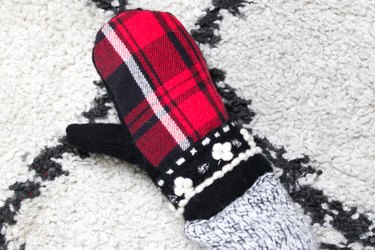
Cut 4 inches from the bottom of each sweater sleeve to create the mitten cuffs. Turn them inside out and slide them onto the bottom of the lining pieces so the raw edges line up. Pin in place and sew.
Step 6
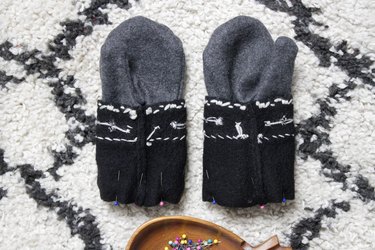
Turn the outer shell of the mittens right side out and turn the lining pieces inside out. Place your hand into the lining. Slide the outer shell onto the lining and fold the cuff up.
Step 7
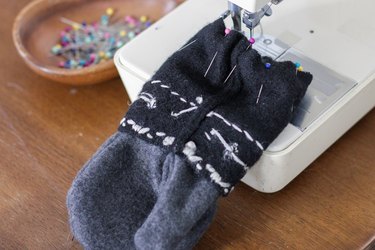
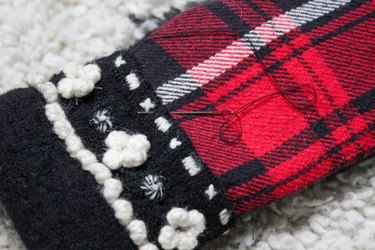
Hand sew the cuffs in place.
Warm hands, warm heart!