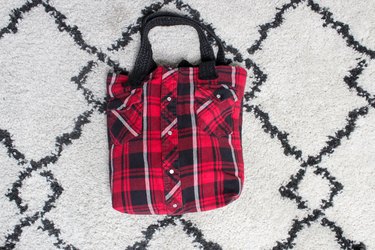
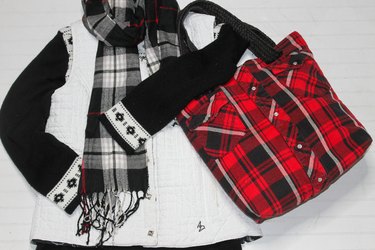
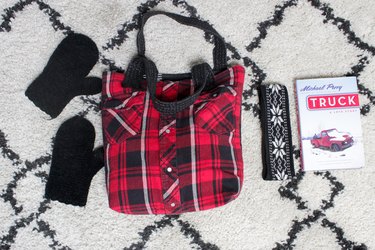
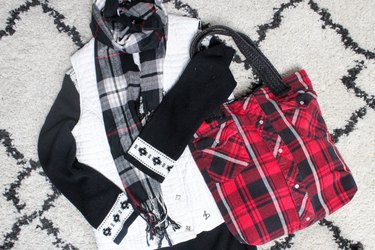
There's just something so cozy and comfy about a flannel shirt. The weather starts to get cooler and we happily bring out our thermals. We layer them over turtlenecks and under vests, but why not bring that same snug feeling into a winter tote by creating this bag from a thrift store find, or making a super-special cuddly tote from the shirt of a loved one. One of the neat things about using an upcycled shirt for this project is the front pockets become part of the design and are totally usable. Also, with gift giving season fast approaching, this would make a wonderful, inexpensive hand-made gift. Trifecta in our opinion.
Video of the Day
Things You'll Need
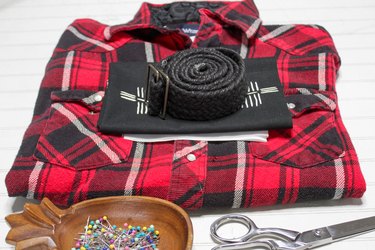
Flannel shirt
Two 17-inch square pieces of heavy fusible interfacing
Two 17-inch square pieces of heavy fabric for the lining
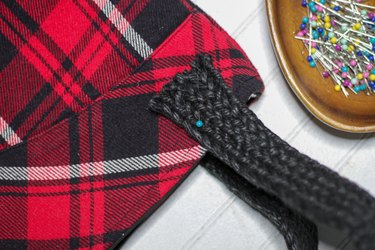
Two 23-inch pieces of webbing or upcycled belt for the handles
Sharp scissors
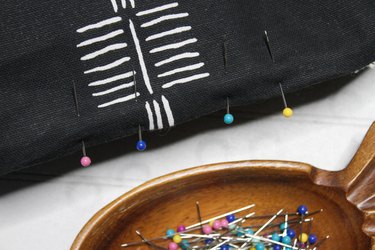
Straight pins
Step 1
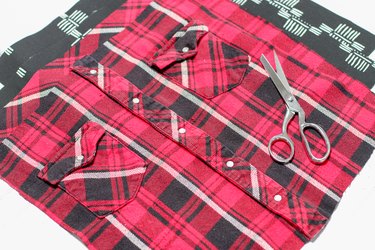
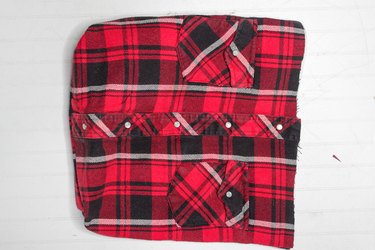
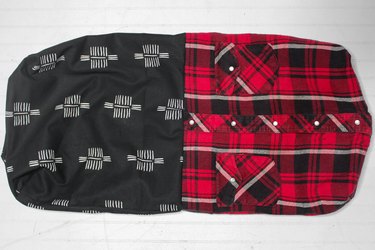
Cut two 17-inch squares from the front and back of the shirt. Center the button placket and the pockets on the front of the shirt and use the yoke from the back of the shirt. Save the sleeves to make some flannel mittens later.
Step 2
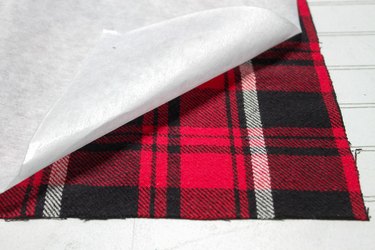
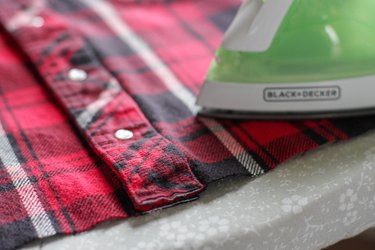
Line up the heavy fusible interfacing on the wrong sides of the shirt squares. Place the shiny side down on the wrong side and press with a hot iron to adhere.
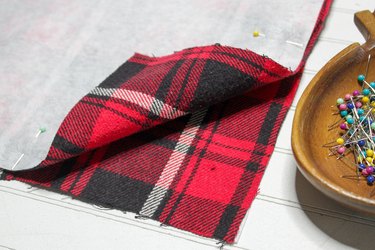
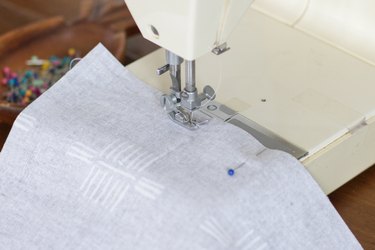
Step 3
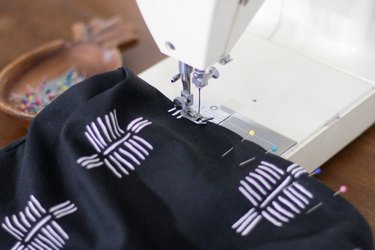
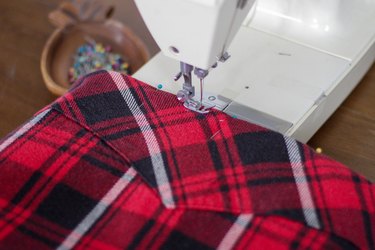
Place the right sides of the shirt squares together, line up the edges, pin and sew leaving the top side open. Clip the bottom corners.
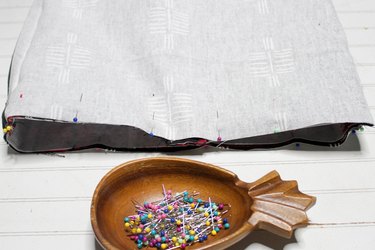
Step 4
Place the right sides of the lining squares together, line up the edges, pin and sew leaving the top edge open and leaving a 4-inch opening in the bottom edge. Clip the bottom corners.
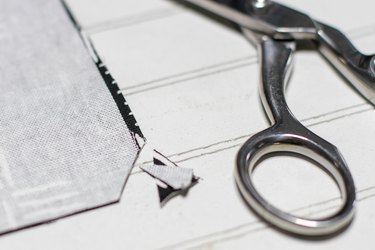
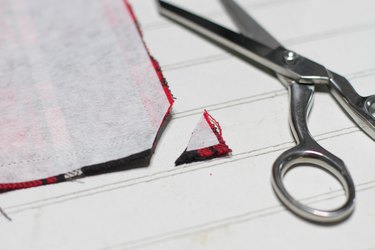
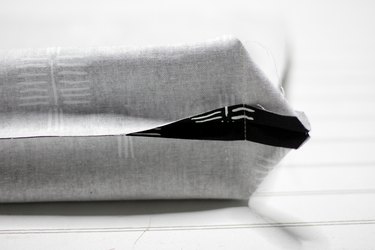
Step 5
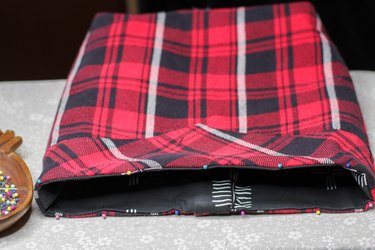
Box the bottom corners of both the lining and the outside of the bag by placing the bottom seam and the side seam together to create a right triangle. It's super important to take your time and make sure the two seams are lined up perfectly. Be precise so the corners will be even on both sides. Use a clear ruler to measure and mark two inches in from the corner. Sew along the marked line and repeat this process on the other side of the bag.
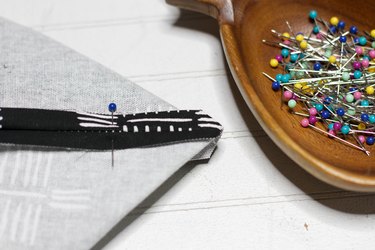
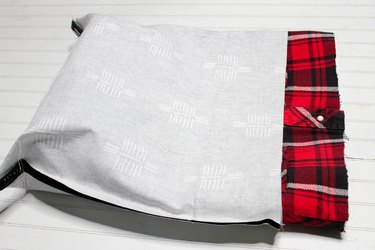
Step 6
Turn the outside of the bag right side out. Slide this piece into the lining so the right sides are together and the top edges are aligned.

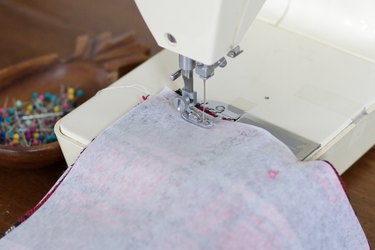
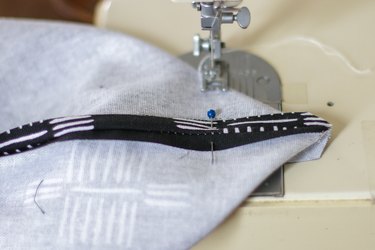
Step 7
Pin and sew the top edge. Make sure to open up the seams as you sew to reduce bulk.
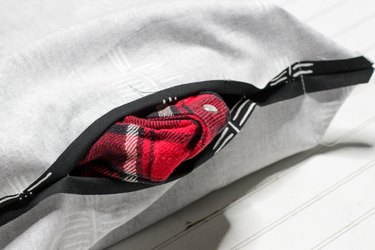
Step 8
Turn the bag right side out by pulling all the fabric through the bottom opening. Pin and sew the bottom opening.
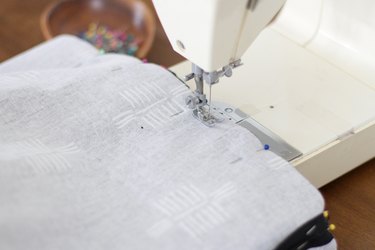
Step 9
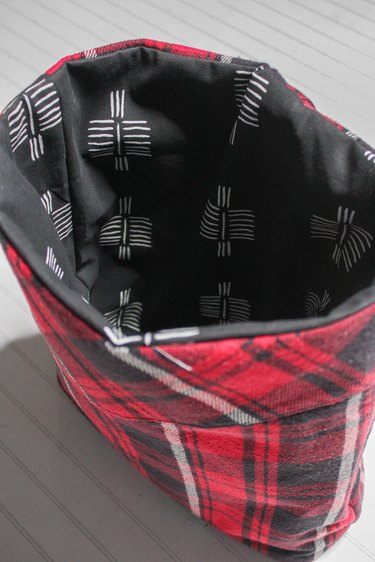
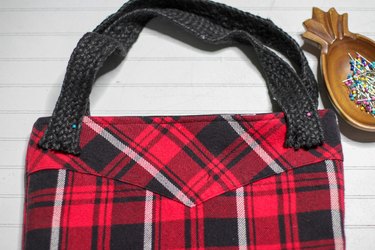
Tuck the lining back inside the bag. Press, pin and topstitch around the top edge.
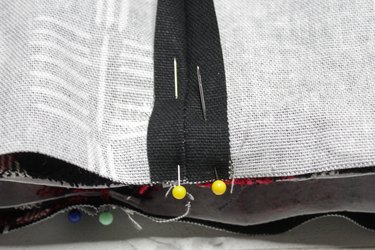
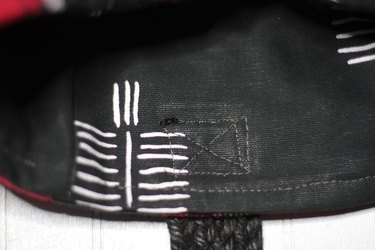
Step 10
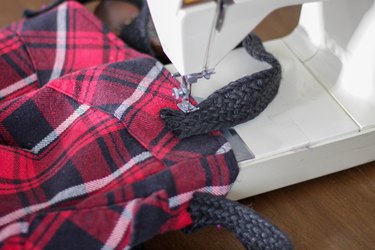
Pin and sew the handles in place. You can decide if you'd like the handles to show on the outside or be on the inside of the bag. Wherever you choose to place them, sew a square with an X in the middle to make sure they have a strong hold.
Load 'er up, and off you go!