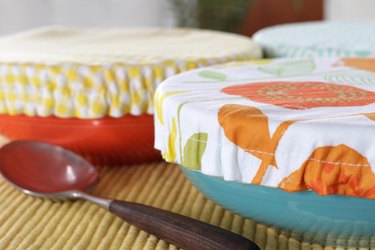
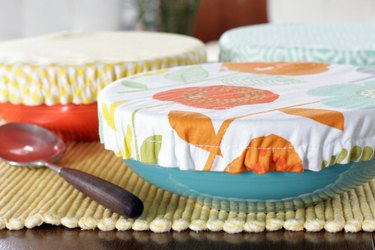
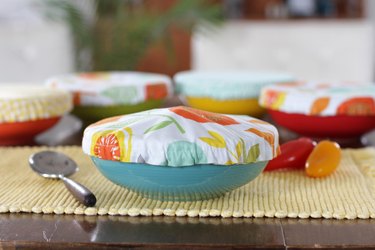
Summer is the perfect time to head to the lake, the park or the mountains and share a meal with people you love. The last thing you want though, is a swarm of bugs getting to your salads before you do. You can bring some environmentally friendly style to your picnic by ditching the plastic wrap and creating some reusable fabric bowl covers instead. Make them for any size bowl to coordinate with your picnic ware. Just find some fun fabric, a little elastic and you're on your way to creating these cute washable fabric bowl covers.
Video of the Day
Things You'll Need
Cardboard for a pattern
1/2-yard of coordinating fabrics
Washable ink pen
Sharp scissors
Pins
1/4-inch elastic
Safety pin
Needle and thread

Step 1
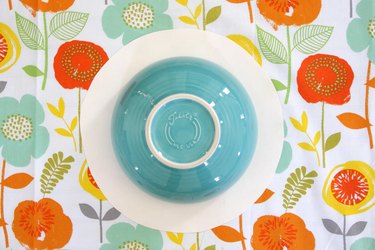
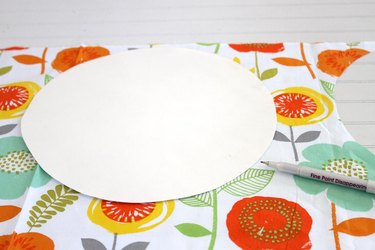
Make a pattern by turning your bowl upside down on cardboard, then measuring and mark ing1 1/2 inches away from the edge of the bowl. Cut out the circle.
Step 2
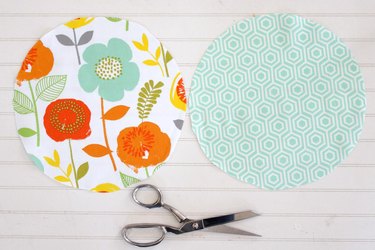
Lay your cardboard pattern on your fabric and trace around it with a washable marking pen. Cut along your marks with a pair of sharp fabric scissors. Repeat this with your coordinating fabric so you have 2 fabric circles.
Step 3
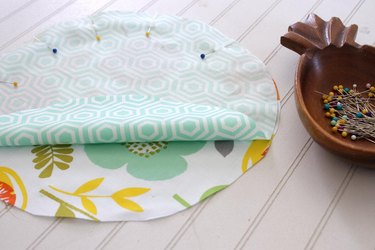
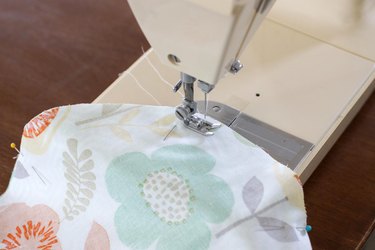
Place your fabric circles with right sides together. Pin and sew with a 1/2-inch seam allowance leaving a 1 1/2-inch opening.
Step 4
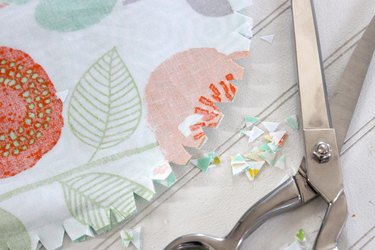
Cut notches out of the seam allowance to reduce bulk when you turn it right side out. Be very careful not to cut the stitching.
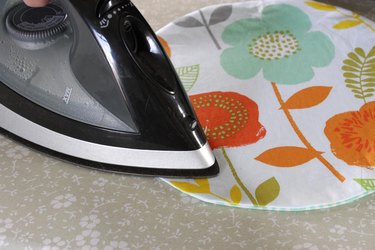
Step 5
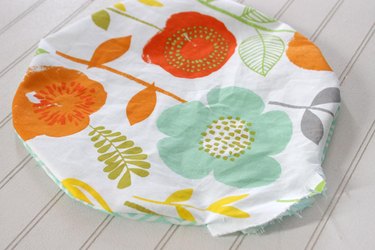
Turn the fabric circle right side out through the opening. Tuck in the opening and press around the entire the seam with an iron.

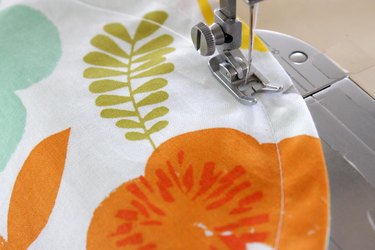
Step 6
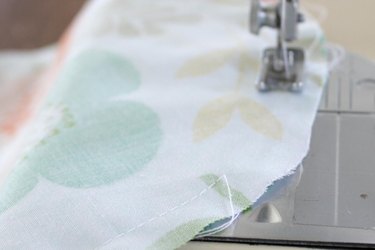
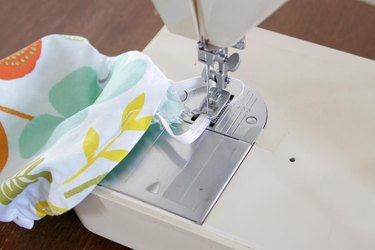
Stitch 1/2 inch away from the pressed edge to create a casing for your elastic.
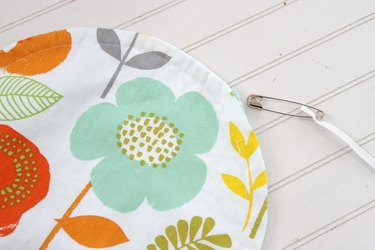
Step 7
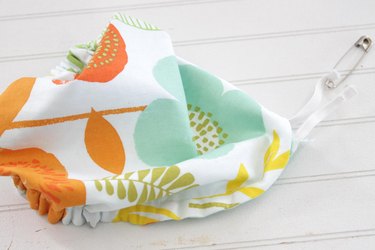
Measure around the top of your bowl and subtract 2 inches. Cut a piece of 1/4-inch elastic to that length. Attach a safety pin to an end of your elastic, thread it through the opening and pull it through the entire casing until it comes out the other side.
Step 8
Attach the two ends of elastic by sewing them together with a zig zag stitch.
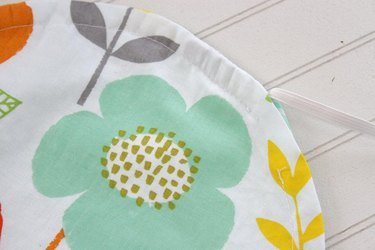
Step 9
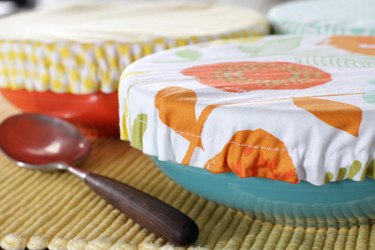
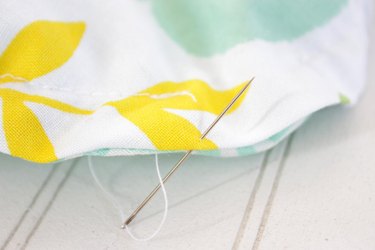
Adjust the elastic so it is even inside the casing and hand sew the opening closed with a needle and thread.
It's totally OK to have a little swagger in your step when you show up at your next picnic with yard Jenga and food covered with your new fabric bowl covers. Go ahead and brag a little to let everyone know you made them yourself!