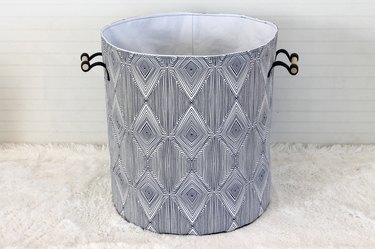
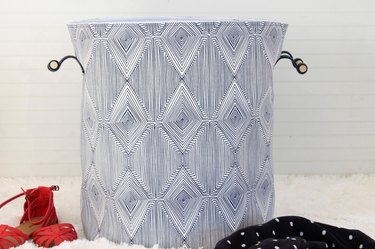
Hampers are usually an afterthought: they're the overshadowed halfway point between a closet full of cute clothes and an effort to get laundry done. But why not give the humble hamper a few style points and create one inspired by Anthropologie? Using a trendy fabric for the outer shell and a couple of wooden dowels for handles, you can sew one together that will be chic and functional. After all, there's no reason your hamper can't be both.
Video of the Day
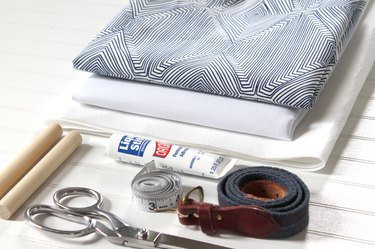
Things You'll Need
28 inches of webbing (or an old belt)
Measuring tape
Sharp scissors
Fabric glue
Two 5 inch wooden dowels
Tailor's chalk
1 yard of heavy coordinating fabric for the base
3/4 yard of 56 1/2-inch-wide heavy outer fabric
3/4 yard of 56 1/2-inch-wide heavy lining fabric
2 1/2 yards of 21-inch-wide heavy interfacing
Straight pins
100/16 sewing machine needle
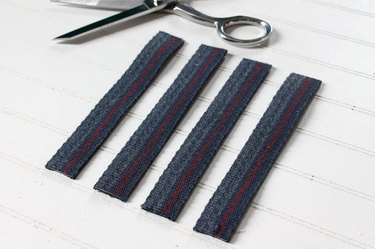
Step 1: Cut Four Straps
Cut the webbing into four pieces that are 7 inches long. If you're into repurposing, you can reuse a thrift store belt.
Video of the Day
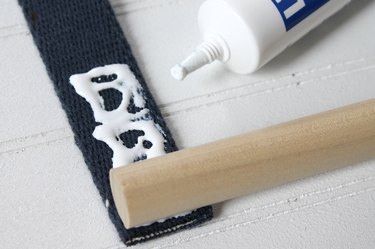
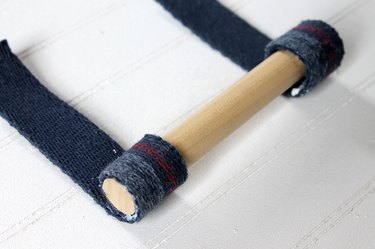
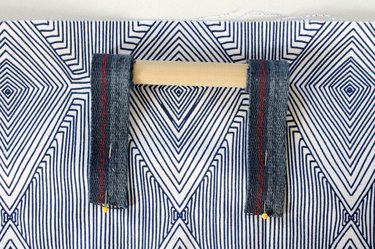
Step 2: Create Handles
Apply fabric glue to bottom part of the webbing. Place the wooden dowel onto the glue and tightly roll the webbing around the dowel. Do the same thing to the other side, making sure the two sides are even. Then, repeat this process with the other handle. When you're finished, place something heavy on top of the handles to secure them in place and let them dry overnight.
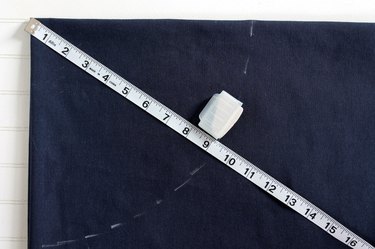
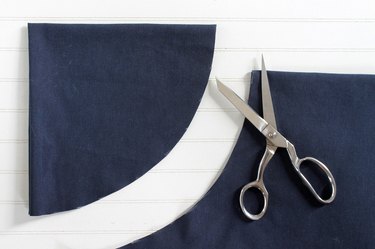
Step 3: Measure and Cut the Base
Cut the yard of base fabric in half. Then, to create the circle base, fold one piece of the base fabric into fourths. Starting from the corner of the folds, use your measuring tape and chalk to mark a 9 1/4-inch curved line from the corner. Cut along the curved line, and when you open the fabric, you'll have a circle. Repeat this step with the other piece of base fabric so you have two circles. Then, use one of the circles as a pattern to cut out one circle from the heavy interfacing.
Step 4: Measure and Cut the Side Fabric
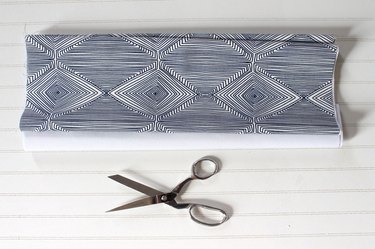
Cut the outer fabric, lining fabric and heavy interfacing into 21 inch x 56 1/2-inch pieces.
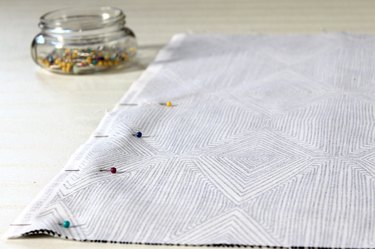
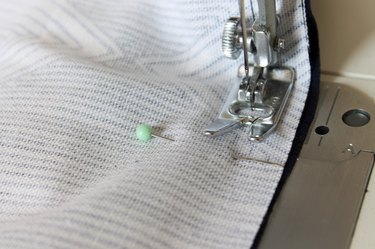
Step 5: Pin, Sew and Press Side Seam
Fold the outer fabric in half, widthwise, with the right-sides together. Pin along the raw edges, and then sew a 1/2-inch seam to form a tube of fabric. Be sure to remove the pins as you sew. Press the seam open with an iron.
Step 6: Pin and Sew the Base to the Bottom
With right-sides together, pin and sew the base to the bottom of the outer fabric tube.

Step 7: Create the Lining
Place the heavy interfacing on the wrong side of the lining fabric and repeat steps 5 and 6 to create the lining. When sewing the base to the lining tube, as in step 6, leave an 8-inch opening.

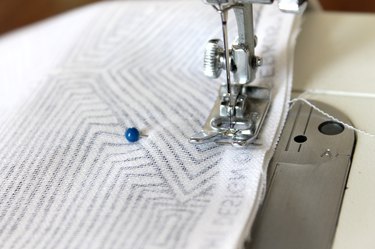
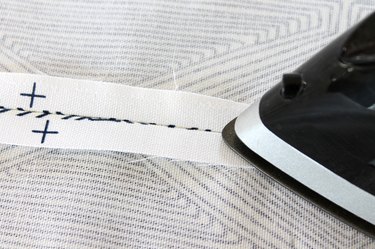
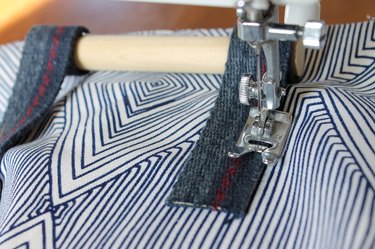
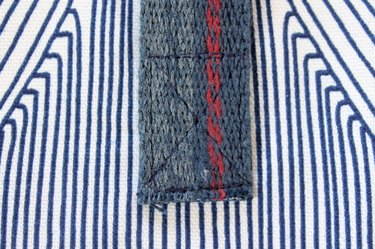
Step 8: Attach Handles to the Side
Place the handles on opposite sides of the outer fabric tube, and 1-inch down from the top edge. Pin and sew the bottom 2 inches of each handle in place. Sew a rectangle, and then to reinforce the handle, sew an "X" inside each square. Be careful to only sew through one side of the fabric.
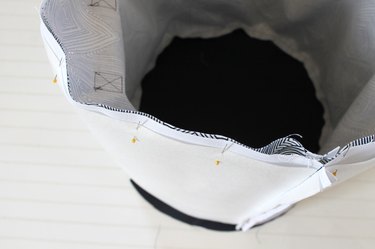
Step 9: Place Lining Inside the Outer Shell
The right-sides of the fabric should be facing, with the outer fabric tube right-side out and the lining tube inside-out. Place the outer tube inside the lining tube. Pin and sew a 1/2-inch seam around the top edge. Be sure to have the handles down so that they are out of the way.
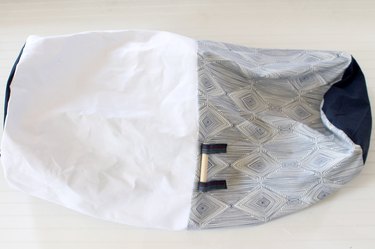
Step 10: Pull Everything Through the Opening
Pull everything through the opening in the bottom to turn it right-side out.

Step 11: Pin and Sew the Opening
Tuck the raw edges inside the bottom opening, then pin and sew to close.

Step 12: Place Lining Inside Outer Shell
Tuck the lining inside the outer shell.
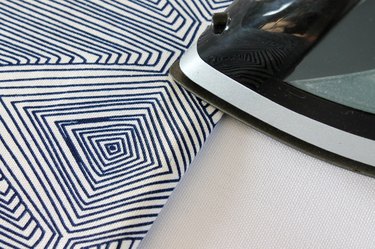
Step 13: Press the Hamper
Press the entire hamper flat, especially around the top edge.
Step 14: Topstitch Around the Top of the Hamper
Topstitch all around the top edge of the hamper to create a nice, crisp edge.
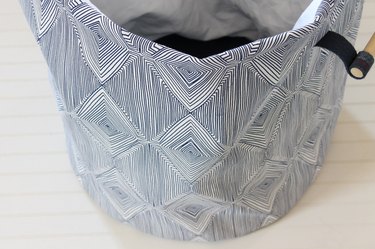
Step 15: Place Inside Your Closet
Now you have a hamper that is as chic as your wardrobe!