eHow may earn compensation through affiliate links in this tutorial.
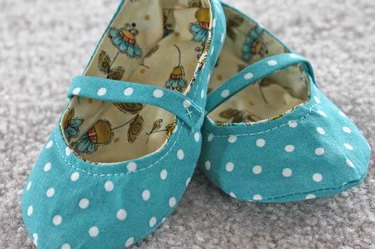
Baby shoes can be a wonderful present to make for the next new baby in your life. Who knows — they might even become a family heirloom.
Video of the Day
Things You'll Need
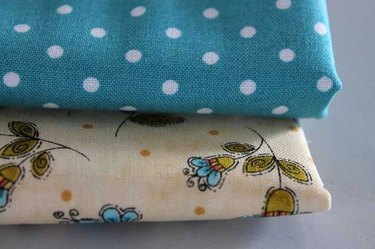
Prewash and dry your fabric. This is important. You do not want the shoes to shrink in the wash later.
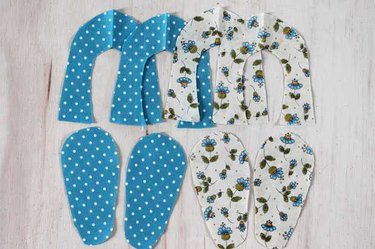
Download a baby shoe pattern or draw your own. To make your own pattern, trace around the foot of the baby (or a baby shoe) on a piece of blank paper and add a 1/4 inch for a seam. This will be the bottom sole. Then draw a top pattern piece like the shape pictured that is the same length as the sole and roughly follows the same curve. Cut out the pattern with paper scissors. Fold the fabric in half and pin the patterns to it. Place the top pattern piece on the fold.
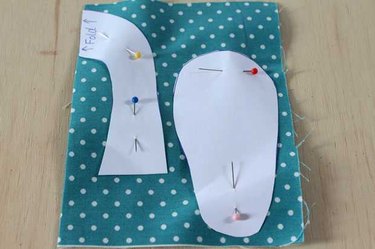
Cut out four bottom pieces and four top pieces — two from the lining fabric and two from the outer shoe fabric.
Fold the top pieces in half with the right sides together.
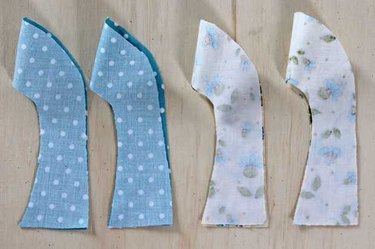
Pin and sew the back raw edges together with a 1/4-inch seam. Leave a 1-inch opening in each of the lining pieces.

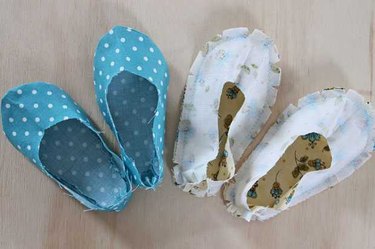
Line up the top pieces with the edges of the bottom pieces with the right sides together. Pin the top pieces to the bottom pieces where they overlap around the soles.
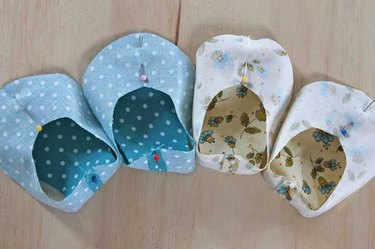
Sew the tops to the bottoms of the shoes with a 1/4-inch seam. Remove the pins as you sew.
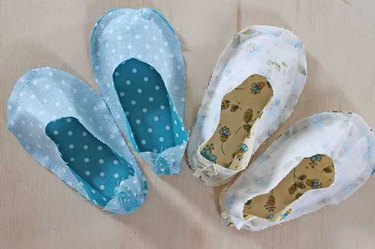
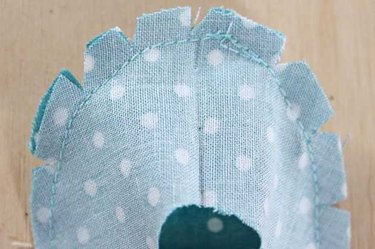
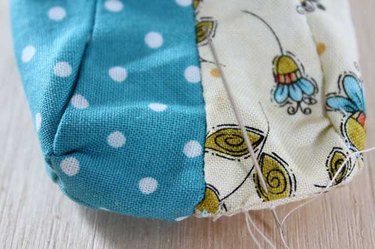
Notch around the curves of the seam allowance on all pieces with a sharp pair of scissors. Be careful not to clip into the stitching. This will help the shoes lie flat when you turn them right-side out.
Turn the outsides of the shoes right-side out and press the seams with a hot iron.
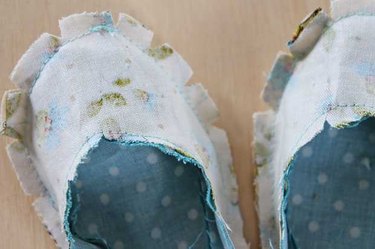
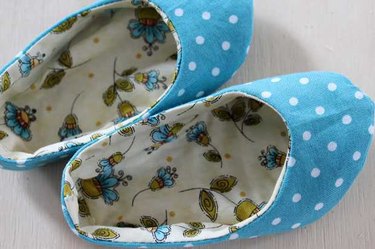
Place the outsides of the shoes inside the linings so that the right sides are together.
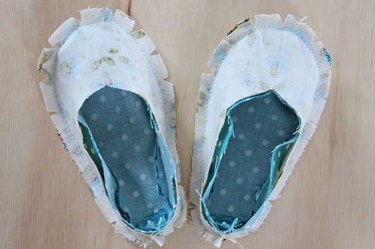
Pin the top raw edges of the shoes together and sew with a 1/4-inch seam. Remove the pins as you sew.
To turn the shoes right-side out, pull them through the openings in the back of the lining.
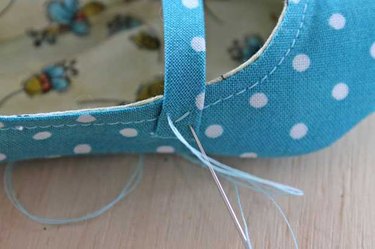
After the shoes are turned right-side out, use a whipstitch to hand sew the openings closed.
Tuck the linings inside the shoes and press around all of the edges with an iron.
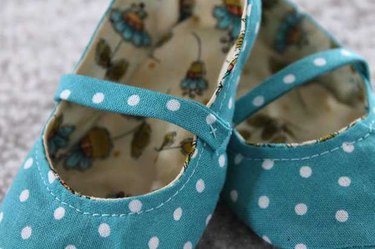
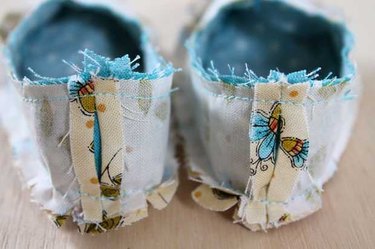
Topstitch around the top edge of the shoes. Then, add a piece of 1/4-inch bias tape for a strap by using a needle and thread to hand sew it to the shoe. The Wrights Double Fold Bias Tape in the mediterranean color would work wonderfully for a cute baby shoe strap. To take this project one step further, you could create your own coordinating bias tape from any fabric you'd like, with this tutorial. Bias tape is cut on the bias making it pliable and stretchy. If you're interested in making your own bias tape, Clover Bias Tape Maker to help you make yards and yards of your own bias tape. The measurement listed on the package is for single fold bias tape so to make 1/4-inch double fold bias tape, you'll need a 1/2-inch bias tape maker. A friendly word of warning though, once you start making your own bias tape, you might not be able to stop.
It's got to be true what they say — there's really nothing quite so sweet as tiny little baby feet. But these tiny little baby shoes have to be right up there on the "sweet-o-meter."