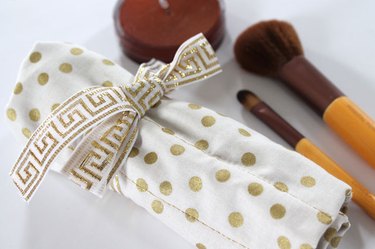
You can travel in style, and keep your brushes in tip-top shape, with this DIY makeup organizer. If you've been following the Learn to Sew series, this is a beautiful way to practice some of your newfound skills. Create one for yourself, or impress a friend by making one as a gift.
Things You'll Need
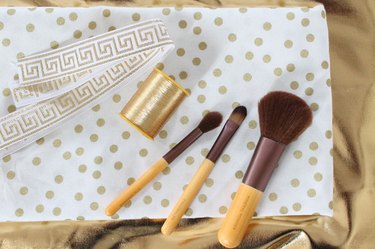
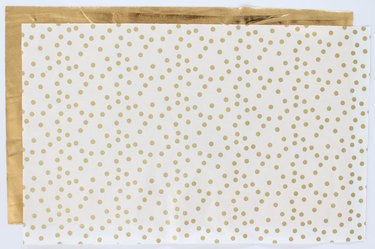
Two pieces of 12-inch by 18-inch fabric
Sharp scissors
Pins
Measuring tape
24-inch piece of ribbon
Iron and ironing board
Step 1: Measure the Two Pieces of Fabric
Measure and cut two pieces of 12-inch by 18-inch fabric. One piece will become the inside of your brush organizer and the other piece will become the outside.
Video of the Day
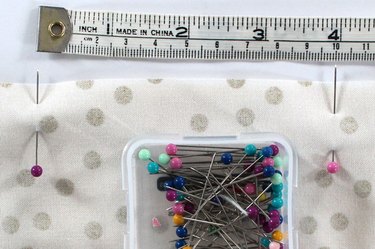
Step 2: Pin the Fabric Together
Place the fabric with the right sides together. Pin around one of the short sides, and continue with the two long sides.

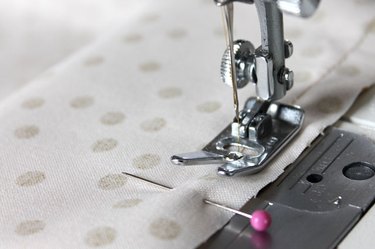
Step 3: Leave an Opening on the Other Short Side
On the other short side, leave a four-inch opening between the pins at the center of the fabric.
Step 4: Start Sewing Around Three Sides of the Fabric
Start sewing on the short side, next to the four-inch opening, with a half-inch seam. Be sure to back-stitch to hold the stitching in place when turning the fabric right-side out. Continue sewing around all of the edges, turning at each corner, until you get to the other side of the four-inch opening. Back-stitch at the end of your seam to hold your stitching in place.
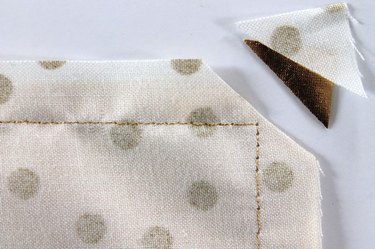
Step 5: Cut Corners at a 45-Degree Angle
Clip all four corners at a 45-degree angle. It should be close to the stitching, but be careful not to cut the stitches. This step will reduce bulk and help the corners lie flat when you turn the fabric right-side out.
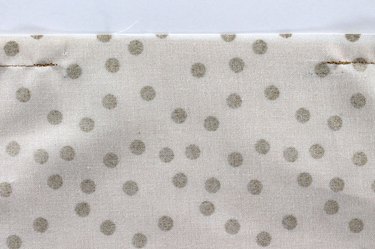
Step 6: Turn the Fabric Right-Side Out
Turn the bag right-side out by reaching your hand inside and pulling the fabric through the four-inch opening.
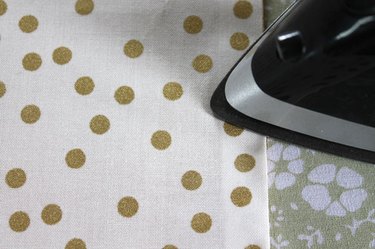
Step 7: Press the Seams and Pin the Opening
Use an iron to press the seams flat. Then, pin the opening closed.
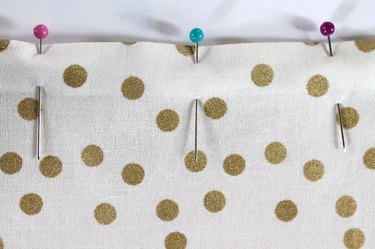
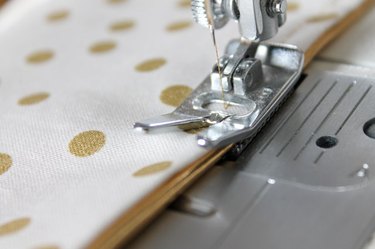
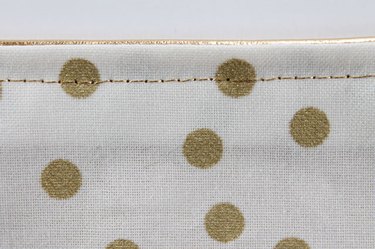
Step 8: Topstitch Over the Opening
Measure a quarter-inch from the edge and topstitch over the opening. Then continue to topstitch around the entire rectangle. Be sure to remove the pins as you sew.
Step 9: Create a Pocket
Fold the bottom five inches of the rectangle up to create a pocket along the bottom short edge. Pin in place along the sides.
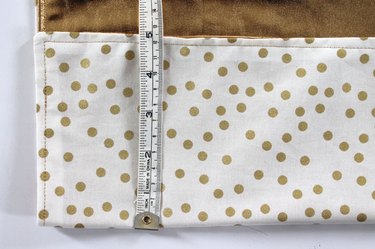
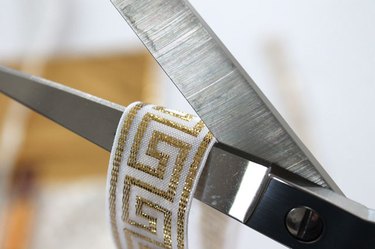
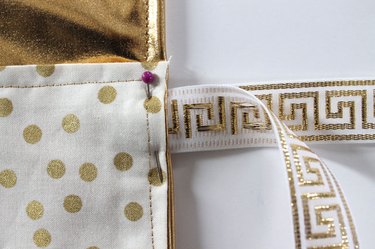
Step 10: Cut Ribbon and Add the Pieces to the Pocket
Cut two 12-inch pieces of ribbon, and place both pieces with their right sides together. Tuck them into the right seam of the pocket, measuring a half-inch from the top of the pocket. Use a pin to secure the ribbon in place.
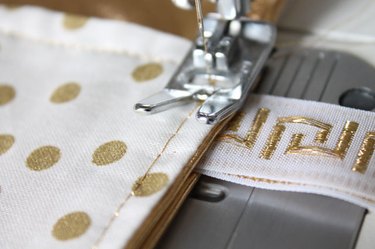
Step 11: Sew the Edges of the Pocket
Start sewing at the top edges of the pocket, directly above the topstitching. Back-stitch and continue to sew around the three edges of the pocket until you get to the other side. Be sure to remove the pins as you sew.
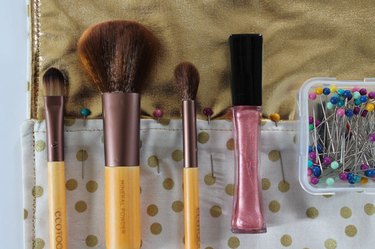
Step 12: Use Your Makeup Supplies as a Guide
Place your makeup brushes and makeup along the pocket to determine the placement of the compartments. Pin to mark the stitching lines.
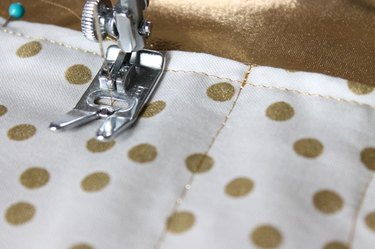
Step 13: Sew the Individual Compartments
Use the pins as a guide to sew the separate compartments, from the top of the pocket to the bottom. Be sure to back-stitch at the beginning and the end of each seam to hold your stitching in place.
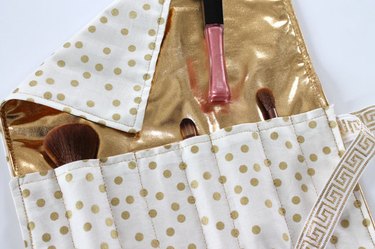
Step 14: Refill the Compartments with Your Supplies
Place your makeup and brushes into each compartment, and fold the top flap over.
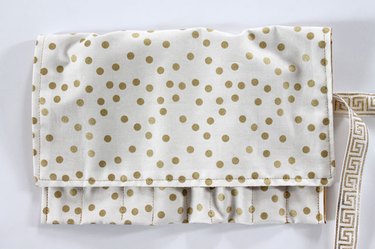
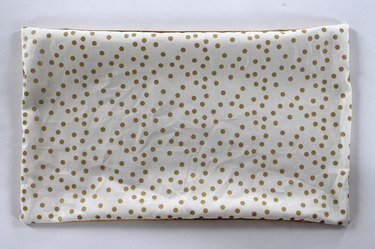
Step 15: Roll and Go
Roll up the fabric and secure it with the ribbon by tying a bow. Throw it into your suitcase and know your makeup and brushes will stay safe and come out looking clean when you reach your destination.

Don't miss the rest of the "Learn to Sew" series:
Video of the Day