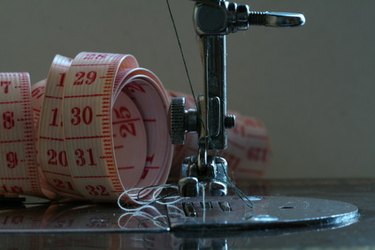
Tajima embroidery machines are similar to many other embroidery machines when it comes to maintenance and repair. Sometimes, what may seem like a major problem can be remedied with a little maintenance and creativity. Remember that too much of a good thing can be a culprit as well. Check with the user's manual before calling a repair person. Most problems are with parts that handle thread. If the problem is caused by the computer components or smoke is coming from the machine, consult a qualified repair technician immediately.
Oil
Video of the Day
Oil is essential to a properly functioning Tajima embroidery machine. The main reservoir and rotary hook need to be oiled on a regular basis. During use, the rotary hook should be oiled every four hours. Do not oil when not in use as too much oil can also cause the machine to function improperly. Use only one drop of oil on the rotary hook. Remove the bobbin case before oiling the hook as an oily bobbin will not function as it is intended. Oil the main reservoir every eight hours during use with 2 to 3 drops of oil.
Video of the Day
Looping
A thread looping problems can be caused by several things. Change the needle first. If this does not solve the problem, check to make sure you are using the correct needle plate. The tension between the upper and lower threads must be accurate. To see if this is the problem, tighten the upper tension a small amount at a time. Another culprit may be the settings of angle areas A and B. Angle settings should be set according to the type of thread you are using. Consult your owner's manual for the proper settings.
Thread Pull Out
Thread pull out is a common tension problem and often results in looping as mentioned in the first section. Tension that is set too high can cause the fabric to pucker. Check to make sure the picker arm does not come in contact with screw supporting the bracket on the left side. If contact is being made, loosen the two screws on the left side of the picker arm just enough so the picker arm misses the screw in the bobbin area. When the picker arm is in place and no contact is made, retighten the two screws on the picker arm. Another possibility that could be causing thread pull out is the auto backtack setting is not correct. Check the manual for the correct setting.
Thread Breaks
First, check the needle for proper insertion. The eye of the needle can face straight forward or slightly right but never left. The groove in the needle that runs from the eye up to the wide part must face the front of the machine. Improper tension can also cause your thread to break.