Things You'll Need
Hat with no brim
Nylon scarf
Needle and clear thread
Artificial fruit
Artificial grapevine
Scissors
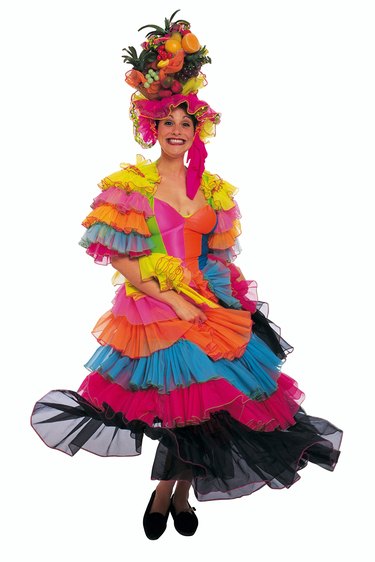
Carmen Miranda was a popular singer and actress during the 1930s and throughout the 1940s. Because she lived in Brazil since infancy, she first began her career there before moving to New York and quickly becoming an important figure in American film. American women saw her as a fashion icon, and imitated her styles in their own wardrobes. One of Miranda's most remarkable fashion accessories was her fruit hat, which eventually became synonymous with the actress herself. Although these fruit hats can sometimes be found for sale in costume shops, you can make your own, custom-designed version at home for a fraction of the price.
Step 1
Wrap the nylon scarf around the hat, making sure it covers the hat completely. Thread your needle with the clear thread and attach the scarf to the hat by making several small stitches into the hat and through the scarf. Because the fruit will also be stitched through the scarf and hat, you do not need to focus too deeply on attaching the scarf at this time. For now, it only needs to be attached to the hat at a few points.
Video of the Day
Step 2
Place the largest piece of artificial fruit onto the desired location of your hat. Typically, bananas are the largest fruit items to be worn on a fruit hat.
Step 3
Insert a needle into the underside of the large piece of fruit in order to create a guide hole for your sewing. Insert the needle into the underside of the fruit once more, to create a second guide hole at a point about one inch from the original hole.
Step 4
Insert the needle through the underside of the hat in the approximate location where the fruit will be attached. Pull the needle through and insert the needle into one of the guide holes created in the fruit. Exit the needle through the second guide hole and pull the thread through the fruit. Insert the needle into the hat and pull the thread taut, until the fruit feels firmly attached to the hat. Repeat this step several more times until the fruit feels very firmly attached.
Step 5
Repeat steps 2 through 4 to attach the second largest piece of fruit. After this piece is attached, continue sewing additional pieces of fruit to the hat until all have been attached.
Step 6
Weave the artificial grapevine through the pieces of fruit sewn to the hat. The grapevine should be used to fill in any bare areas not covered with fruit.
Step 7
Sew the grapevine to the hat by inserting the needle through the underside of the hat and out the other side. Wrap the thread around the grapevine and insert the needle back into the hat. Repeat this step to attach the remaining areas of the grapevine to the hat until the grapevine feels firmly attached.
Video of the Day