Things You'll Need
Uncooked egg
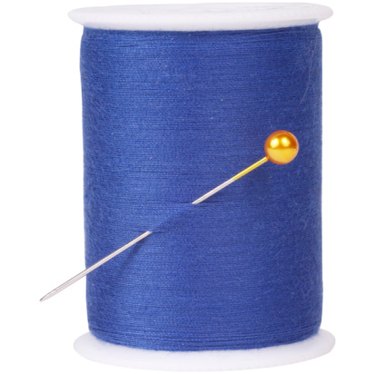
Sewing needle
Cool water
Bowl
Paper towels
Clear nail polish
Egg shell carving has become a popular holiday activity, boasting numerous techniques and tools used to create intricate designs and patterns – from etching a scene with a household scalpel to employing high-end carbide and diamond cutting tools for a more detailed look. One of the most challenging aspects of egg shell carving is the constant threat of the shell breaking during the carving and design process. Before you start making your own masterpiece, it helps to make sure your egg shell is extra-fortified to keep cracking to a minimum.
Empty, Clean and Dry the Egg Shell
Step 1
Poke a hole at the top and bottom of the egg with a sewing needle. One hole should be slightly bigger than the other.
Video of the Day
Step 2
Hold the egg over a bowl and place your lips on the smaller hole.
Step 3
Blow softly. The air causes the egg yolk and white to come out of the other end and into the bowl.
Step 4
Place your finger over the smaller hole and fill the egg shell with cool water through the larger hole.
Step 5
Shake the water-filled egg softly. This helps to remove any additional yolk on the inside of the egg shell.
Step 6
Hold the egg shell over a bowl and drain the water out.
Step 7
Repeat the washing process two more times.
Step 8
Place the clean egg shell on a paper towel and allow it to dry for 1 to 2 hours.
Harden the Shell
Step 1
Paint half of the clean egg shell with a clear nail polish.
Step 2
Place the shell on the paper towel with the polished side up and allow it to dry for 20 minutes.
Step 3
Paint the other half of the egg shell with the clear nail polish. Place it on the paper towel and allow it to dry for 20 minutes. The egg shell is now hardened and ready for carving.
Video of the Day