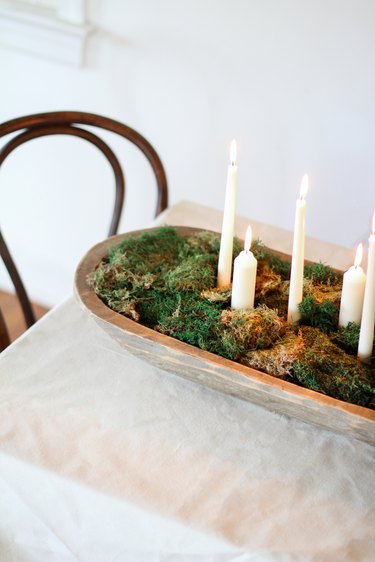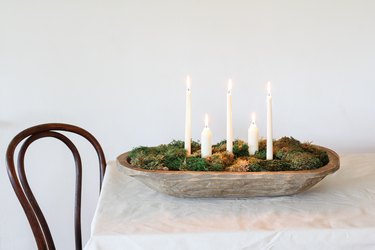
Bring the lush green hues of spring to your table with a gorgeous moss centerpiece that looks as if it were the product of a foraging adventure in the forest. The earthy greens lend whimsical woodland vibes to your spring (and summer, and fall, and winter) gatherings, while candlelight instantly gives all the warm and cozy feels. Because the moss is preserved, it'll last much longer than flowers — and it's a cinch to make. These centerpieces are perfect for a rustic wedding or for the center of your dining room table any time of year.
Video of the Day
How to Make a DIY Moss Bowl Centerpiece
Things You'll Need

1. Choose a bowl
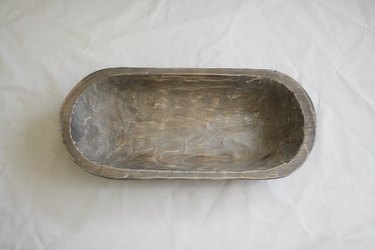
Start with a large shallow bowl. I used a rustic wooden dough bowl because I love how the earthy tones of the wood pair with the verdant moss. However, you could use any bowl shape, serving tray, wood crate, or even a casserole dish. Choose a bowl or dish with a flat bottom; if anyone or anything bumps into the centerpiece while the candles are lit, you don't want the bowl to roll at all. Make sure the sides of the container are at least as tall as the foam block you're using.
2. Add floral foam
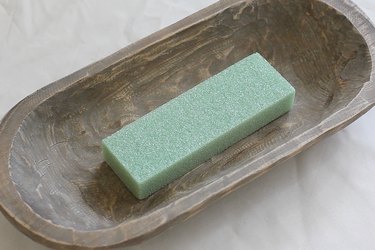
Place a brick of dry floral foam in the center of the bowl. Dry floral foam (versus wet floral foam) is designed especially to hold items upright in floral arrangements, and it comes in many shapes; blocks, bricks, spheres, etc. For longer bowls like the one I used, a brick worked best. You may need to use multiple blocks for a large centerpiece.
If necessary, use a floral foam knife to trim the bricks and make them fit into your container.
3. Place candles in foam
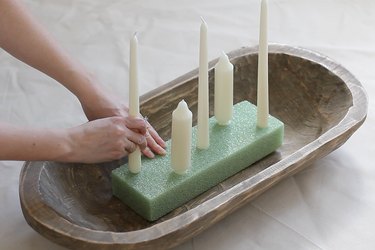
Twist the candles firmly into the foam until they stand upright. Make sure they are secure and twisted deeply into the foam, as you don't want them accidentally falling over if someone were to bump the table. Use a combination of taper candles and votive candles of varying colors, heights, and thicknesses for visual interest. Stagger the rows to add dimension from all sides of the centerpiece. Plan out where you want to put the candles before pushing them into the foam since you can't fill in a hole once created.
Tip
Depending on the size of the candles you use, the depth of the foam block and the shape of the bowl, your candles may not seem very stable once they're pushed into the foam. For obvious reasons, you don't want to light candles if there's any chance they'll fall over. If they seem unstable, push candles all the way through the foam and use craft glue dots to adhere the candles to the container.
4. Add Spanish moss
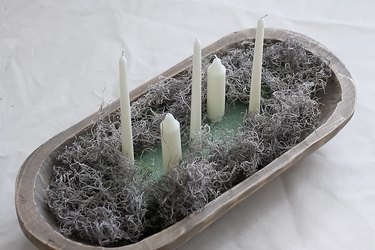
Fill the bowl with Spanish moss. This will add a lot of volume, and it's also much cheaper than filling the entire bowl with forest moss. You may still be able to see the foam through the Spanish moss, which is okay — you can cover it up in the next step.
5. Add more moss
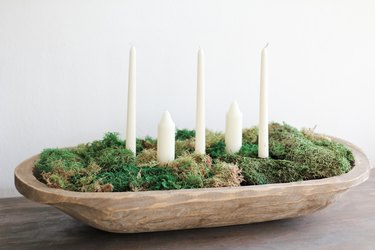
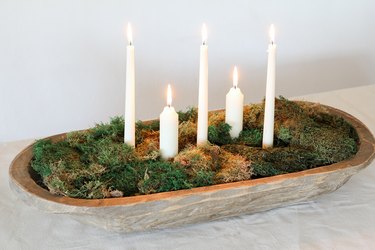
Place forest moss on top of the Spanish moss until it's completely covered. Make sure to strategically place the forest moss between the candles so that it also conceals the floral foam. Use all green moss, or create an eye-catching centerpiece using colored moss in a shade like fuchsia.
Now light the candles and enjoy the glowing green vibes!
Warning
Never leave this centerpiece unattended when the candles are lit. If you have kids or pets in the house and are concerned about candle safety, you can use realistic flameless candles for this centerpiece.