Things You'll Need
Thread
Bobbin
Scissors

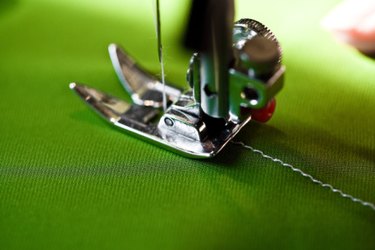
The Solid State Sewing Machine is a popular model machine no longer manufactured by the Singer corporation. Sewing on the Solid State requires a bit of preparation to thread the machine and the bobbin properly. This type of machine has a top-loading bobbin that's simple to feed. Following a few simple steps, it's easy to work a Singer Solid State Sewing Machine to sew clothing and other projects.
Wind the Bobbin
Step 1
Insert a spool of thread onto the pin at the back of the machine and slide the pin holder snugly against the spool. Leave at least 6 inches of thread to work with.
Video of the Day
Step 2
Pull the thread to the left behind the thread guide at the top of the machine, then through the notch and back toward the right.
Step 3
Slide the thread into a small hole on the bobbin, leaving several inches of loose thread. Snap the bobbin onto the bobbin winder on the top left side of the machine, and move the winder to the right to snap it into place.
Step 4
Hold the thread end firmly and gently step on the pedal. The thread will wind around the bobbin and will automatically stop as soon as the bobbin is full. Cut the thread with scissors and leave several inches of loose thread at the end.
Load the Bobbin
Video of the Day
Step 1
Open the sliding plate covering the bobbin case and lift the lever to raise the presser foot.
Step 2
Turn the wheel on the right side of the machine toward you until the needle is raised to its highest position.
Step 3
Snap the bobbin into the case and pull the loose end of the thread toward you.
Step 4
Hold the bobbin with your finger, and slide the thread to the left. There are two notches. Slide the thread toward you into the right-hand notch, then to the left and into the left-hand notch. Pull the thread diagonally to the right and toward the back of the machine.
Step 5
Close the bobbin cover, leaving several inches of bobbin thread out toward the back of the machine.
Thread the Machine
Step 1
Turn the wheel on the side of the machine toward you until the needle is raised to the highest position, and pull the lever to lift the presser foot.
Step 2
Insert spool of thread onto the pin on the back of the machine, and slide the spool holder snugly against the spool. Leave about 12 inches of thread to work with.
Step 3
Pull the thread to the left and into the thread guide at the back of the machine, then pull the thread down toward you and wind around the vertical slot in the front of the machine from right to left.
Step 4
Pull the thread up and into the slot at the take up lever near the top of the machine, and pull the thread down once again. Slide the thread behind the metal loop to the right of the needle, and thread the eye of the needle from front to back. Leave a tail of at least five to six inches.
Step 5
Hold both the needle and bobbin thread in your left hand. Turn the wheel on the right side of the machine toward you, lowering the needle into the slot, and keep turning it until the needle is back in it's uppermost position. The needle will have caught the bobbin thread. Push the scissors underneath the presser foot from right to left with the scissors closed to push away the looped bobbin thread.
Tip
Be sure to wind the bobbin before threading the machine.