Things You'll Need
2 skeins, green 4-ply yarn
White eyelash yarn
31 peg knitting loom
Knitting loom hook
Scissors
Blunt end, large eyed needle

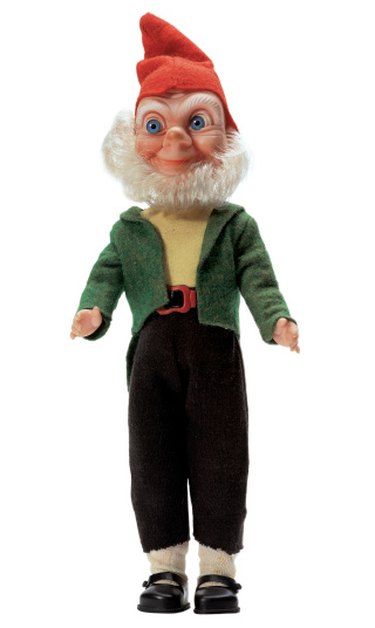
An elf stocking cap is worn by many infants, children and adults during the winter months, especially around the holidays. An elf hat is hand knitted, crocheted and made on a round knitting loom. The fastest method to make a knitted elf hat is using a round knitting loom. The difference in making an elf hat compared to a regular stocking cap on a knitting loom is the ring is not connected when beginning the project. The elf hat is sewn together along the tapered edge after all stitches are complete.
Loom Knitting the Main Body of the Hat
Step 1
Match the ends of the eyelash and green yarn. Measure a 60-inch piece of yarn. Make a slip knot at the 60-inch mark. Wrap the yarn around your finger twice. Pull the back loop over the front loop. A slip knot is made.
Video of the Day
Step 2
Position the knitting loom so the horizontal peg is pointing at you. Place the slip knot over the top of the first peg to the left of the horizontal peg.
Step 3
Hold the yarn across the palm of your left hand so the tail end is hanging past your little finger. Turn your hand over so your palm is down and hold the yarn with the fingers of your left hand. Position your thumb just above the pegs on the knitting loom. Wrap the yarn around the outside of your thumb to the inside of your thumb to form an X over the inside of your thumb.
Step 4
Insert the second peg to the left of the horizontal peg under the X. Place the yarn attached to the skein just to the front and just under the knob at the top of the peg. Lift the loop on your thumb over the yarn on the peg. This is called a cast-on stitch. Repeat the cast-on stitch on the remaining 29 pegs.
Step 5
E-wrap each peg counterclockwise. Begin on the peg with the last cast-on stitch which is the peg to the right of the horizontal peg. An E-wrap is done by wrapping the yarn from the back of the peg, to the front then to the back again to complete the stitch. Stop E-wrapping the pegs when you reach the peg to the left of the horizontal peg. Do not connect the pegs to the right and left of the horizontal peg.
Step 6
Pull the bottom loop over the top loop on each peg. E-wrap the pegs clockwise beginning with the peg to the left of the horizontal peg and stopping at the right peg. Pull the bottom loop over the E-wrap.
Step 7
Repeat Step 5 and Step 6 for a total of 10 rows. Cut the eyelash yarn approximately 6 inches from the last stitch. E-wrap the eyelash yarn around the pegs.
Step 8
Loop the bottom cast-on loop over the peg directly above it to create the elf hat brim. Work from the inside of the knitting loom. Find the first cast-on stitch. Loop the two threads over the peg to the left of the horizontal peg. Repeat the process with each cast-on stitch. Pull the bottom loop on the peg over the top loop.
Step 9
Tie a slip knot 3 inches from the end of a second piece of green yarn. A slip knot is made by crossing the yarn 3 inches from the end and creating a 1.5-inch to 2-inch loop. Insert your thumb and forefinger through the loop. Pinch the long yarn and pull it through the loop. Pull the 3-inch end tight. Pull the long yarn to adjust the loop.
Step 10
Place the green loop on the peg to the right of the horizontal peg. Match the new piece of green yarn to the piece already on the knitting loom. Use both pieces of yarn to E-wrap each peg. Repeat Step 3 and Step 4 for a total of 12 rows.
Decrease to Form the Point of the Hat
Step 1
Insert your hook into the loop on the peg to the right of the horizontal peg. Pull it off the top of the peg and place it on the next peg to the right. Pull the bottom loop over the top loop. This is a decrease stitch. E-wrap each peg to the right of the decrease stitch stopping at the peg to the left of the horizontal peg. Pull the bottom loop over the E-wrap. Repeat this step going around the knitting loom in a clockwise fashion.
Step 2
Repeat Step 1 of Section 2 until three pegs contain stitches. Turn the loom so the last of the three pegs with stitches is pointing directly at you. Insert your hook through the loop to the right of the center. Remove the loop from the peg and place it over the center peg with stitches. Pull the bottom loop over the top loop. Repeat the process with the peg to the left.
Step 3
Cut the long yarn approximately 18 inches from the peg. E-wrap the peg. Pull the bottom loop over the top loop. Remove the remaining loop from the peg. Pull the cut end of the yarn through the loop. Pull tightly to form a knot.
Step 4
Thread a large-eyed needle with the 18-inch tail of yarn. Match the edges of the hat together. Weave the yarn back and forth between the two sides to attach together to form an elf stocking cap. Tie a knot at the end of the sewing. Hide the yarn by weaving it through the sewn seam. Cut off the excess yarn.
Video of the Day