Things You'll Need
Scissors
Brown felt
Needle
Brown thread
Fiber fill
Brown hoodie
Tape measure
Black fabric or felt
White fabric or felt
Craft glue
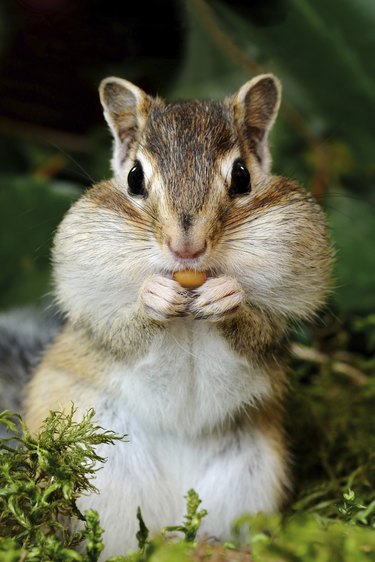
If you're looking for an animal costume but want to step away from the overdone cat or bat, go as a chipmunk. With their expressive eyes and chubby cheeks, chipmunks make an adorable costume for people of all ages – and you can make your own chipmunk costume no matter what your crafting abilities.
Step 1
Cut four leaf shapes with a square bottom from brown felt. These are the chipmunk ears and should measure between 4 and 6 inches.
Video of the Day
Step 2
Lay one ear directly on top of a second ear. Sew the two ears together with a running stitch, but leave the bottom open. Repeat the process with the remaining two ears.
Step 3
Turn the chipmunk ears inside out. Carefully stuff some fiber fill into the ears. Secure the bottom of the ears closed with a running stitch. Hand sew the ears to the top of a brown hoodie.
Step 4
Lay the brown hoodie out flat with the back facing upward. Measure from where the hood portion connects to the jacket portion and down to the bottom of the hoodie. This measurement will vary depending on the size of the jacket.
Step 5
Cut a piece of black fabric as long as the jacket, with a width of 6 to 10 inches. Cut two pieces of white fabric the same length as the black fabric. The two pieces of white fabric or felt should have a width of 2 to 4 inches each.
Step 6
Apply craft glue to the back of the black fabric. Press the fabric glue-side down against the middle back of the hoodie. This is the black stripe that runs down the back of the chipmunk.
Step 7
Apply craft glue to the back of one piece of white fabric. Press the white fabric glue-side down next to the black stripe. Repeat the process on the opposite side of the black stripe with the second piece of white fabric.
Step 8
Measure the entire width of the stripes you just glued to the back of the hoodie. Cut out a piece of black felt with this width, making 6 to 8 inches long.
Step 9
Measure the width of one of the white stripes attached to the back of the jacket. Cut two pieces from the excess white fabric or felt. These two pieces should have the same width as one of the white stripes you just measured and a length of 6- to 8-inches long.
Step 10
Apply craft glue to one of the white stripes. Position the white stripe so that the edge aligns with the edge of the black stripe you just cut. Press the white stripe glue-side down onto the black stripe. Do the same on the opposite side with the second white stripe. This is the tail for the costume.
Step 11
Position the tail at the bottom back of the hoodie so that the stripes line up with the stripes running down the back. Secure the tail in place with a running stitch.
Tip
For a more realistic effect, use fake fur for the stripes on the back of the hoodie.
Video of the Day