Things You'll Need
4 large refrigerator boxes
Box cutter
2 rolls of duct tape
24-inch dowel rods
Gray spray paint
Tan acrylic paint
Paint tray
Large bath sponge
Black acrylic paint
Flat-edge paint brush
White paint
Ruler
Spook it up for the neighborhood ghosts and ghouls this Halloween your very own cardboard tomb. A cardboard tomb replica can be personalized with the family name or decorated with cobwebs. Christmas lights can be added to the top and sides of the tomb to make it stand out on a dark night. The tomb is safe for outdoor use -- but keep it out of humidity and rain. This tomb can be completed, start to finish, in a day's time.
Assemble the Tomb
Step 1
Tape the cardboard end flaps closed on each box. Stand a refrigerator box vertically. Measure the sides of the box. Two sides should be shorter than the other two. Cut one of the shorter sides completely off of all four boxes. That will leave boxes with three vertical sides. Put the extra cardboard aside.
Video of the Day
Step 2
Stand two refrigerator boxes side by side so that they are touching and their cut sides are facing in the same direction. This is the back section of the tomb. Align the other two refrigerator boxes directly in front of those boxes to create the front section of the tomb. Make sure that the cut sides of the back section and front section face each other. You should have a big box with four walls. All cut sides are in the middle of the tomb.
Step 3
Duct tape the four boxes together. Use several pieces of tape at varying intervals to firmly secure the boxes.
Step 4
Choose one of the sides with the shorter width as the front of the tomb. Cut doors into it. Leave a ledge at the bottom and top of the box for stability, and leave 6 inches on the side of each door nearest the box edge. Fold the door flaps against the box until a crease forms. Add a row of tape along the edge of the crease on the outside and inside of the doors.
Step 5
Cut an arch from the extra cardboard that is the same width as the front of the tomb, and half that measurement tall. Tape the end of three 24-inch dowel rods to the back of the arch. Make sure to evenly space the rods: one on each side and one in the middle. Tape the archway to the top of the front of the tomb. Tape the other end of the dowel rods to the top of the boxes. Secure them firmly with duct tape.
Step 6
Paint the entire tomb and arch with gray spray paint. Allow it to dry.
Step 7
Pour tan paint into a paint tray, and dab the large side of a bath sponge into the paint. Press the paint firmly onto the tomb starting at the bottom. Work your way upward, leaving empty spaces between each brick.This will create the illusion of stone. Allow the paint to dry.
Step 8
Use black paint to make grout lines between each brick. Allow the paint to dry.
Step 9
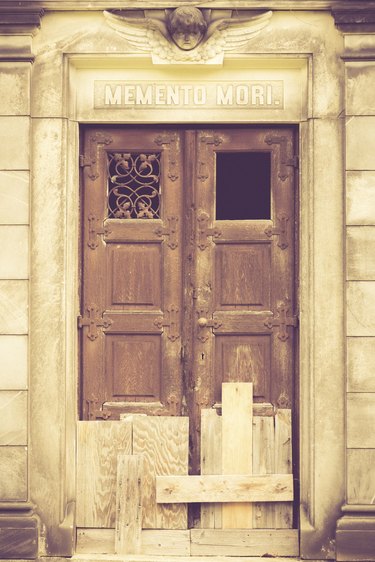
Paint a rectangular sign on the arch above the doors. Add a name to the sign.
Video of the Day