Things You'll Need
Clothes iron
Ironing board
Plastic shopping bags
Craft paper
Scissors

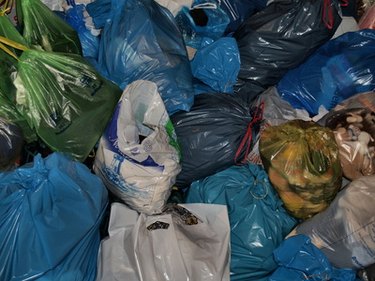
Low-density polyethylene (LDPE) is a plastic commonly found in squeeze bottles, bread wrappers, frozen food packaging, dry cleaning bags, shopping bags, tote bags, clothing bags, furniture, carpet and many other ordinary products. You can take your bags in for recycling, or throw them away, but you can also recycle them for your own craft projects. This is accomplished by melting the LDPE. Melting LDPE grade plastic is not difficult; a common clothes iron can accomplish the task easily.
Step 1
Calculate the number of bags necessary to create the desired thickness and area to complete your finished project. One bag folded into quarters provides 4 layers of thickness, which is adequate for many uses, but does not provide a large area to work with. Additional layers make a stiffer and tougher finished product, but will take longer to bond.
Video of the Day
Step 2
Heat the clothes iron to its medium setting.
Step 3
Flatten a bag along the established folds and cut off any handles with scissors to square it. Cut off the bottom seam to make a tube, and open any pleats. Turn the bag inside out and flatten into a two-layer rectangle. A typical plastic shopping bag from WalMart, for example, will make an 18-inch by 14-inch, two-layer rectangle. If you fold it in half so the open ends are at the top and bottom of your bag, you will have a 9-inch by 14-inch rectangle.
Step 4
Repeat step 3 with additional bags and combine or fold bag(s) together to attain the dimensions desired for your project source sheet and lay them on a sheet of craft paper. Place a second sheet of craft paper on top of the bags and place the stack on your ironing board.
Step 5
Iron each section of the bag layers for at least 10 to 15 seconds. Move the iron around so the bonded plastic spreads evenly over the entire product. Make sure the plastic stays between the pieces of craft paper and does not melt directly on the iron or ironing board. If the plastic/craft paper combination is larger than the ironing board, move it around so the entire product gets 10 to 15 seconds of ironing.
Step 6
Flip the craft paper sandwich and repeat the ironing process on the other side. This is especially important if you are melting more than four layers of plastic together.
Step 7
Allow the plastic to cool for five to ten seconds before pealing off the craft paper.
Step 8
Examine the plastic sheet for any spots where the layers did not bond completely. Repeat the ironing and cooling process to touch up these spots.
Step 9
Repeat steps three through seven until you have enough source material to create your project.
Warning
Keep the hot iron away from plastic. Iron only on the paper.
Exercise caution with the hot iron to avoid burning yourself.
This project should only be done by adults, or youth under close adult supervision.
Video of the Day