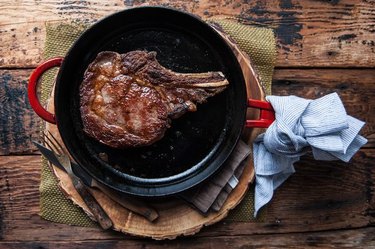
Cooking with cast-iron pans is often considered the gold standard, because of their ability to distribute heat evenly for a consistent dish every time -- like this perfect steak or this pizza recipe! For those who come across a piece of cast-iron cookware or have a family heirloom that seems past its prime, it is possible to restore them to their original condition, ready for regular use in your kitchen.
Video: How to Clean and Restore a Cast Iron Skillet
Video of the Day
Things You'll Need
Oven with cleaning setting
Aluminum foil
Heat-safe gloves
Bucket or bin large enough to hold pans
Water
Distilled white vinegar
1 Tbsp. liquid dishwashing soap
Scrubbing sponge and fine steel wool (optional)
Paper towels or cloth rag
Peanut oil
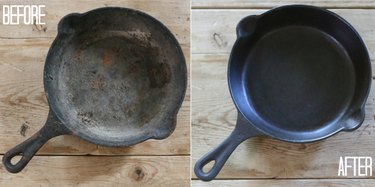
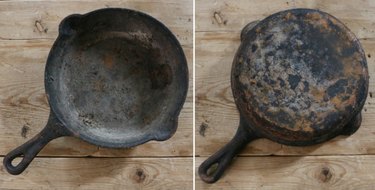
These classic pans really do stand the test of time. Look for the dirtier, more affordable options at flea markets, an old attic or one saved from a family member that came with some less than desirable remnants from past cooking adventures.
1. Prep the oven
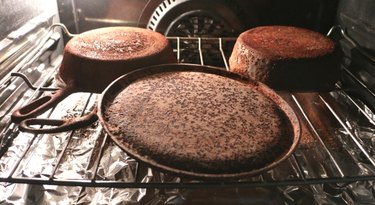
Spread a layer of foil over the bottom rack of your oven. Lay the pan upside down on the top rack. The foil will work to catch all the baked off buildup, making for easy cleanup on your part.
If you have more than one pan to clean, place multiples in the oven at this stage to save time.

2. Heat your pan in the oven
Activate the cleaning setting on the stove and wait for the full cycle to complete. If your oven doesn't have a self-cleaning setting, heat your oven to 425°F and begin checking the pan after two hours. Remove the pan from the oven after the cycle completes and pan has cooled. It will still look pretty rusty, but the majority of buildup should have loosened at this stage.
Plan for a day where you can open the windows or be working outside while the cleaning setting is activated to avoid harsh odors.
3. Soak your pan in a cleaning solution
Immerse the pan in an equal parts water and white vinegar bath, finishing with 1 tablespoon of liquid dishwashing soap. Allow to soak for three hours.

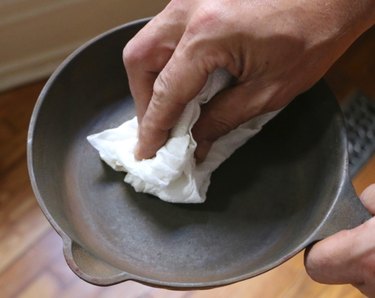
4. Wipe the pan
Remove and rinse pan well, wiping the remaining dirt away with paper towels or a cloth rag until completely dry.
If any additional rust or buildup remains, continue to scrub with a sponge or fine steel wool until smooth.
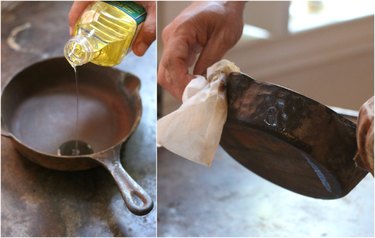
5. Season the pan
The pan is now ready for seasoning. Seasoning is the process of creating a nonstick surface, and if properly cared for, the seasoned coating will last. Wipe peanut oil on the entire pan (inside, out and handle) to coat.
6. Heat the pan in the oven
Place the pan on the top oven rack upside down, and heat at 350 degrees for one hour. This process allows the pan's pores to open up and absorb the oil, closing again to retain it when cooled. After removing the pan from the oven, it will have that classic sheen and is ready for use.
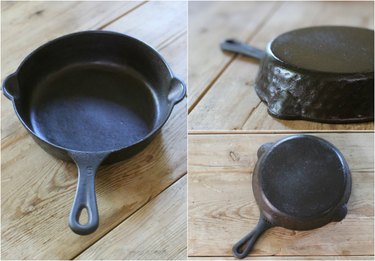
Using this method, you'll take a pan that looked like it belonged in the trash bin to a beautifully restored piece of cookware, filled with history and fit for display. It just goes to show how these timeless pieces of cookware really are, especially when properly cared for.

Now that you've gotten your cast iron pan into tip top shape, time to get cooking. This steak recipe is the perfect place to start!