Things You'll Need
Seam ripper
Dress form (optional)
Measuring tape
Washable marking pen
Fabric scissors
Pins
Sewing machine with a universal 90/14 needle
Coordinating thread
Pinking shears
Iron and ironing board
1 package of coordinating 1/2-inch double-fold bias tape
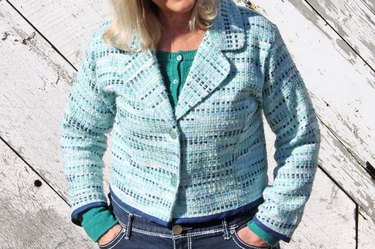
Jackets are nice to wear with a lightweight sweater or T-shirt underneath, but a well-fitting, modern jacket can be elusive to find off the rack. Instead of leaving that too-big jacket with the nice fabric in the dressing room, take it home instead. With a few simple changes, you can make it fit perfectly.
Step 1
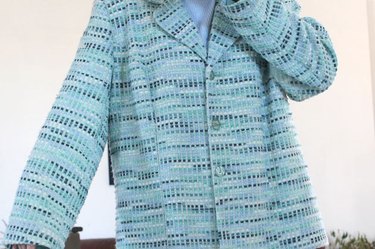
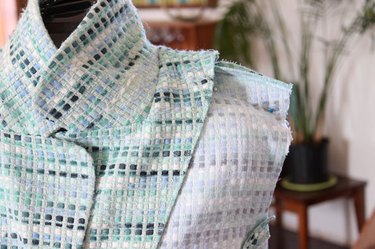
Try on the too-big jacket and decide how you'd like to modernize the silhouette. For example, perhaps you want to make it a cropped jacket.
Video of the Day
Step 2
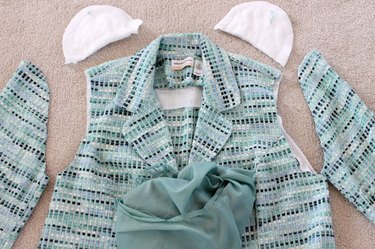
Start by removing the shoulder pads, lining and sleeves with a seam ripper.
Step 3
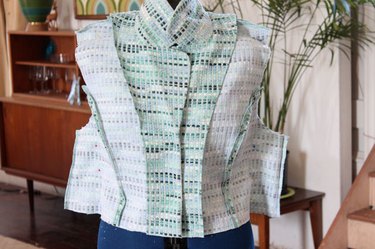
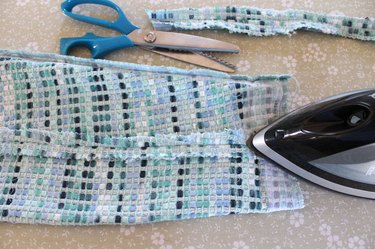
Put the jacket on inside out, or put it on a dress form. Measure the new hemline with a measuring tape (or have a friend do it if you're wearing the jacket). Mark this new line across the jacket with a washable marking pen. Cut along this line with a sharp pair of sewing scissors.
Step 4
Pull up the shoulder seams to fit, and pin.
Step 5
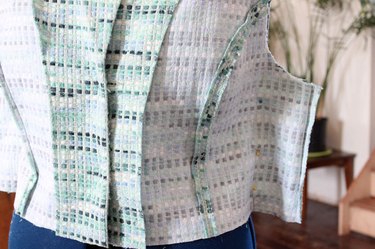
Next, pull the side seams in, and pin to fit the waist. Pin with a little leeway so the jacket isn't too tight on the waist.
Step 6
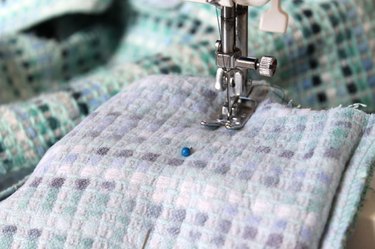
Use a 90/14 universal needle and a medium pressure to sew along the pin lines on the shoulders and sides. Remove the pins as you sew.
Step 7
Use a pair of sharp pinking shears to trim the extra fabric away from the new side and shoulder seams. Leave a 1/2-inch seam allowance. Or if you'd like to finish the seams in a different way, you can find out how in this article.
Step 8
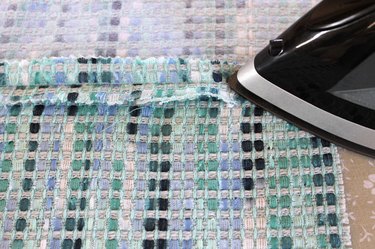
Press the seams open with a hot iron.
Step 9
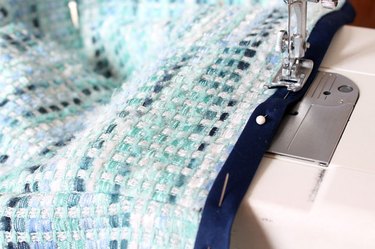
Finish the bottom of the jacket by sewing coordinating 1/2-inch double-fold bias tape to the unfinished edge. You can purchase premade bias tape at the fabric store in many colors, or if you prefer, learn how to make your own bias tape in this article. You can also learn how to attach bias tape to an unfinished edge in this article.
Step 10
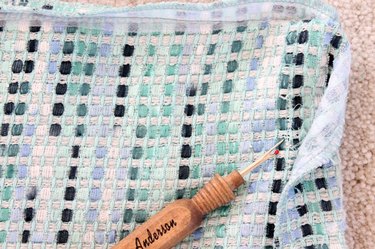
Use a seam ripper to take out the hem on the bottom of the sleeves.
Step 11
Turn one sleeve inside out and slide it onto your arm. Have a friend mark the new seam line with pins. Pin with a little leeway so you can take the sleeve off. Take the sleeve off and sew along the pin line, removing the pins as you sew. Repeat this process on the other sleeve. Trim the new sleeve seams with sharp pinking shears, and leave a 1/2-inch seam allowance.
Step 12
Press the new sleeve seams open with a hot iron. Finish the bottom edges of the sleeves by attaching bias tape in the same manner you attached bias tape to the hem of the jacket.
Step 13
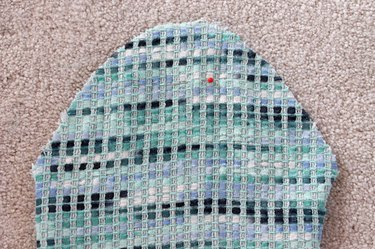
Turn one sleeve right-side out and slide it back onto your arm. Mark with a pin where the new shoulder seam will be.
Step 14
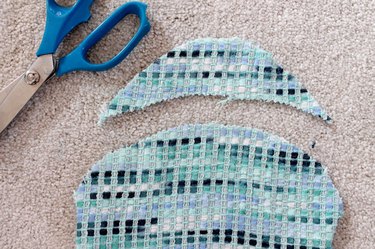
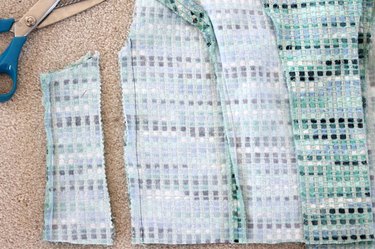
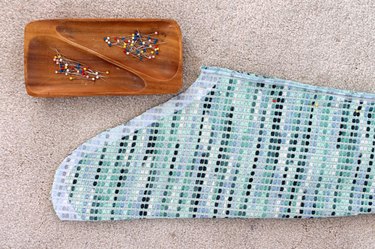
To make the new shoulder seam, cut a curved piece off the top of the sleeve with the pinking shears. Use the pin as a guide to show you how much to cut. This will reduce the length of the sleeve. Use the cut sleeve as a pattern to mark and cut the top off of the other sleeve.
Step 15
Place the top of one sleeve inside the armhole of the jacket with the right sides together. Match the side seams and the shoulder seams. Pin in place and sew with a 1/2-inch seam allowance. Repeat this process with the other sleeve.
Step 16

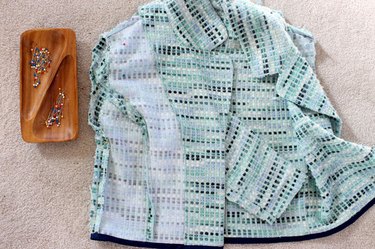
Turn your custom-fit jacket right-side out and wear it with jeans and a lightweight sweater. Or, for a more professional look, wear it over a dress.
Video of the Day