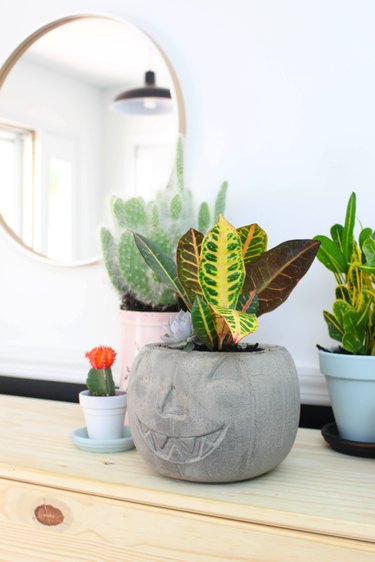
As the leaves begin to change and the scariest holiday of the year draws near, remember one important rule: Not all Halloween decorations need to be black and orange! Get creative with the classic jack-o'-lantern and make this modern DIY concrete pumpkin planter instead. By filling a plastic pumpkin candy bucket with cement mix and a plastic container — and then waiting for the mixture to dry — you can create a home for your favorite plants that gives a subtle nod to the season. It's just the right amount of Halloween nostalgia and chic style.
Follow this simple DIY project tutorial to create the perfect seasonal addition to your front porch fall decor!
Video of the Day
Video of the Day
Things You'll Need
Pumpkin candy bucket
1-quart plastic container
Cement mix
Mixing bin
Scoop
Water
Weight or heavy object
Heavy-duty tape
Cutting tool
Prepare the Concrete Mix
Scoop a generous amount of concrete powder into your heavy mixing bin. Next, gradually add water and continue to stir until the consistency resembles soft-serve ice cream.
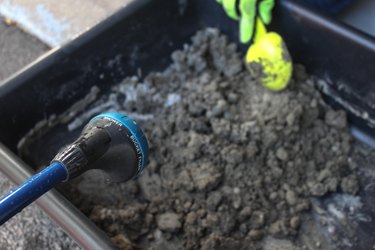
Create the Pumpkin Mold
These pumpkin candy buckets make the perfect jack-o'-lantern mold: They are easy to find, don't cost much and can be cut away at the end of this project. Start scooping the readied cement mix directly into the pumpkin bucket until it is filled about 75 percent of the way.
Tip
To ensure fewer blemishes, tap all sides of the bucket several times to reduce air bubbles. You can also pick up the pumpkin bucket and gently tap it on the ground to help settle the cement.
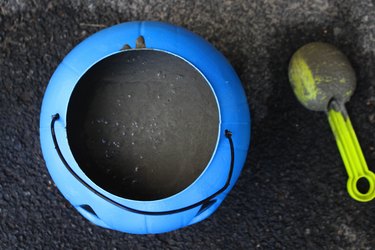
Prepare and Set the Cement Pumpkin Planter
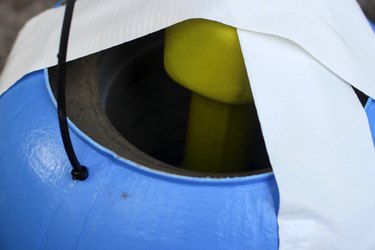
Slowly push your 1-quart container into the cement until the rim of the bucket is flush with the cement. If you were to let go at this point, the inner bucket would slowly push up and pop out of the pumpkin mold. To prevent this from happening, place a weight or heavy object in the inner bucket and secure it with a heavy tape.
Wait and Reveal
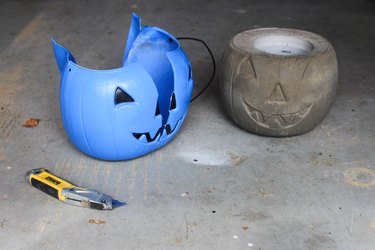
Let your pumpkin rest for at least 24 hours while the concrete sets. Now comes the fun part: Use a cutting tool to tear the bucket away from the concrete planter. Be careful not to cut into the planter itself, as it can leave scrapes. Repeat this step to remove the inner bucket as well.
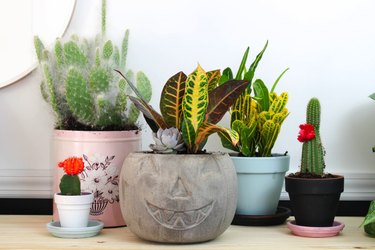
Plant and Display
Add any plants that you would like! This DIY Halloween decoration would even make a beautiful vase for an indoor centerpiece or as a candle holder. You can keep it outside, too, as a subtle alternative to your spookier home decor. You can even keep it out all year to accompany your succulents in warmer weather or have it change outfits to match the holiday of the season.