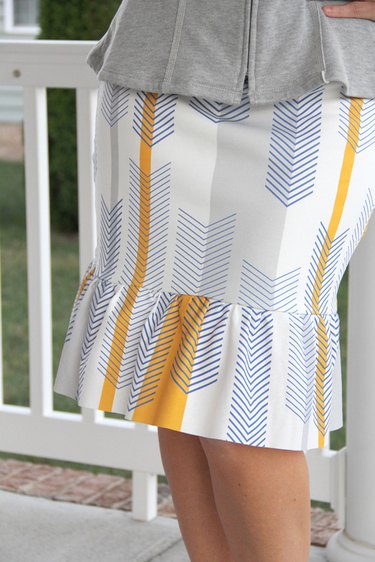
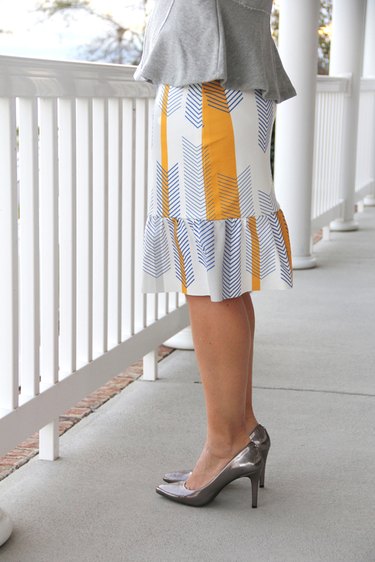
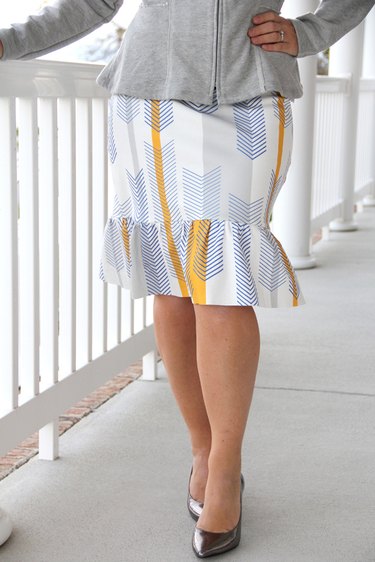
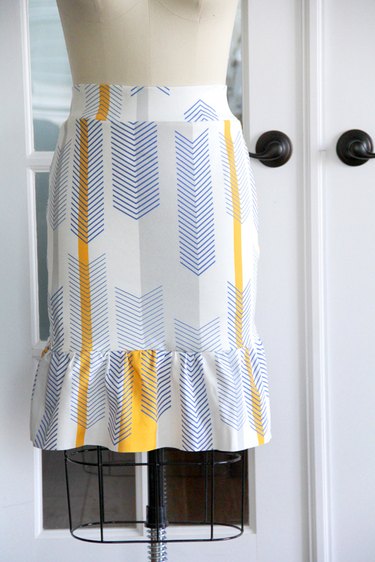
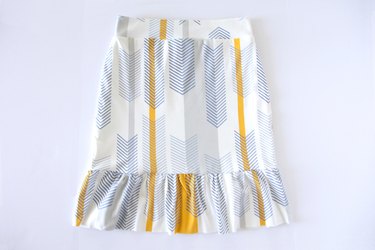
Add some flair to the classic pencil skirt DIY by adding a ruffled bottom. Pencil skirts are a great wardrobe staple for every women's closet. This classic skirt tends to flatter most body shapes, and they are easy to dress up or down. The ruffle hem adds just a touch of whimsy, while still exuding femininity. Wear your skirt to work with a blazer, or for date night with a graphic tee. It's easy to make a knit pencil ruffle skirt. All you need is just a few body measurements to get started.
Video of the Day
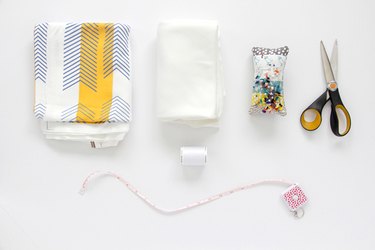
Things You'll Need
1 yard knit fabric
3/4 yard knit fabric for lining
Measuring tape
Pins
Scissors or rotary cutter
Coordinating thread
Ball point sewing needle
Sewing machine
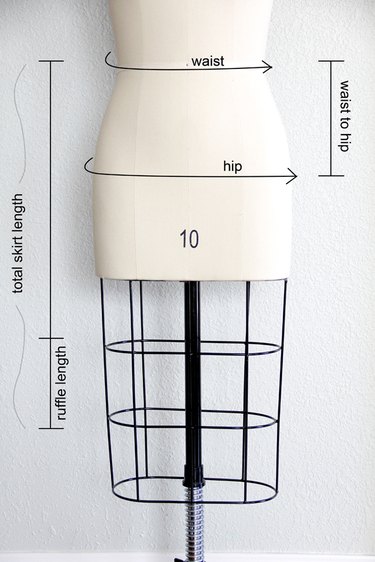
Step 1: Measure Yourself
Using a measuring tape, measure the circumference of your natural waist. Repeat for hips and add 1 inch to both measurements.
Video of the Day
Next, measure from your waist to your hip and record that number.
Lastly, measure from your waist to your desired skirt length, and then subtract 6 inches from that number. This will be your main skirt body length.
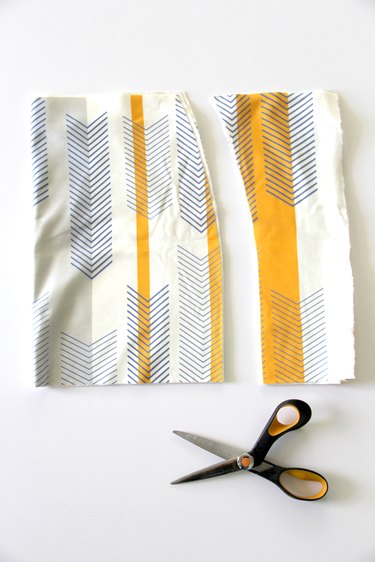
Step 2: Cut Out Pattern Pieces
Fold your fabric in half so that the selvages meet up and the knit is stretching from left to right (horizontal). Divide your waist circumference by 4, and using that number, measure from the folded fabric towards the selvage. Mark.
Measure down using your waist to hip measurement from that point, and mark again. At this new marking, measure once again out from the fold 1/4 of your hip circumference and mark. Cut an arced line from your waist to your hip marking, then continue cutting down in a straight line to your main skirt body length. Cut two exterior pattern pieces, and two lining pieces.
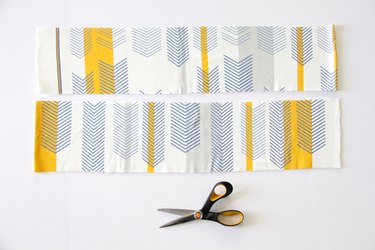
Cut two ruffle pattern pieces 7 inches in length x double your skirt width.
Lastly, cut one waistband pattern piece 5 inches in length x your waist circumference.

Step 3: Sew Main Skirt Body Together
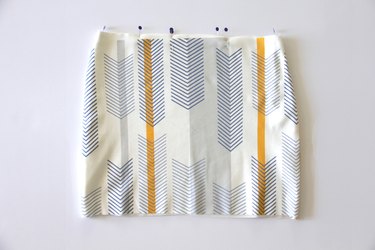
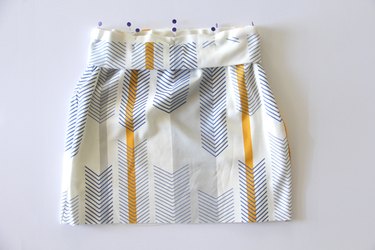
Place skirt exterior front and back right sides together, pin and sew side seams using a 1/2-inch seam allowance. Press seam open, and repeat for lining pattern pieces.
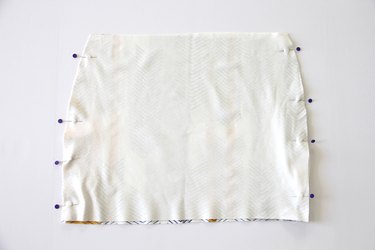
Slip the lining inside the exterior main skirt body piece matching up the side seams. Pin around the upper edge and baste stitch 1/4 inch away from the edge to hold in place.
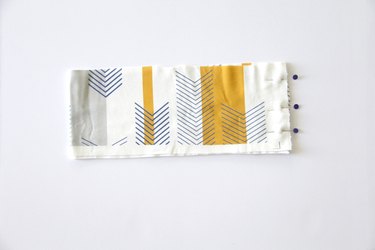
Step 4: Sew Knit Waistband
Fold waistband in half, right sides together, matching up the side edges. Pin and sew using a 1/2-inch seam allowance. Press seam open.
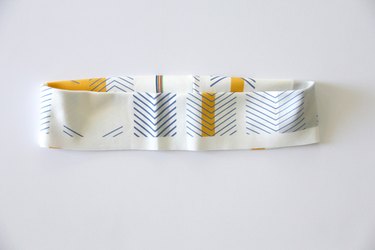
Fold waistband in half, matching up the raw edges along the bottom and enclosing the back seam. Press.
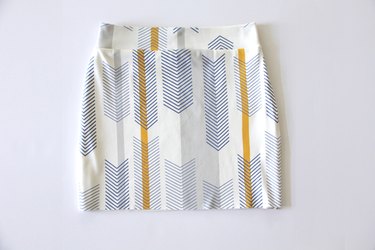
Step 5: Sew Knit Waistband to Pencil Skirt
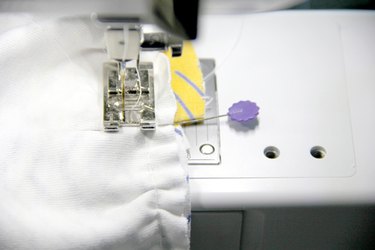
Slip the waistband around the top of your skirt, matching up the raw edges. Center the waistband seam with the back center of your skirt. Pin around and sew with a 1/2-inch seam allowance, using a serger, zigzag stitch or stretch stitch when you sew. Slightly stretch the body of the pencil skirt when you are sewing, to add a little extra 'give' to your knit fabric stitch.
Trim off excess seam allowance, and cut off the basting stitch from Step 3. Press waistband up.
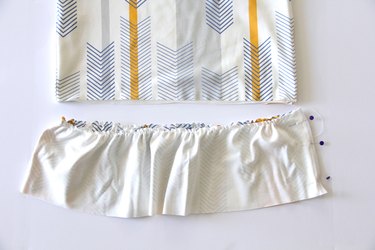
Step 6: Sew the Ruffle
Set your straight stitch to the longest length your machine will allow, and sew a basting stitch along the top of your ruffle 1/8 inch away from the edge. Make sure not to reinforce the stitch when you start or finish. Gently pull the bobbin thread to gather the fabric and create the ruffle. Using your fingers, gently push the fabric around until the ruffle is evenly gathered.

Repeat for both ruffle pattern pieces. Once your ruffle is the same width as your skirt, place the two ruffle pattern pieces right sides together and pin the side seams. Sew using a 1/2-inch seam allowance and press open.
Step 7: Sew the Ruffle on Your Skirt
Slip the ruffle over the bottom of your pencil skirt, matching up the side seams. Pin around and sew using a zigzag stitch, serger or stretch stitch with a 1/2-inch seam allowance.
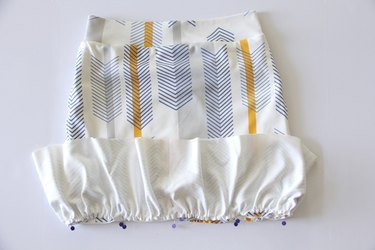
Trim ruffle seam allowance, cutting off the basting stitch from the ruffle.
Tip
When sewing on the ruffle, make sure to use a 1/2-inch seam allowance. You want the stretch stitch being used to be below the basting stitch from the ruffle. Otherwise, the basting stitch will prohibit movement when walking.
Step 8: Hem Skirt
Turn ruffle hem 1/4 inch toward the wrong side and press. Turn again 1/4 inch and press. Sew around using a long straight stitch or double needle, making sure not to stretch the fabric when sewing.
Step 9: Press Skirt to Finish
For a clean professional finish, always press your handmade clothes. This ensures that they look their best at all times!