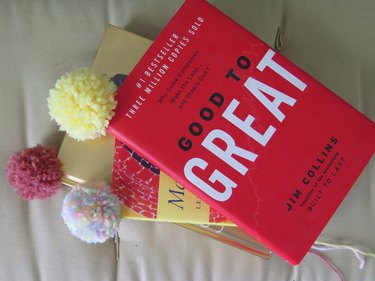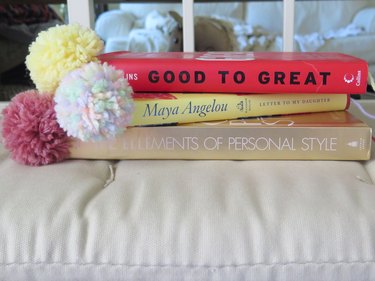
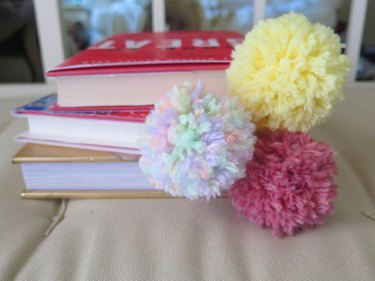
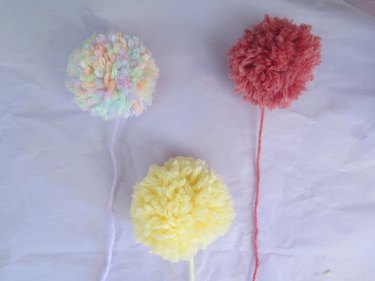
Give your books a cute pop of color and personality with these easy-to-make pompom bookmarks. Here's what you'll need: yarn, your fingers, and scissors. See? Easy! Let your creativity flow by mixing and matching different hues of yarn in order to coordinate with each book cover. This is a super fun DIY to try with your kids or with friends as part of a back to school celebration.
Video of the Day
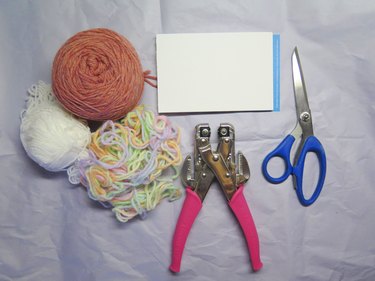
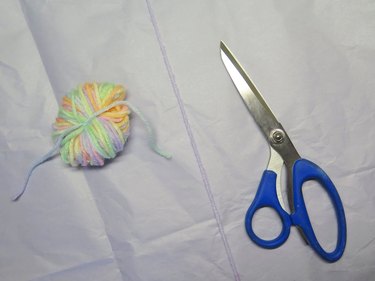
Things You'll Need
Yarn (any color -- either solid or multicolor)
Scissors
Card stock paper (optional)
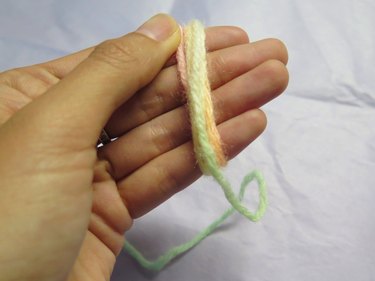
1. Wrap the yarn around your fingers
To begin, hold a string of yarn between your index finger and thumb.
Video of the Day
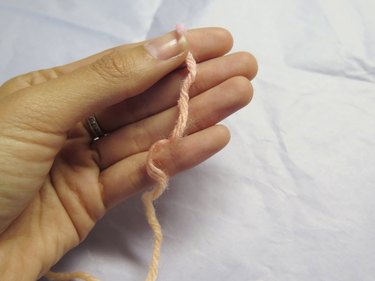
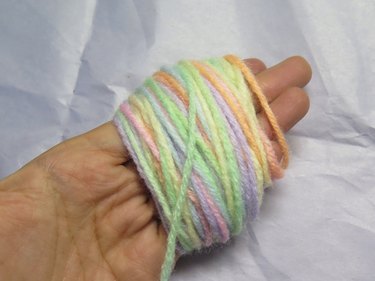
Begin wrapping the yarn around four fingers. You'll need to wrap it at least 90 times. Be sure to keep your fingers straight and close together while wrapping the yarn.
2. Remove the yarn from your fingers
Carefully slip the wrapped yarn off of your fingers and cut the end of the yarn with scissors.
3. Tie the wrapped yarn together
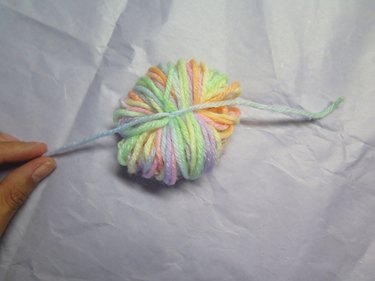
Placing the bundle of wrapped yarn to the side, cut a separate piece of yarn 12 inches long. Lay the 12-inch piece of yarn flat on a surface horizontally.
Then place the bundle of yarn horizontally on top of the yarn piece, in the middle.
Take each end of the 12-inch piece of yarn and tie it tightly around the bundle. Finish with a double knot.
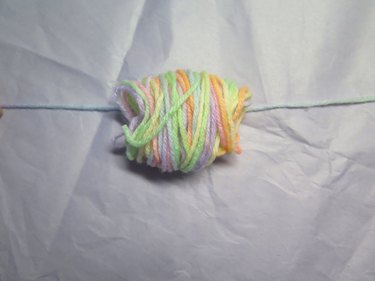
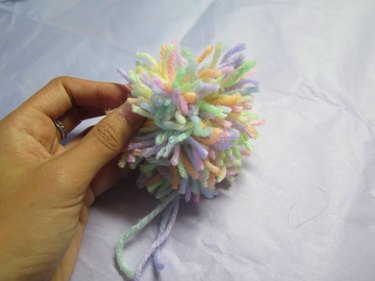
4. Add a tail to the bundle of yarn
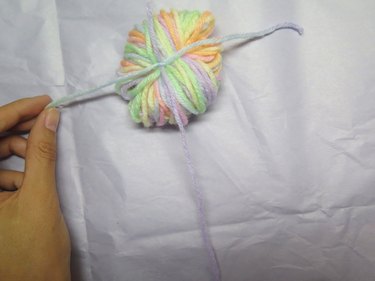
Cut another piece of yarn 15 inches long and place it vertically on top of the double knot in the center of the yarn bundle, allowing for 2 inches of yarn to peek out at the top and the rest of the yarn to create a long tail below.
Take each end of the double-knotted piece of yarn double-knot it again around the 15-inch piece of yarn.
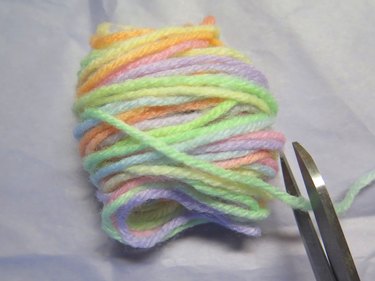
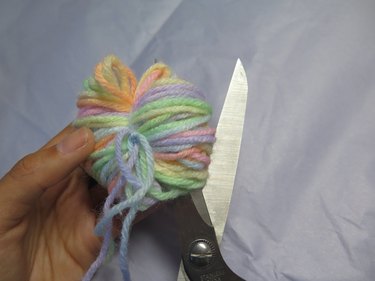
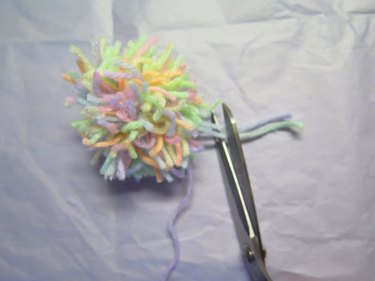
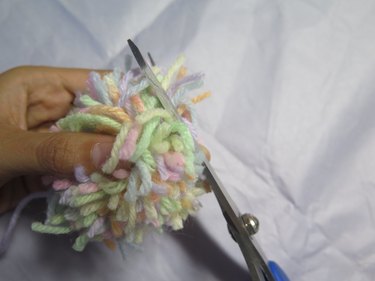
5. Cut the bundle of yarn
Take the scissors and cut through all of the loops of the yarn bundle. If you miss a few loops with the initial cut, go back and cut those loops.
Warning
Be sure you do not cut the yarn tail!
Your yarn bundle will look like a messy bunch of yarn.
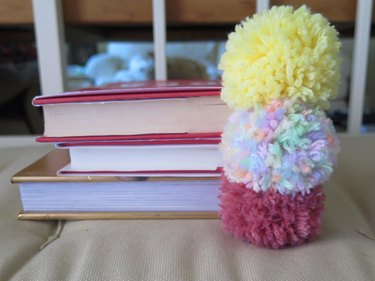
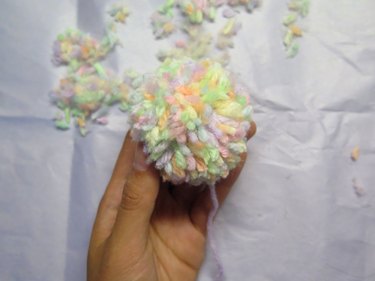
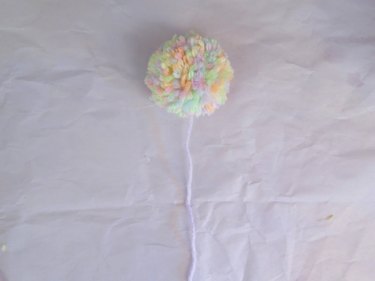
6. Trim the yarn into a pompom shape
To create a fluffy pompom shape, carefully trim the straggly pieces of yarn.
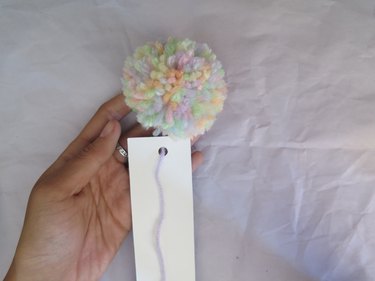
7. Add card stock paper (optional)
Tip
This step is optional. If you want to keep your pompom bookmark as-is, skip ahead.
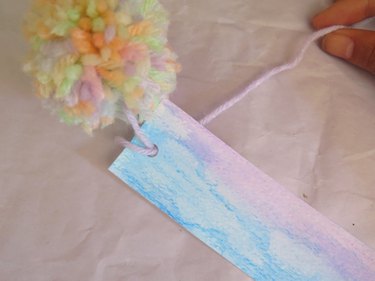
Cut down a piece of card stock paper to your desired size and draw or decorate the card stock if you'd like. Punch a hole at the center top of the card stock and lace the tail of the pompom once or twice through the hole.

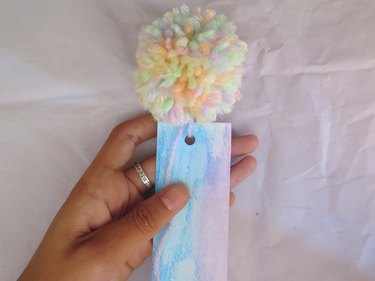
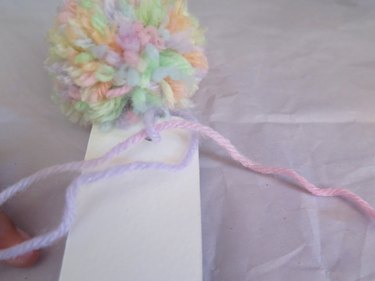
Knot the tail under the pompom, and cut the excess piece of yarn.
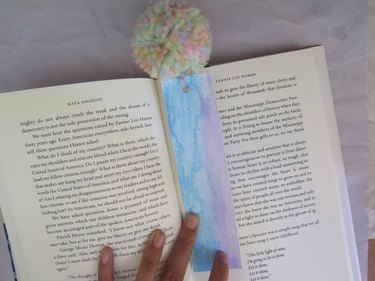
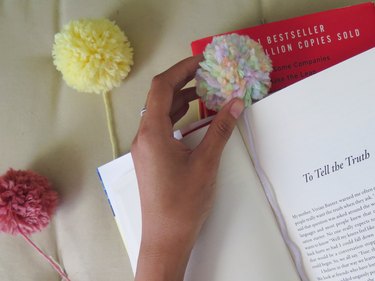
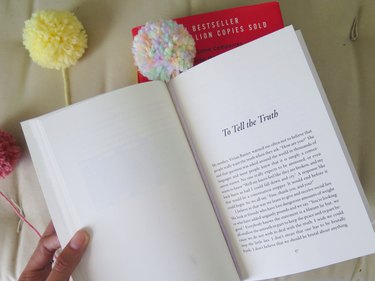
8. Add to your books
To mark the page in a book, place the yarn pompom at the top of the page and tuck the tail of the pompom or card stock bookmark into the center crease of the book pages.