Things You'll Need
Three pieces of cardboard
Scissors
Velcro
Pencil
Authentically reproduced Roman armor can be expensive to buy or rent from expert armor manufacturers. Individuals and groups that wish to make Roman armor for Halloween, school and church plays and pageants, and school projects do not always have budgets for purchasing authentic reproductions. Cardboard is a material commonly used to produce replica Greek and Roman armor on a limited budget. A large, single piece of cardboard is often used to construct a child's armor by cutting the cardboard into shape and cutting a hole in the center of the cardboard sheet for the head to pass through.
Design
Step 1
Draw two identically shaped pieces of armor on two pieces of cardboard to act as the main piece of the armor running from the sternum to the knees. Cut out the armor to form the front and back of the armor.
Video of the Day
Step 2
Snip the skirt portion of the armor into pieces still attached to the rest of the armor. Sew a piece of Velcro to the top of the armor on each corner.
Step 3
Draw the shape of a breastplate on the third piece of cardboard that covers the front and back of the shoulders and chest; the waist portion of the armor should be visible below the breastplate. A hole large enough for the head of the wearer to fit through should be cut into the center of the breastplate piece of armor.
Step 4
Design and cut out extra decorations to cover the shoulders and waist of the armor from any remaining cardboard. Branches and leaves are often used as decorations for Greek and Roman armor.
Step 5
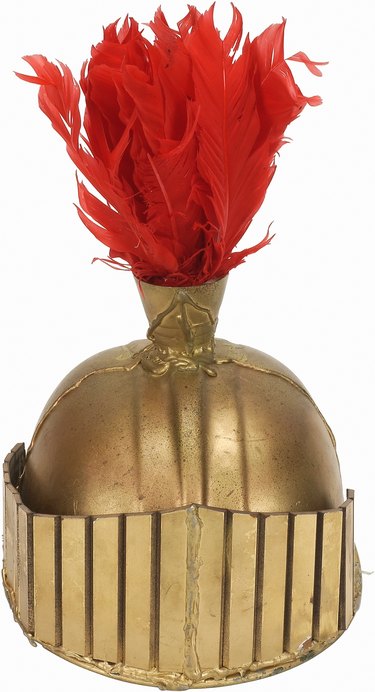
Remove the visor and chin strap of a child's plastic knight helmet and attach cardboard cheek plates to form a Roman-style helmet. Toy knights helmets resemble early Roman helmets known as attics.
Tip
When decorating Roman armor, ancient people often colored armor brightly. Armor was often highly polished.
Video of the Day