Things You'll Need
Stockinette scarf pattern
2 colors yarn
Knitting needles
Graph or knitting paper
Pencil

Personalized scarves make for unique, thoughtful gifts. A popular way to personalize a scarf is to knit the intended recipient's initial or name into it. There are different ways to accomplish this, some easier than others. You can cross-stitch, crochet, duplicate stitch or embroider the letters onto the scarf after knitting it, or you can knit the letters as part of the scarf pattern. Knitting the letters in the scarf can be tricky, especially for beginning knitters. This method utilizes purl stitches and a contrasting yarn color to create the letters.
Step 1
Draw the letters on graph or knitting paper. One square on the paper represents one stitch. Color in the squares that need to be knitted in the contrasting color to form the letter. Alternatively, you can use one of the many free letter templates available online.
Video of the Day
Step 2
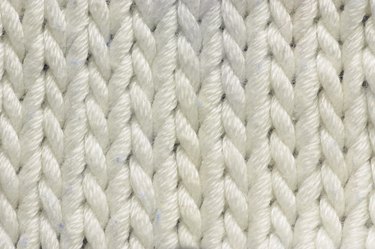
Determine where to place the letter(s) on the scarf. Using the main color yarn, knit in stockinette pattern to that point and stop, ending with a purl row.
Step 3
Knit the first row that involves a letter until you reach the stitch where the letter begins.
Step 4
Add in the contrasting color yarn without cutting the main color yarn. To do so, put the right needle into the stitch as if to purl, lay the contrasting color yarn over the right needle leaving a 6 inch tail, pass the ball of yarn under the main color ball of yarn to twist them together, and finish purling the stitch. Each time you change between the two yarn colors, twist the two together to avoid having holes between colors.
Step 5
Continue to purl the stitches that are part of the letter using the contrasting yarn, then switch back to the main color yarn and continue knitting to the end of the row.
Step 6
On the next row, purl in the main color and knit the stitches that make up the letter with the contrasting yarn.
Step 7
Repeat Step 5 and Step 6 until the letter is complete.
Tip
Knit a swatch of the letters before knitting the scarf to test their designs. Knitting paper can be printed to match the gauge of the pattern and will provide better results than regular graph paper.
Video of the Day