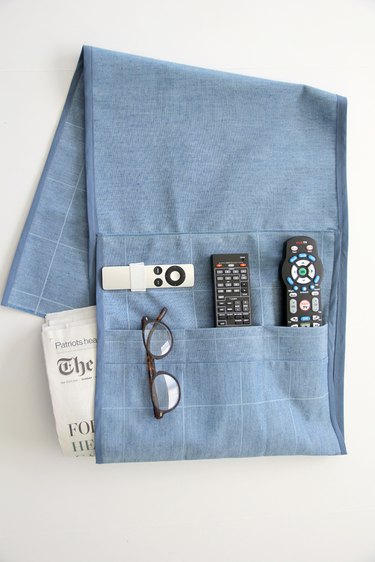
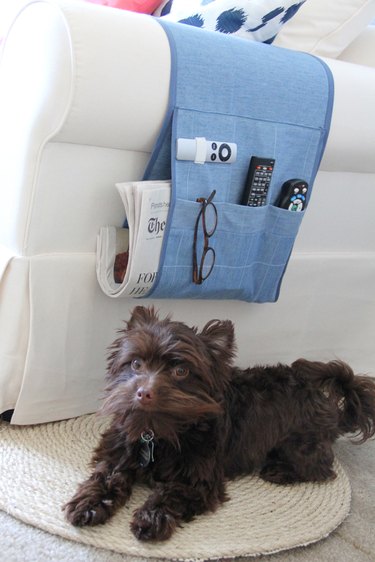
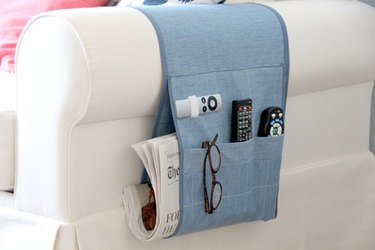
With this easy-to-sew remote caddy, you'll never lose your remote control again! By choosing a fabric that complements your home decor, you can make an arm chair remote holder that is both functional and aesthetically modern. So, stop digging around in the chair cushions and simplify your life with this arm chair remote holder DIY.
Video of the Day

Things You'll Need
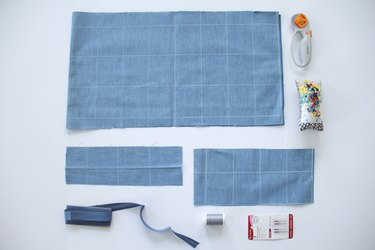
13-inch W x 50-inch L fabric for main pattern piece
13-inch W x 6-inch L fabric for pocket pattern piece
13-inch W x 4-inch L fabric for pocket binding
3 1/2 yards bias tape
Coordinating thread
Ruler
Universal sewing needle
Pins
Rotary cutter or fabric scissors
Iron and ironing board
Optional: 3 1/2 inches of 1-inch wide elastic (not shown)
Tip
I used home decor weight fabric for this remote caddy tutorial. You want a mid-heavy weight fabric, that does not have a clear 'wrong side' to the fabric, as both sides will be showing. If a lightweight quilting cotton is desired, then I suggest lining the project and adding iron-on interfacing in between.
Step 1: Sew Pocket Binding
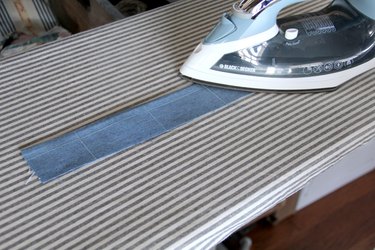
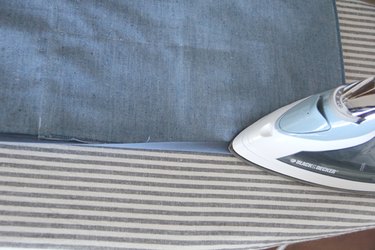
Fold the pocket binding pattern piece in half, wrong sides together. Press.
Video of the Day
Align the long raw edges of the pocket binding with the upper raw edge of your pocket pattern piece, right sides together. Pin together and sew, using a 1/2-inch seam allowance. Finish seam with a serger, zig zag stitch or pinking shears, and press seam down.
Step 2: Sew Pocket to Main Pattern Piece
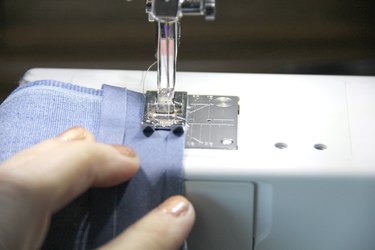
Measure 12 inches down from the short edge of your main pattern piece. Place the unfinished long side of your pocket at this mark, right sides together with your main pattern piece. Pin in place and sew using a straight stitch.

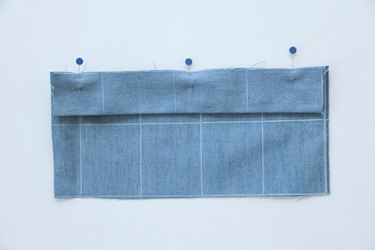
Fold pocket toward the closest short edge of the main pattern piece, covering up your raw pocket seam, and press. Using a ruler, draw with a fabric marker or use pins to make straight lines down your pocket. I made 2 lines, approximately 4 inches apart. Sew a straight stitch over your lines to create the pockets for your remotes.

Step 3: Sew Bias Tape Around Edges
Unfold your bias tape, and wrap half an inch of the bias tape around the top corner of one side edge to the back side. Pin the unfolded bias tape to the front (pocket side) of your remote caddy, pinning along the folded line of the bias tape. Pin along the entire side edge, and stop when you get to the bottom. Fold the bottom of the bias tape half an inch toward the other side, as we did at the top, and pin in place.
Tip
There are lots of ways to sew bias tape around raw edges. Whether you love to sew bias tape by hand or with the help of your sewing machine, feel free to use your favorite method.
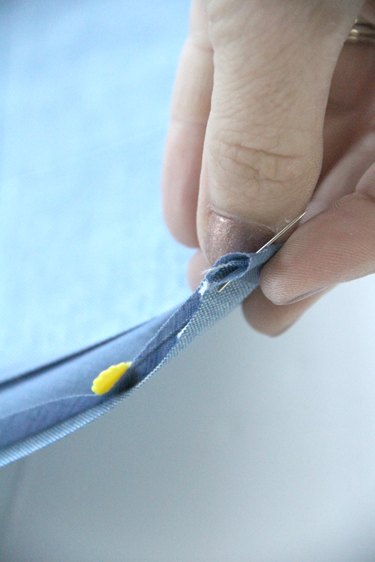
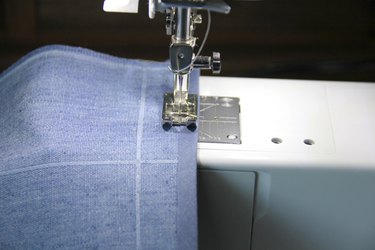
Sew bias tape to side edge, sewing directly over the unfolded line on the bias tape.
Fold bias tape toward the side, and press. Make sure the seam is pressed out toward the side as well when ironing.
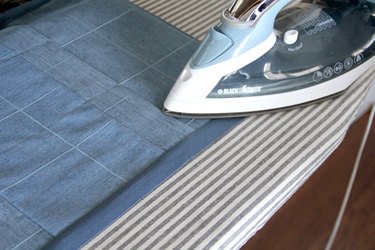
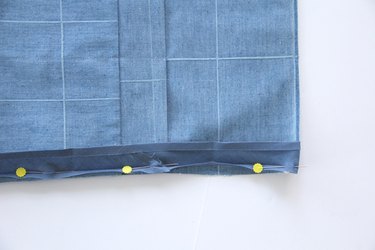
Flip your remote caddy so that the wrong side is facing up. Fold the bias tape toward the inside, covering up your seam. Press in place, making sure the bias tape edge covers the sewn line when pressing. Pin in place.
With the right side facing up, sew directly over your bias tape seam to secure back of bias tape in place. Repeat for all sides of the remote caddy.
Step 4: Add Elastic for Smaller Remotes (Optional)
With the invention of Apple TV, Amazon FIRE and other web services, we have inherited much smaller remotes. By adding a simple piece of elastic to your remote caddy, you can help keep these small remotes from getting lost in the shuffle. To add elastic to your remote caddy, simply measure three inches down from the side edge (the same side your pocket is on). Pin elastic in place and sew.
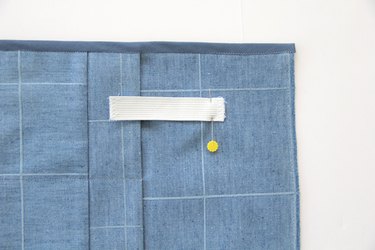
Bring the other side of your elastic up and over, matching the elastic edges together in the middle. Pin the bottom in place.
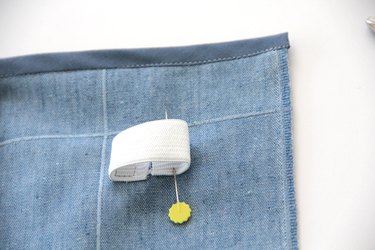
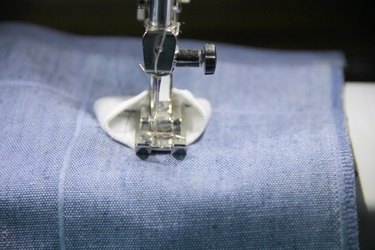
Sew the opposite side of the elastic in place, moving the top of the elastic loop out of the way when sewing. For a clean finish, press elastic loop down, and pin the top and bottom in place. Sew a straight line to secure.
Step 5: Sew Pocket Magazine Loop in Place
Measure 12 inches down from the pocket side of your main pattern piece, and fold the pocket toward the wrong side of the fabric. Pin the short edge in place to the main pattern piece. Sew a straight line, 1/8 inch away from the seam.
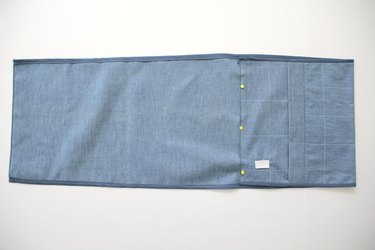
Step 6: Press Remote Caddy to Finish
Press your remote caddy one last time for a clean, professional finish to your handmade home decor. To hang the remote control holder over your arm chair, simply make sure the pocket is facing out, and drape the non-pocket side over the arm. Tuck the fabric flap under your chair cushion, add remotes, and you are finished!