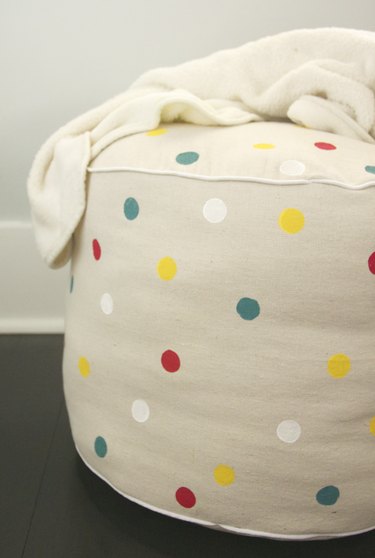
Instead of spending hundreds of dollars on a store bought pouf, DIY one using an inexpensive canvas drop cloth and acrylic paints. Easy enough for an advanced beginner to tackle, the best part is you can customize the look to fit your personal style.
Things You'll Need
One 6-by-9-foot canvas drop cloth
Measuring tape or ruler
Scissors
Acrylic paints
Paintbrush (if custom mixing colors)
Wine cork (or stamp of choice)
Cardboard or paper plates for paint mixing
Two packages of piping
Pins
24 ounces of polyester stuffing
Heavy-duty thread
Hand-sewing needle
Sewing machine with zipper foot and denim needle

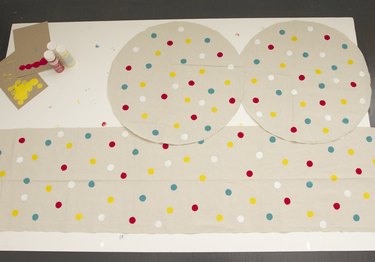
Step 1: Cut Out the Pattern Pieces
There are three pattern pieces: two circles and one long rectangle. The finished measurements of this pouf are 18 by 12 inches.
Video of the Day
Tip
If you want to change the dimensions, start with the circle size and multiply it by pi (3.14). Add 1/2 inch to the circle's dimension and 1 inch to the rectangular piece, both length and width, to account for seam allowances.
Cut out the rectangle at 13 inches by 57.5 inches.
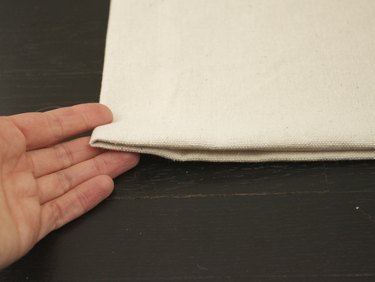
To make the circles, take the drop cloth and fold it in on itself twice.
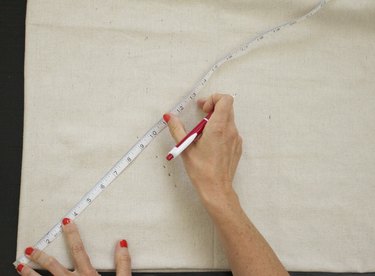
Step 2: Mark a Quarter-Circle
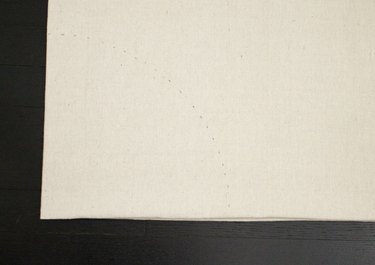
Take your measuring tape, line it up on the corner, and mark at the 9.25-inch increment. Move the measuring tape, in small increments, continuing to mark at 9.25 inches until you have a quarter-circle marked. Cut out along the marked line. Repeat for the second circle.
Tip
If you do not have a measuring tape, a regular ruler can be used as well.
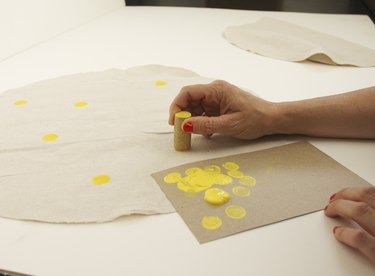
Step 3: Stamp Your Fabric
Get a thin film of paint on the wine cork but not enough to clump. Play around on your cardboard or paper plate until you get the consistency you want. Stamp your fabric with the wine cork.
Tip
Put something under your fabric, or paint outside, so as not to damage your floor.
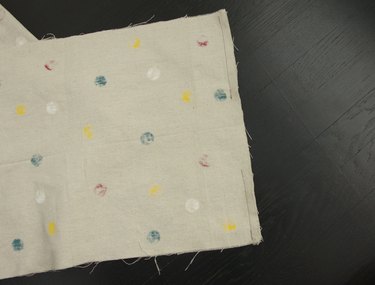
Step 4: Sew the Strip Together
With short, right sides together, use a 1/2-inch seam allowance and sew the long strip together, leaving a gap approximately 4 inches long in the middle. The hole allows you to turn the pouf inside out and provides a place to stuff it. After sewing, press to set the stitches.
Step 5: Pin the Piping
Pin the piping on the right sides of the circular pieces, raw edges together, overlapping the ends of the piping.
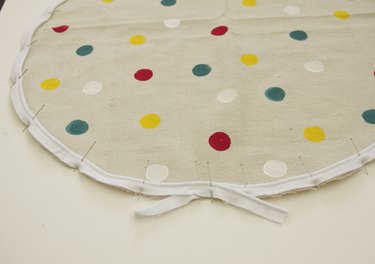
Step 6: Sew the Piping to the Circular Pieces
Switch to your zipper foot. Sew the piping onto the circular pieces as close to the piping edge as possible. Trim the piping where it overlaps, and press after sewing to release any wrinkles and set the stitches.

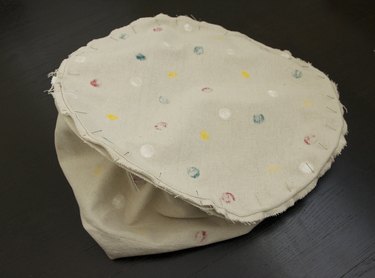
Step 7: Pin Round Pieces to the Rectangle
Join the round pieces with the sewn rectangle. Take one of the circular pieces and pin it to the strip, right sides together, matching the raw edges.

Step 8: Sew the Pieces Together
Sew the pieces together, using your previous thread line where you attached the piping as a guide. Sew directly on top of the stitching. Repeat for the other round piece, and press after sewing to set the stitches.

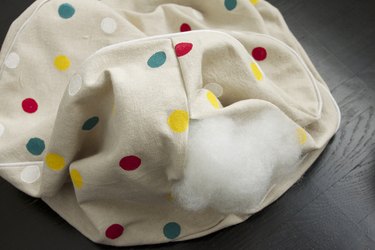
Step 9: Stuff the Pouf
When both round pieces are joined to the strip, turn the pouf right-side out and stuff with the polyester filling.
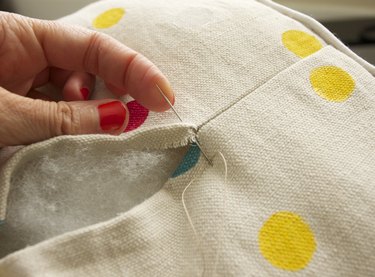
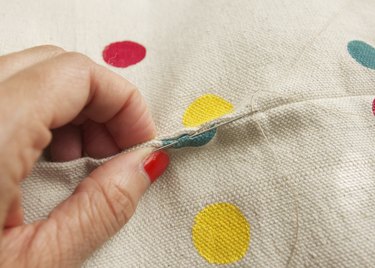
Step 10: Close the Hole
After your pouf is stuffed, it's time to close the hole using a ladder stitch, also known as a hand slip stitch. It will create a neat, invisible stitch.
Thread your hand needle and knot (double knot if it feels more secure). Bring your needle up into the fold on the top, right side of the hole, pulling until you reach the knot. Now your knot is hiding in the fold.
Directly across from where the needle comes out, push the needle into the opposite fold to create a stitch, approximately 1/8 inch long.
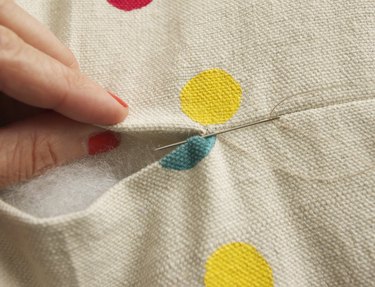
Now go back to the opposite fold and repeat the process.

As you continue, pinch the folds together, working down the opening.
When you reach the end, insert the needle into the opposite side of where the last stitch came out, and knot. Double knot if it feels more secure. Clip the thread.
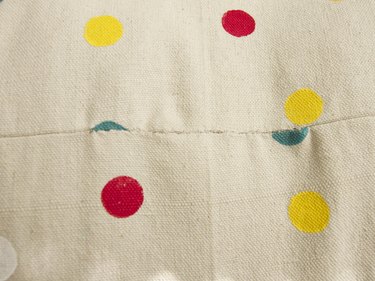
You're Done
Put your feet up; your stylish new pouf is finished.

Video of the Day