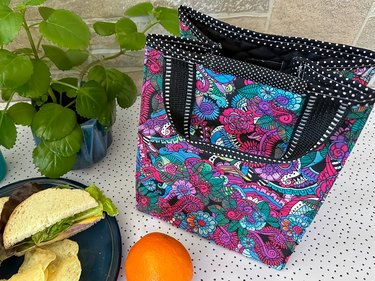
Instead of carrying around your lunch in a paper bag or, worse, just throwing the contents of your lunch in your backpack or handbag and hoping for the best, why not use a lunch bag that's actually functional and looks good too? After all, it's a relatively easy and eco-friendly, way to step up your lunch game.
Luckily, we have a tutorial for that very thing: a reusable, personalized lunch bag that keeps your food fresh while showcasing your unique style. Whether you're an experienced seamstress or a beginner eager to dive into the world of sewing, our step-by-step, easy sewing tutorial will help you sew a charming quilted DIY lunch bag in no time.
Video of the Day
Video: A DIY Quilted Lunch Bag to Upgrade Lunchtime
Tip
To create a lunch bag that keeps items hot or cold, you can add an insulating lining (like this one from Amazon) to your bag.
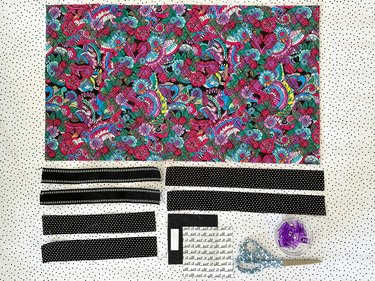
Things You'll Need
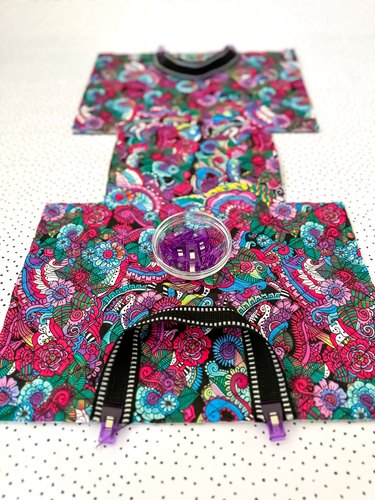
17 1/2 x 15 3/4-in. piece of double-sided quilted fabric (we used this print)
Sharp scissors
2 12-in. pieces of webbing
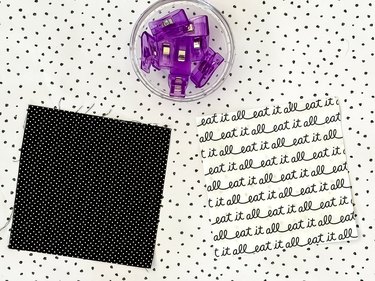
2 5-in. square pieces of coordinating cotton fabric
Clips or straight pins
2-in. piece of hook and loop fastener
2 16-in. x 2-in. pieces of coordinating cotton fabric
2 11-in. x 2-in. pieces of coordinating cotton fabric
2 7-in. x 2-in. pieces of coordinating cotton fabric
Chopsticks
Iron
Insulated lining (optional)
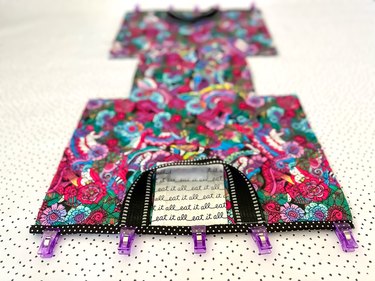
1. Fold fabric in half
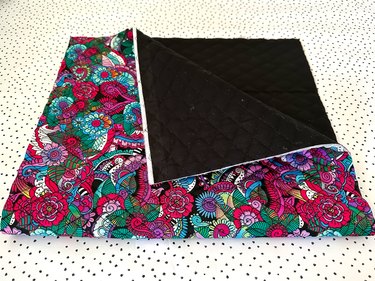
Fold the double-sided quilted fabric in half so the short sides are aligned.
Tip
If you are well versed in quilting, you could place some batting between two pieces of fabric and sew quilting stitches on your sewing machine. We opted to use premade double-sided quilted fabric for our lunch tote.
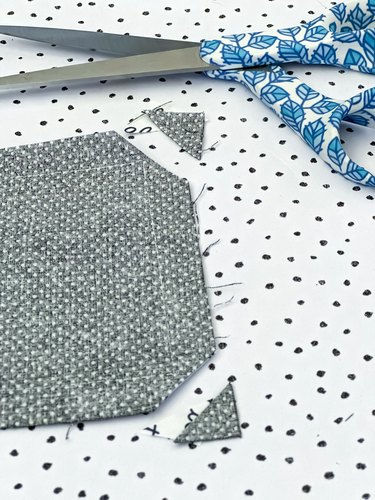
2. Cut out corners and clip handle straps
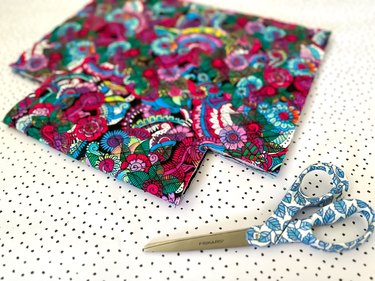
Cut 3-in. squares out of both corners on the folded edge.
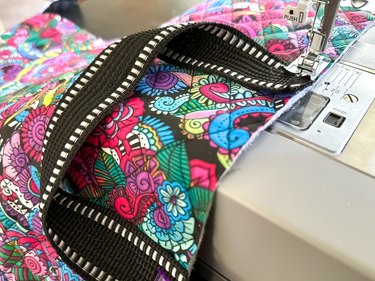
3. Sew handle straps
Open the fabric and then clip and sew the handle straps to both of the short sides.
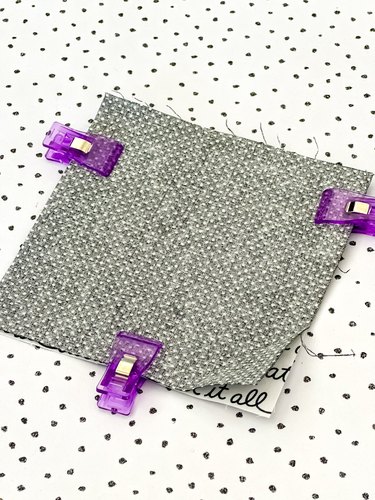
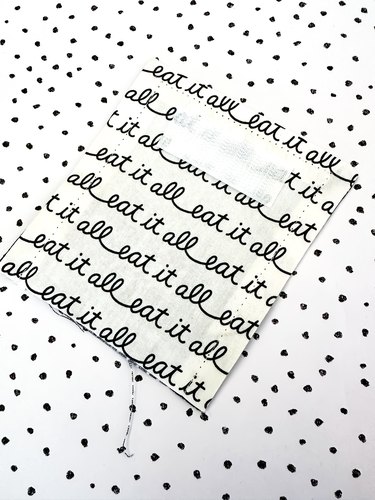
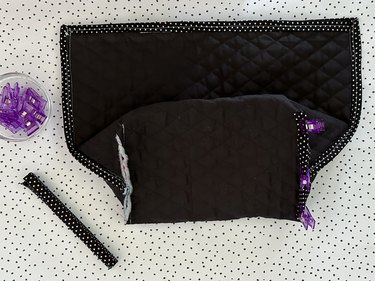
4. Clip and sew flap
Place the flap fabrics with right sides together and clip. Sew three sides, leaving one side open.
5. Clip corners and turn right side out
Clip the corners and turn the flap right side out. Push the corners out with a chopstick and press with a hot iron to create crisp corners and edges.
6. Add hook and loop fastener
Open a 2-in. piece of hook and loop fastener and place on the piece on the underside of the flap. Sew in place and set flap aside.
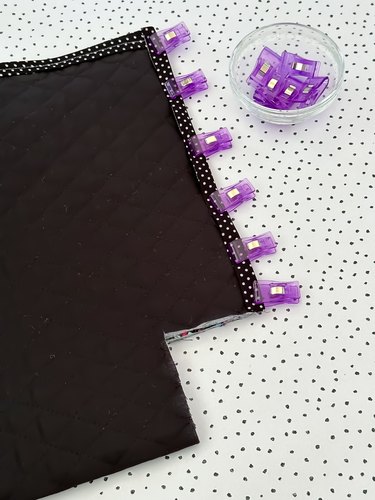
7. Fold and press seam binding
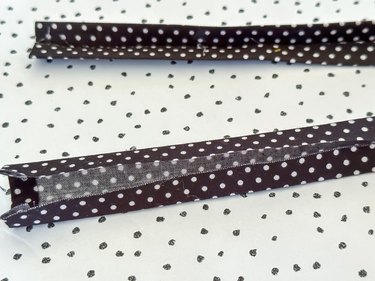
To create the seam binding and keep the raw edges from fraying, fold each of the long pieces of fabric in half lengthwise. Press with a hot iron. Open the seam binding and fold each long edge to the center and press again. Fold in half again lengthwise and give it one more pressing.
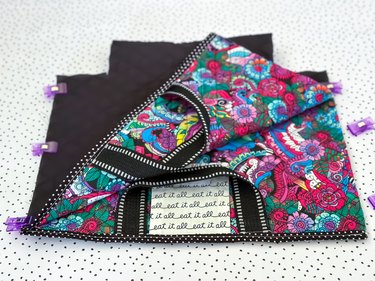
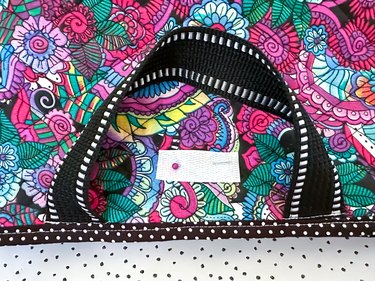
8. Place flap between handle strap
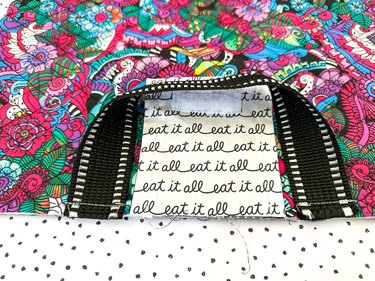
Align the raw edge of the flap piece between one of the straps.
9. Tuck raw edge into seam binding
Tuck the raw edge into the 16-in. seam binding you created earlier. Clip to hold the layers in place.
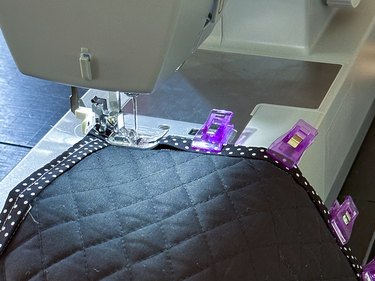
10. Sew seam binding
Sew through all the layers to catch the raw edges inside the seam binding and finish off the top edges of the lunch bag.
11. Fold in half
Fold the lunch bag in half widthwise so the sides are lined up and the wrong sides face each other. Clip the sides to hold them in place while you sew.
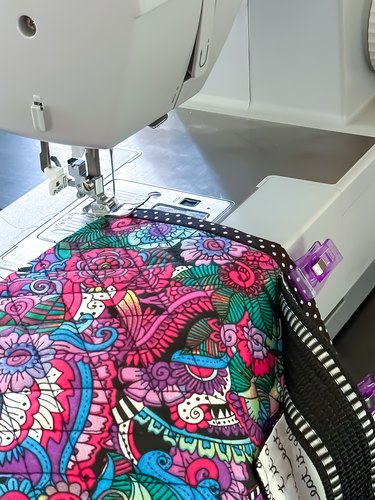
12. Sew sides
Sew each side, removing the clips as you sew.
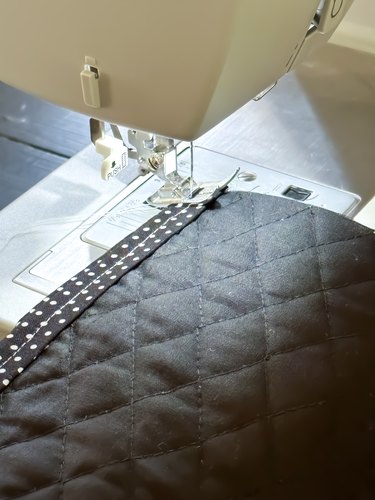
13. Attach seam binding and sew
Tuck the raw edges of each side into the 11-in. pieces of seam binding. Clip and then sew.
14. Pinch bottom corner together, clip and sew
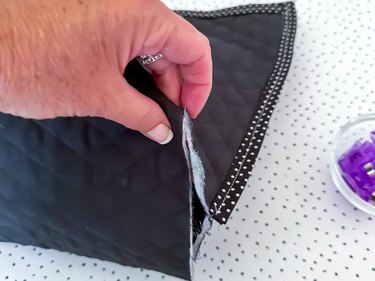
Pull out the bottom cut corners. Clip and then sew.
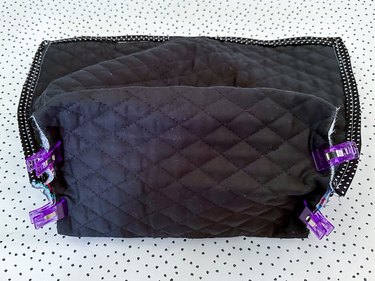
15. Cover raw edges with seam binding
Use the 7-in. seam binding to cover the raw seams of the bottom corners. Tuck the seams into the binding. Clip and then sew.
16. Turn right side out and attach Velcro
Turn the lunch bag right side out and line up the second piece of Velcro on the outside of the bag. Sew into place.
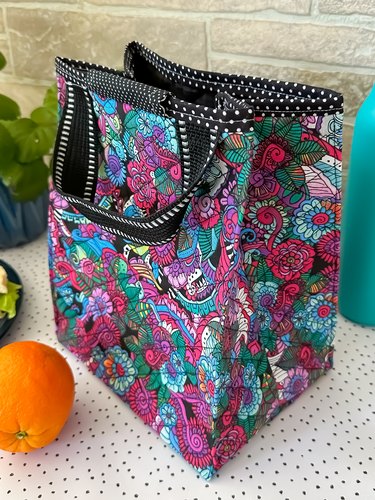
Now you can enjoy your delicious meals, beautifully packed and carried in a cute lunch box that's perfect for back-to-school lunches or for use as a snack bag for the office.