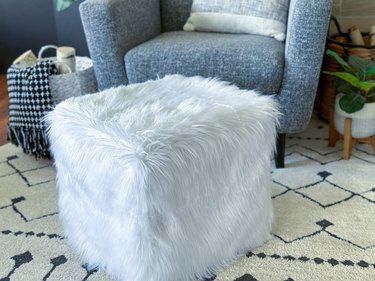
Imagine sinking into the plush comfort of your favorite chair after a long day and propping up your feet on a luxurious white faux fur ottoman pouf that exudes modern elegance. Now imagine that you've made this ottoman pouf yourself!
You don't have to imagine—instead, check out our fun DIY pouf tutorial and add a crafty yet functional touch to the living room or family room. While the process is relatively simple, the results are totally impressive. In fact, loved ones might refuse to believe that this was a homemade project instead of an upscale furniture store purchase.
Video of the Day
Ready to relax in style? With a dash of creativity and a bit of patience, you'll be resting those feet and celebrating another successful DIY project in no time. Here's everything you need to know to make an ottoman pouf at home.
Video: A Stylish Ottoman Pouf With Faux Fur & Glam Vibes
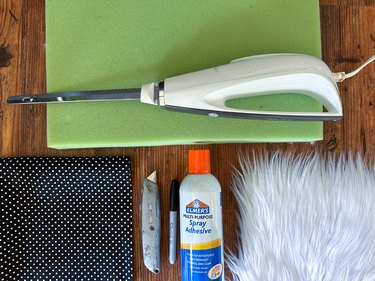
Things You'll Need
8 16-in. square pieces of 2-in. high-density foam
Electric knife
Spray adhesive
Utility knife
5 pieces of 17-in. square pieces of faux fur
1 17-in. square piece of dark fabric
Clips or straight pins
Hand-sewing needle
1. Cut foam
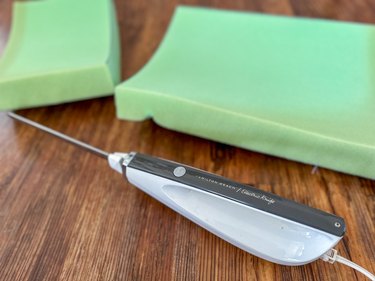
For the foundation of your floor pouf, opt for high-density foam, which is available in various thicknesses. If working with 2-in. foam, start by measuring, marking and cutting 8 pieces that are each 16 in. square.
Tip
Opting for an electric knife can significantly simplify the task of cutting foam. With its oscillating double blades, it glides through foam effortlessly. You can often find reasonably priced electric knives at thrift stores.

Feel free to choose a different thickness but keep in mind that you'll need to calculate the number of pieces required to form a 16-in. square foam core.
2. Adhere foam pieces
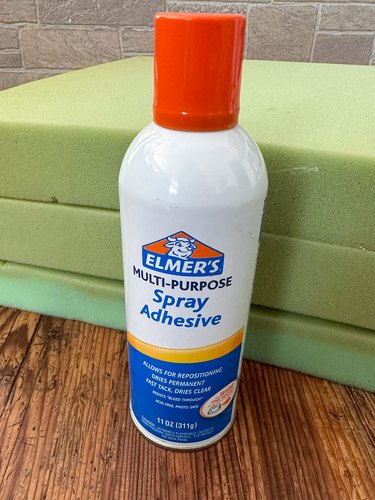
Spray foam pieces with adhesive and stack them to form a 16-in. cube.
Tip
A bean bag is an excellent alternative to foam if you would rather have a cushier pouf ottoman.
3. Cut faux fur
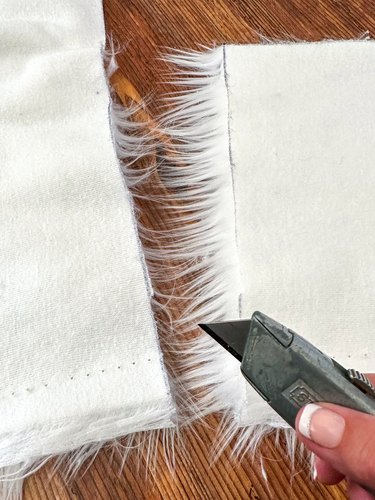
Begin by measuring and marking 17-in. square sections on reverse side of faux fur. Dealing with faux fur can present challenges, and using regular scissors can result in a considerable mess of fur in your workspace. Instead, choose a sharp utility knife for cutting faux fur. Apply gentle pressure with blade and carefully follow lines you've drawn on back of faux fur. Afterward, delicately separate faux fur, ensuring that none of fur itself is compromised during cutting process.
Tip
If faux fur doesn’t align with your decorating ideas, any type of upholstery fabric piece will work for this DIY floor pouf. You could even upcycle some old denim to make it.
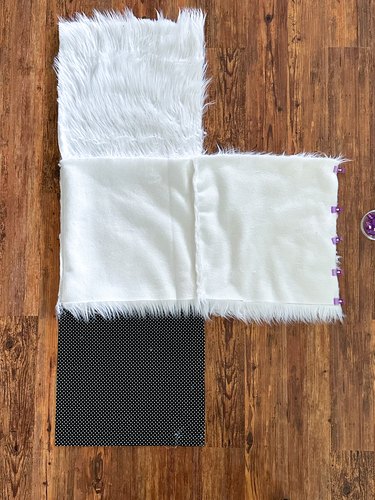
4. Clip and sew faux fur
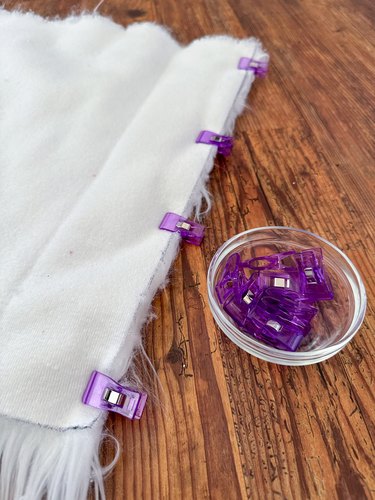
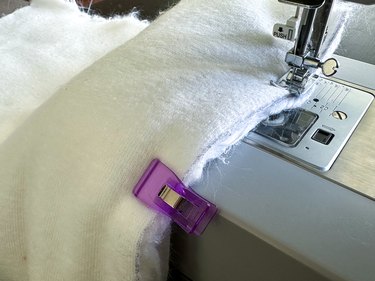
Confirm that nap of fur (the direction the fur lays when you run your hand along it) faces same way. Place two faux fur squares together with fur sides facing each other. Clip and tuck as much fur into seam as possible. Use a sewing machine to sew with a 1/2-in. seam allowance along this edge, removing clips as you sew.
Continue clipping, sewing four squares together to form a line. Remember to face nap in same direction on each square. This will become outside ottoman edge.
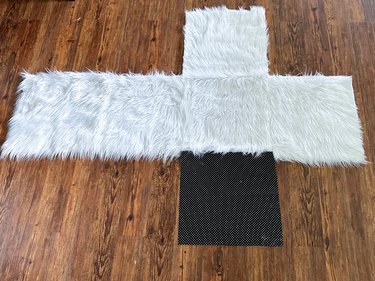
Clip and sew fifth faux fur square to top edge of second square from right. This will become top of ottoman. Next, clip and sew bottom square piece to bottom edge of second faux fur piece from right. This will become the bottom of ottoman. It will end up looking like a "T."
5. Sew cube
To create cube shape, fold over bottom edge of "T" to match top edge. Clip and sew this conjoined edge. Continue to clip and sew faux fur edges to form a cube.
Leave bottom edge of cube open so you can slide this over foam.
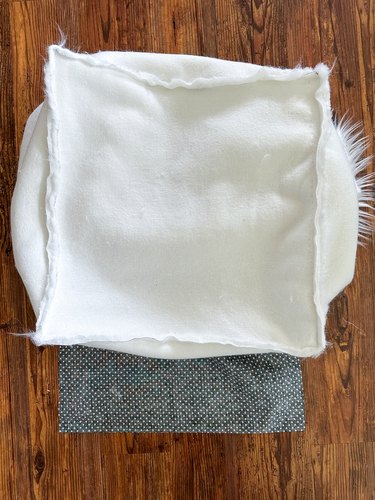
6. Slide faux fur cube over foam
Turn fur cube right side out and slide it over foam. Adjust so corners of fur line up with corners of foam.
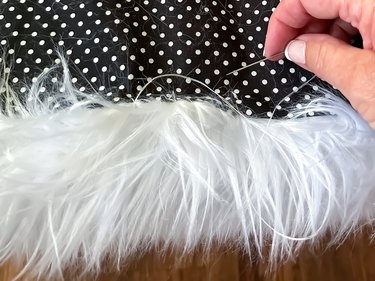
7. Hand-stitch bottom piece
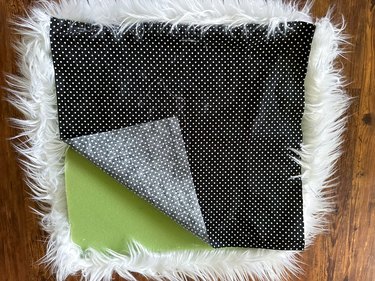
Fold three remaining edges of bottom piece under 1/2 in. and hand sew to the bottom edges of faux fur.
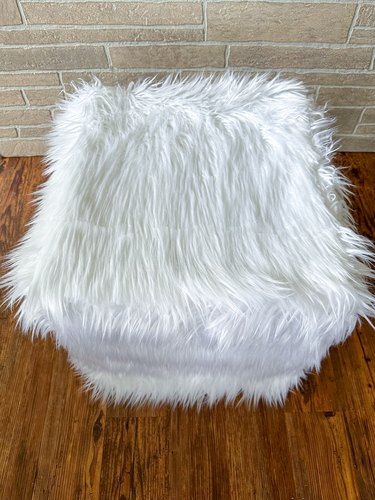
Your homemade pouf is complete!
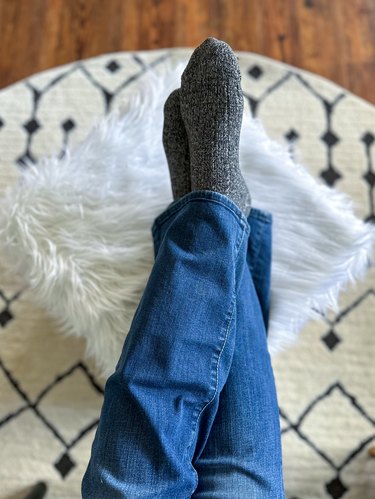
Whether you're creating extra seating, a footstool, side pieces or even an alternative coffee table, this DIY pouf ottoman is a budget-friendly and decidedly easy sewing project. Put your feet up and enjoy!