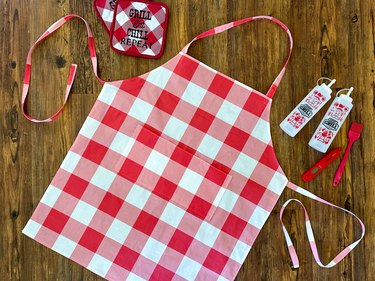
Hey, fellow grill enthusiasts! Ready to up your barbecue game and make your next outdoor cooking session a breeze? We have a fun DIY project that'll have you slinging burgers and flipping steaks in style: a bright, colorful gingham grilling apron.
Video: A Gingham Grilling Apron with Pockets for Tools
Video of the Day
Of course, our homemade barbecue apron is also super practical. It has a big pocket in the front with sections to hold all your BBQ must-haves. Think: grilling tools like tongs, bottle openers (for all those spectacular sauces) and even your trusty meat thermometer. This way, you can easily reach for whatever you need while cooking the perfect barbecue foods.
Best of all, this grilling apron tutorial is easy, making it a perfect DIY gift for Father's Day or a host gift for July 4th or any other summer BBQ. So, choose your fabric, thread that needle and let's get cooking...we mean crafting!
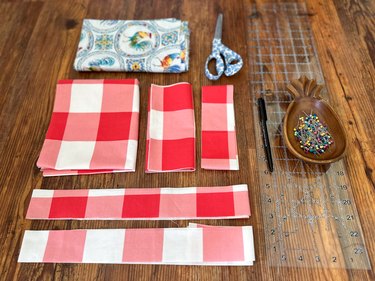
Things You'll Need
1-yard cotton canvas or other heavy-duty fabric
Ruler or measuring tape
Marking pen
Sharp scissors
Pencil or fabric marker
Steam iron
Straight pins
Part 1: Create Apron Front
1. Measure and cut apron front
We chose a classic red gingham fabric for our BBQ chef apron, but you can get as creative as you'd like when selecting a material. Whether you're opting for something classic, sewing a funny grilling apron using humorous fabric, leaning toward a canvas apron creation or keeping it simple with a cotton apron, the sky is truly the limit.
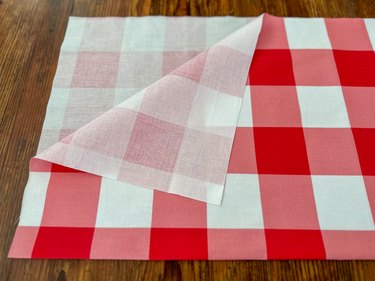
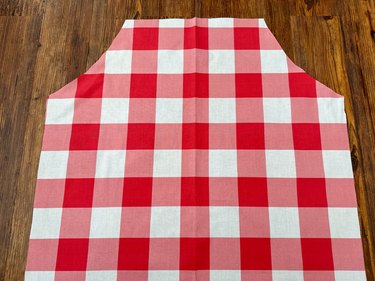
Once you've chosen the perfect material, cut a piece of fabric measuring 26 in. x 31 1/2 in. Fold in half lengthwise so fold is at the bottom.
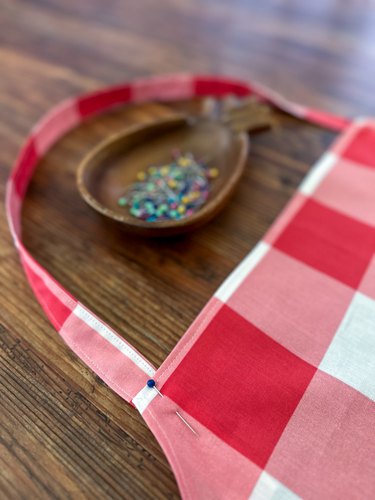
2. Create curved armholes

Next, take a measuring tape and mark a point 6 1/2 in. up from folded edge along left side of fabric. Measure and mark another point 8 in. from top left corner, situated toward the right side. These two marks will help create a curved line.
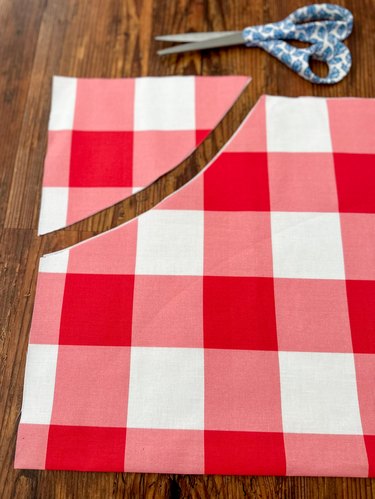
Connect both marks with a curved line. Using a pencil or fabric marker, draw a smooth curve to link two points.
Cut through both layers of fabric along curved line to create armholes.
Tip
Grilling can get messy, and splatters are sure to happen, so it's important to make sure your bib apron is machine-washable. Before cutting and sewing, give the fabric a good wash and dry. That way, you'll be all set to tackle those BBQ messes and easily clean up afterward. No fuss, no hassle—just a well-made kitchen apron.
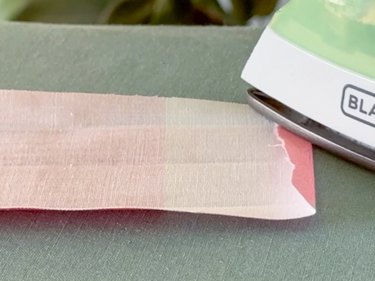
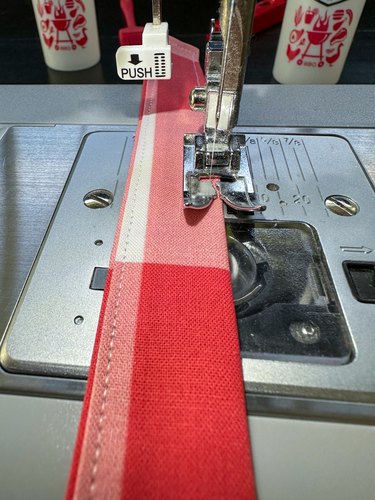
3. Press and sew edges
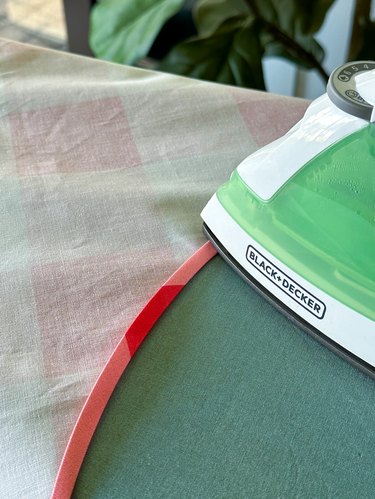
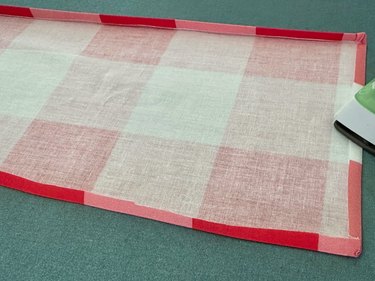
Flip apron front over so wrong side of fabric faces up. Fold over about 1/4 in. on all raw edges of apron front and give it a good press with an iron. Fold over another 1/4 in. and press down again. This will create a clean and tidy apron edge.
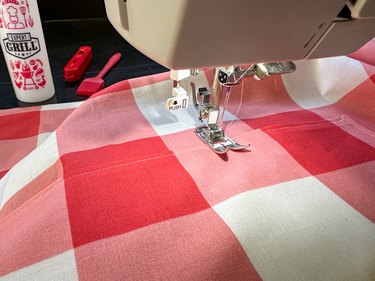
Sew around pressed edges to secure everything in place. Take your time and make sure stitches are sturdy.
Part 2: Attach Pocket
1. Cut, fold and press pocket fabric
Cut a piece of fabric that measures 7 in. x 15 in. for a pocket to hold grill accessories.
Turn front pocket piece over so wrong side faces up. Fold over 1/4 in. on each side and press with hot iron. On top edge of pocket, fold over another 1/4 in. and then press and sew.
2. Pin and sew pocket onto apron front
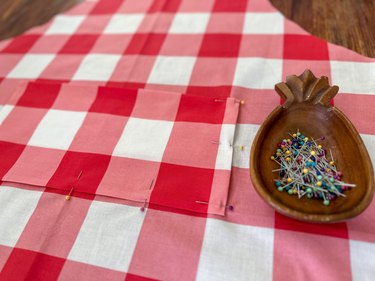
Place pocket on center front of apron and pin it in place.
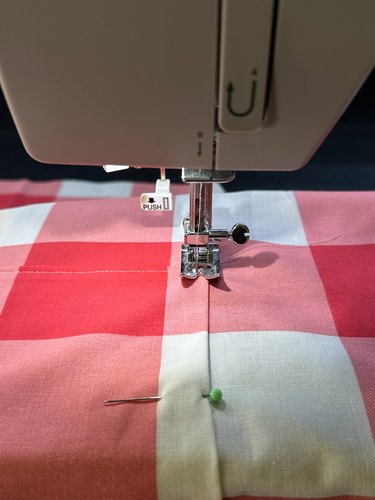
Sew around sides and bottom of apron. Be sure to remove pins as you sew.
3. Sew pocket sections
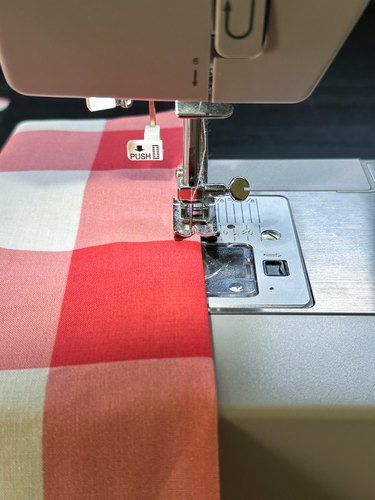
To create pocket dividers, measure and mark 4 1/2 in. in from side edges of pocket.
Starting at bottom edge of pocket (to avoid puckering), sew through pocket and apron along these lines.
Part 3: Add Straps
1. Cut, fold and press straps
Cut two fabric pieces measuring 2 in. wide and 38 in. long. These will create back apron ties. Cut another piece of fabric to 2 1/2 in. wide and 30 in. long. This piece will serve as a neck strap. You can make it adjustable later.
Turn neck strap and long ties over so wrong side of fabric faces up. Start by folding short edges of neck strap and ties over 1/4 in. and press. Next, fold 1/4 in. over on each of the long edges and press. Fold each piece in half lengthwise and press.
2. Sew straps
Sew around all four edges of neck strap and waist ties.
3. Pin and sew neck strap and waist ties
Pin neck strap ends under top of apron front. Pin ties under either side of apron front.
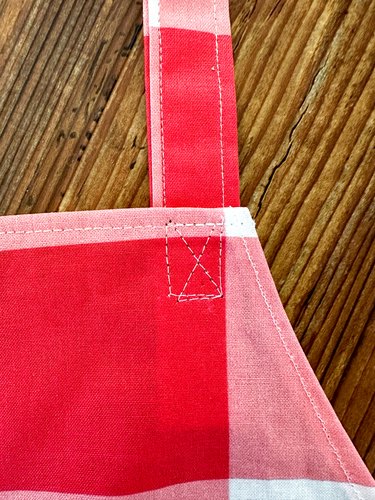
Sew in place using a square shape with an X through middle. This will keep strap and ties secure.
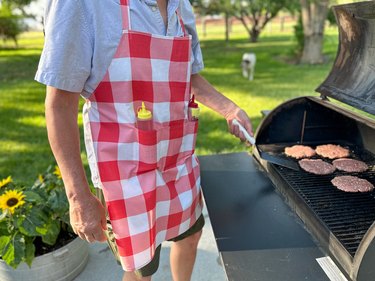
So, there you have it: your very own gingham BBQ grilling apron that just might make you feel like a professional chef or a bona fide grill master. Whether you're keeping this sewn masterpiece in mind as a great gift for dad on Father's Day (or saving it for Grillmaster Mom next Mother's Day), presenting it as a beautiful cooking apron for the top griller in your life or even making it for yourself, the results are practical and stylish.
This machine-washable, one-size-fits-most apron will be a trusty companion at any family get-together—and much like the best BBQ meals, it's made with love. Now pick a pretty fabric for that custom fit, sew away and fire up the grill!