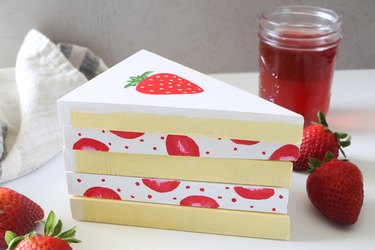
There's something delightfully quirky about food-themed home decor, and you'll find plenty of pieces for purchase across the interior design space. But who says you need to spend a pretty penny on foodie home items? With a bit of creativity and elbow grease, you can DIY a set of stackable coasters shaped like a sweet slice of strawberry shortcake.
To make this wonderfully whimsical project, you'll need a set of wooden triangles. We purchased wood shapes from Etsy, but you can make them yourself with woodworking tools. You might also be able to find wooden triangles at your local craft or hardware store. Another option is to use a set of wooden circles to make round coasters. The creative options are endless.
Video of the Day
From there, it's all about paint. Use light yellow for "cake" layers, white for "whipped cream" and red and pink for "strawberries." Once you stack the triangles together, you'll have an adorable strawberry shortcake coaster set.
Ready to sweeten up your coffee table, countertop or patio dining space? Read on for the full step-by-step DIY plus tips for making this adorable project your own.
Video: Sweet & Stackable Strawberry Shortcake Coasters
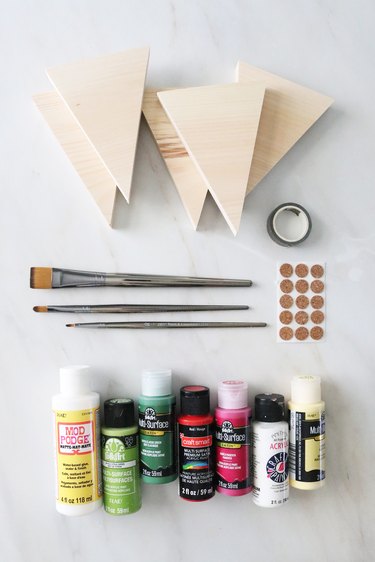
Things You'll Need
5 wood triangles or circles
White acrylic paint
Red acrylic paint
Pink acrylic paint
Light yellow acrylic paint
Green acrylic paint
Bright green acrylic paint
Paintbrushes
Decoupage glue, matte or glossy
Adhesive cork circles
Washi tape or painter's tape (optional)
How to make Stackable Coasters:
1. Paint “cake” layers
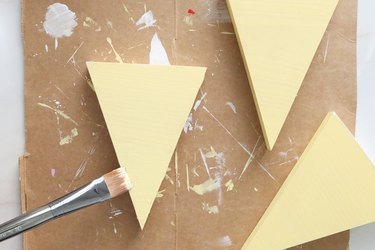
Paint two triangles with light yellow paint. Coat every side except for the short edge where the "crust" would be. Let dry.
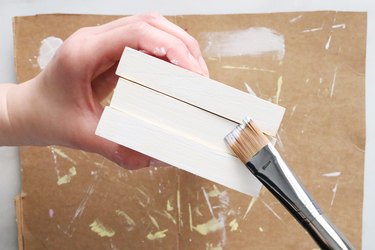
Coat third triangle with yellow paint but paint one flat side white; this will form top of the cake. Paint a strip of white along top edge to represent icing. Let dry.
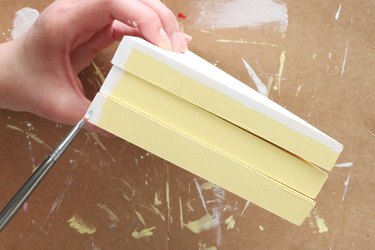
Stack three cake layers. Apply a strip of paint on long sides of each slice and then repeat on other side.
Tip
If you'd like, use washi tape or painter's tape to create white strips.
Paint short edges white.
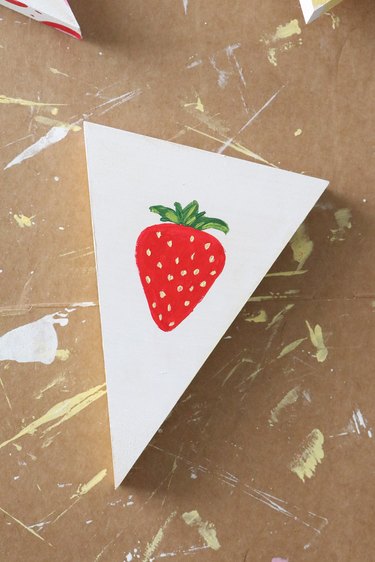
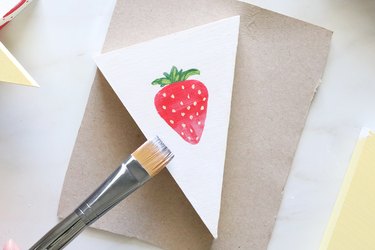
On top cake layer, paint a strawberry. To do this, paint an upside-down triangle with rounded corners using red paint. Add light yellow dots for "seeds" and leaves with green paint. Let dry.
2. Paint “whipped cream” layers
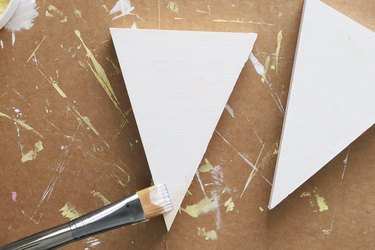
Paint two triangles with white paint. Coat every side, including short and long edges.
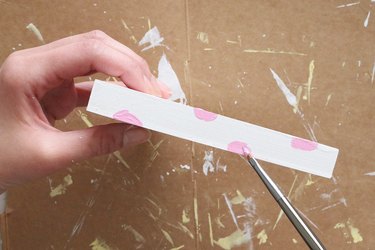
Using light pink paint, create strawberry centers. This can be a combination of half ovals and full ovals.
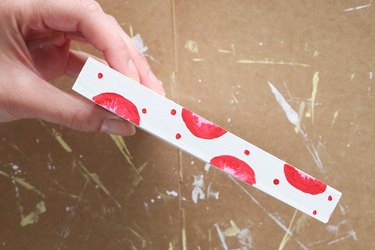
Using red paint, create a thick border around each pink middle. Add dots throughout white "slice."
3. Coat with decoupage glue
To seal coasters, apply decoupage glue to each side. Let dry, flip and repeat on backs.
Tip
Though you can use these wooden coasters without coating them with decoupage glue, we highly recommend doing so. That’s because wood is porous. Without decoupage glue, you’ll be left with absorbent coasters that might sustain moisture damage.
4. Add adhesive cork circles
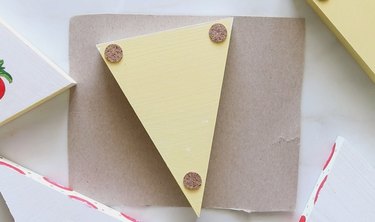
To ensure your drink coaster set is nonslip, add adhesive cork circles to the back of each. This will prevent coasters from sliding on tabletops or countertops.
Tip
Another option is to make cork bottoms with adhesive cork sheet. Simply trace coaster on cork sheet, cut out cork and stick to back of each coaster.
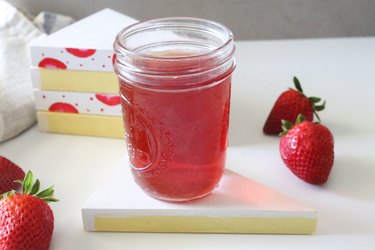
5. Stack & display
Your charming strawberry shortcake coaster set is ready for stacking! To construct a strawberry shortcake slice, begin with cake layer. Add whipped cream layer on top. Repeat this pattern, ending with white strawberry slice.
Note that these cork-backed coasters are not dishwasher-safe. They're also best used with cold drinks, as they're not heat-resistant. Warm drinks, like those in hot coffee mugs, might melt or warp the decoupage glue.
How sweet! Whether you're dressing up a picnic table, adding some freshness to your home decor scheme or making an original gift that looks almost good enough to eat, our stackable strawberry shortcake coasters are sure to charm.