'Tis the season to give flowers. It's no wonder that in February, during the depths of winter in some places, we've made a holiday that includes flowers. Flowers just have a way of brightening up an otherwise dark and dreary day. Our faces light up with joy when we're handed a bouquet of beautiful flowers, and our mood and spirits are immediately lifted. Even being on the giving end of a bouquet can fill us with positive vibes and help us express feelings of love and admiration for those we care about most.
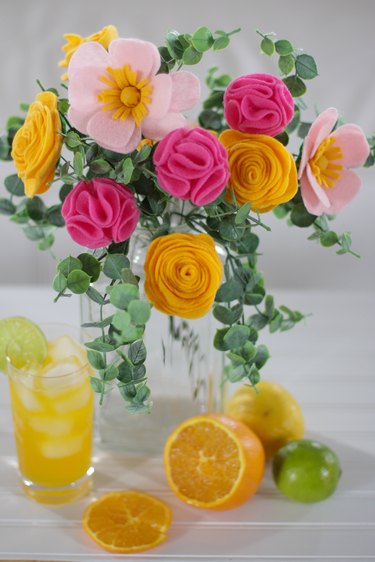
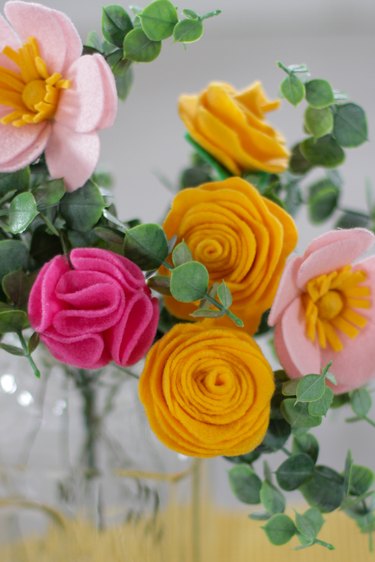
These delightful felt flowers will not only be a heartfelt and charming expression of love or friendship but they'll last forever. It just takes a few minutes and a little bit of craft felt to recreate some of nature's prettiest blossoms and make someone's day a little bit brighter.
Video of the Day


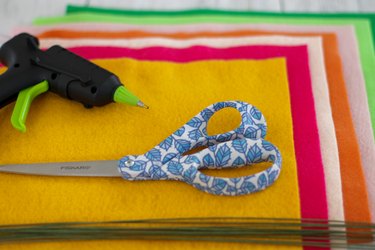
Things You'll Need
Craft felt in various colors
Sharp scissors
Marking pen
Disappearing-ink pen (optional)
Hot glue gun
Small can
Piece of cardboard
Small wooden beads
18-gauge crafting stem wire
Step 1
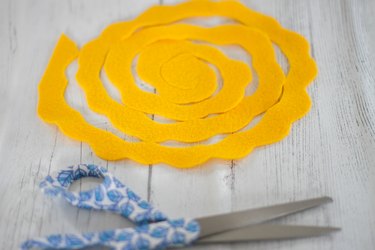
To make a felt rose, cut a spiral with a wavy edge. If you're new to this, you might want to draw it on the felt with a disappearing-ink pen, but it really isn't too hard to do free hand. The one thing to remember is not to make the spiral too thick. You can also just cut a smooth spiral for a rose with a different look, like in this felt rose tutorial.

Step 2
Once you've cut the spiral, start on the outside end and roll it tightly at first. Then, as you get to the outer sections, roll more loosely to create an open petal look. Use a hot glue gun on the underside to secure it in place.


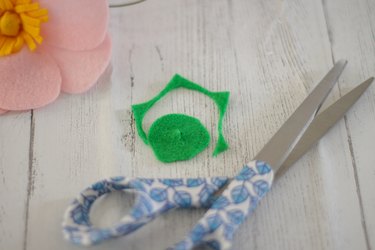
Step 3
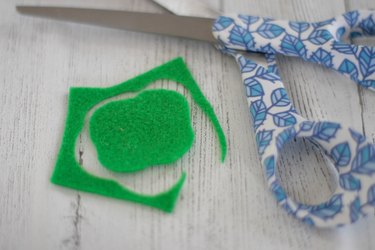
Cut a small piece of green felt for the underside of the flower. Cut a small slit in the center and then glue it to the bottom of the flower. Put a little hot glue into the slit and slide the stem into place.

Step 4
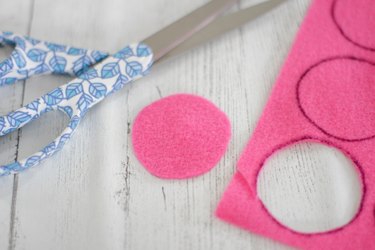
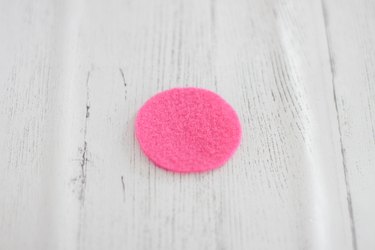
To make another type of felt rose, cut out six circles of felt using the bottom of a small can as a pattern. Be sure to cut inside the markings so the ink doesn't show on the final flower. If you use a disappearing-ink pen, you won't need to be as careful.


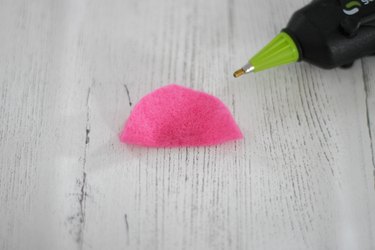
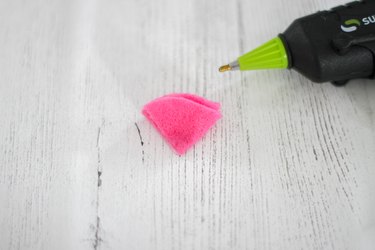
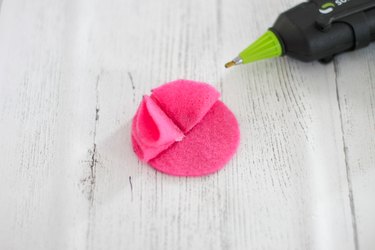
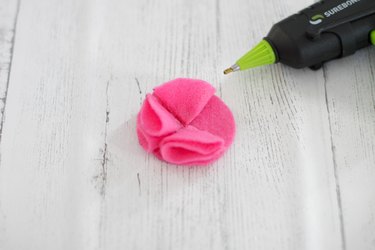
Step 5
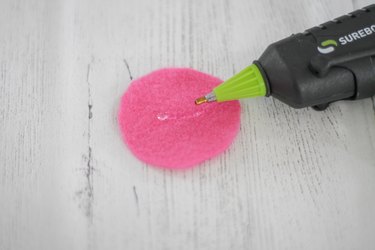
Place a small strip of hot glue in the center of the felt circle and fold it in half. Put another small dot of glue on the center of the folded edge and fold it in half again. Continue doing this to five of the circles to create the petals.

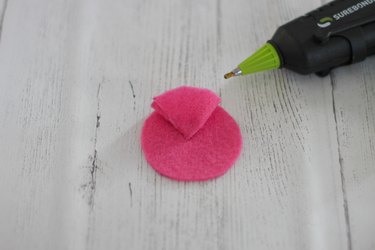
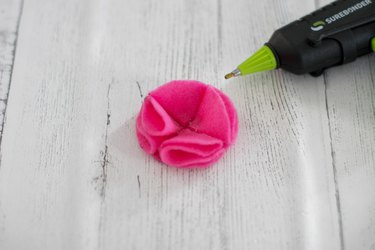
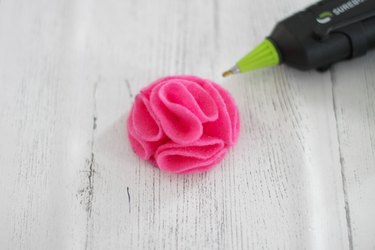
Step 6
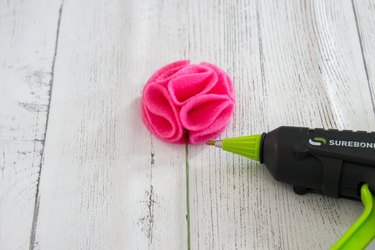
Attach four petals onto the flat felt circle using a hot glue gun. Then, attach the fifth petal in the center.
Step 7
Use a hot glue gun to attach the stem.

Step 8
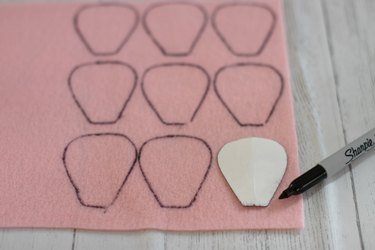
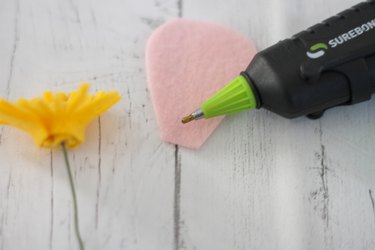
To make a felt anemone, cut nine or 10 petals. Use a piece of cardboard to make a petal pattern. Trace the petals onto the felt and cut. If you don't use a disappearing-ink pen, be sure to cut inside the marks so they don't show on the final flower.


Step 9
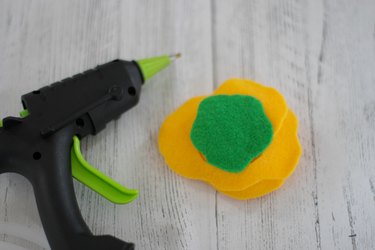
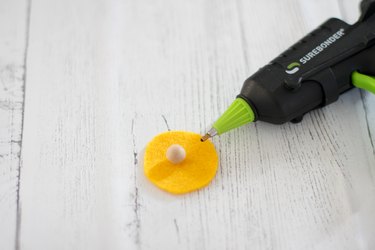
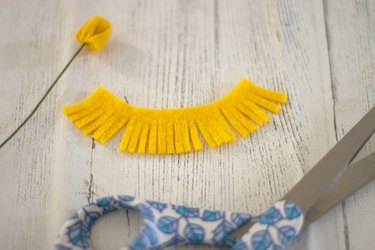
Create the center of the flower by covering a small wooden bead with a small felt circle. Use a hot glue gun to attach the felt to the bead. Then, glue the stem wire to the bottom.
Step 10
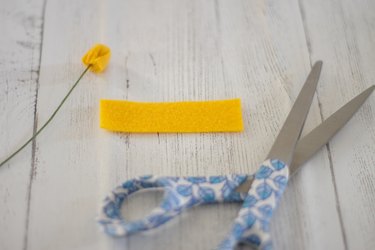
Cut out a 1 x 3-inch piece of felt. Cut narrow slits in the long side almost to the top edge. Wrap this piece around the felt ball center and hot glue in place.
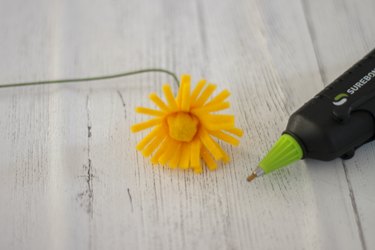
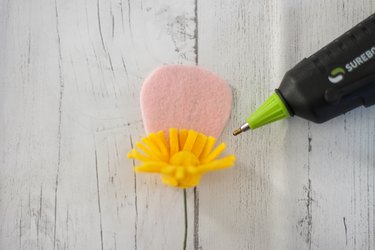
Step 11
Next, attach four petals on the first layer by placing a strip of hot glue on the straight edge of the petal and adhering around the center piece. Add five or six petals around the outer layer the same way.
Step 12
Cut a small piece of green felt for the bottom of the flower. Cut a small slit in the center. Hot glue this piece to the bottom of the flower, slide the stem through and glue in place.


Artfully arrange these wonderful blooms in a beautiful vase or container and enjoy them for months to come.