eHow may earn compensation through affiliate links in this article.
Are you a child of the 90s, or just love the era of VHS tapes, portable cassette players and boy bands? Count down to Christmas with this technicolor advent calendar chock full of 90s nostalgia. We're throwing it wayyyy back with a tree shape made out of solo cups that are synonymous with the decade. Filled with pop culture goodies like ring pops, scrunchies, slap bracelets and pop rocks, we guarantee you'll have a blast celebrating the past this holiday season.
Video of the Day
Things You'll Need
Foam core presentation board
Leopard print poster board
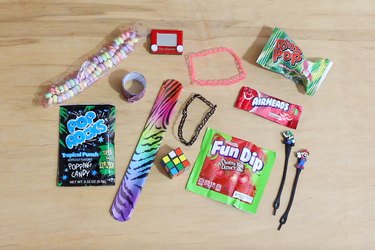
90s nostalgia items
Scissors
Rubber bands
Number stickers
Bows & ribbons
Step 1
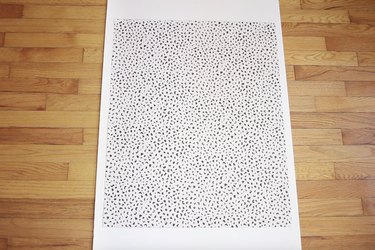
Hot glue the leopard poster board centered on top of the foam core presentation board. We found this particular poster board in our local craft store, but you could also use wrapping paper or several sheets of scrapbook paper if you can't find poster board.
Step 2
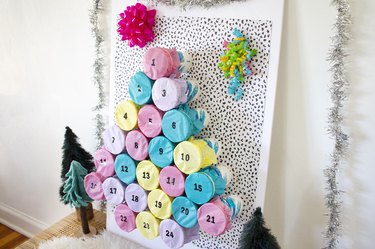
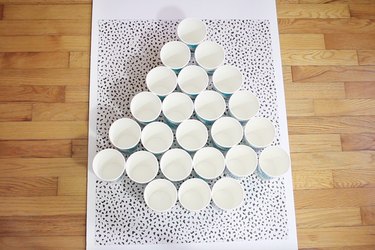
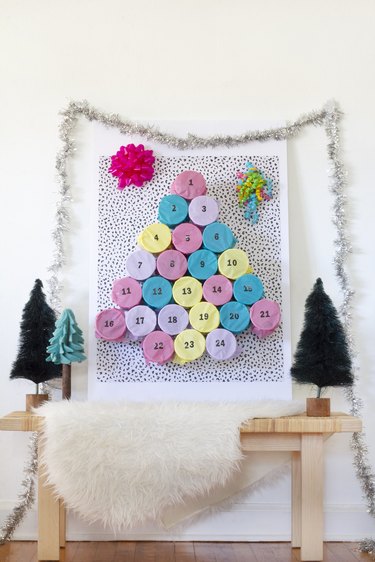
Arrange the solo cups in a Christmas tree shape on top of the leopard poster board.

We placed a row of three cups on the bottom for the trunk, then made the tree shape with a row of six, five, four, three, two and one. This will give you 24 cups for the countdown.
Step 3
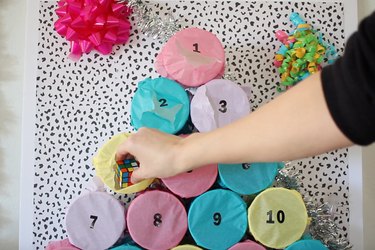
Fill the cups with your 90s nostalgia items. Try to alternate edible goodies with non-edible ones. Some ideas: candy necklaces, Pop Rocks, slap bracelets, mini Etch-a-Sketch, choker necklaces, Airheads, mini Rubik's cubes, mixed tapes, scrunchies, slinkies, Super Mario or Game Boy tchotchkes, Fun Dip and Nerds.
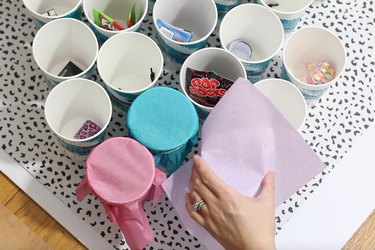
Step 4
Cut assorted colors of tissue paper into squares large enough to cover the tops of the cups, and secure a square on top of each cup with a rubber band. Alternate the colors to create that signature 90s technicolor effect.
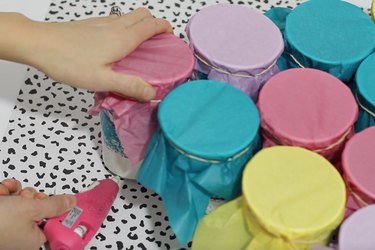
Step 5
Hot glue each cup in place onto the poster board. Be generous with the glue to ensure they don't fall off once you stand the calendar upright.
Step 6
Adhere number stickers from 1-24 on top of the cups.

Decorate the top of the calendar with colorful bows and ribbons to give it some festive holiday flair.
Now all you have to do is find the patience to wait long enough to open your colorful calendar!