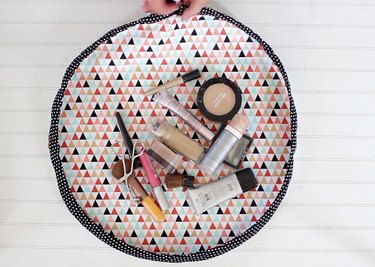
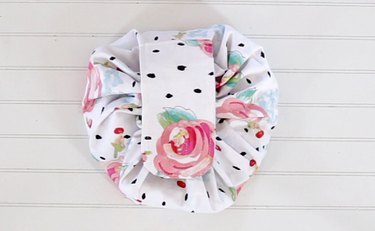
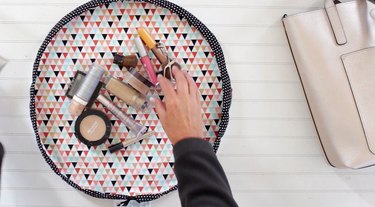
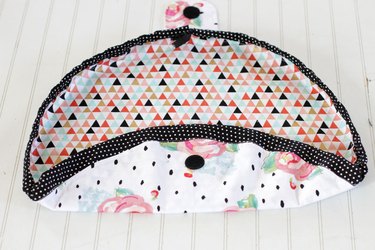
There's just something beautiful about being organized. It makes you feel healthier, happier and gives you more time to do the things you love. This drawstring makeup bag will help you on your way to feeling more organized and will make it simple to sort, pack, and access your cosmetics anytime. Whether you're traveling or at home, it will lie flat so you can see all of your makeup while you get ready and then cinch up for a stylish way to store all of your beauty products.
Video of the Day
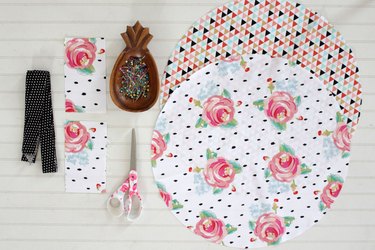
Things You'll Need
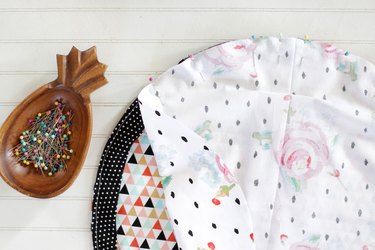
Two 6 1/2 x 3 1/2-inch pieces of fabric
Two round pieces of coordinating fabric with a 16-inch diameter
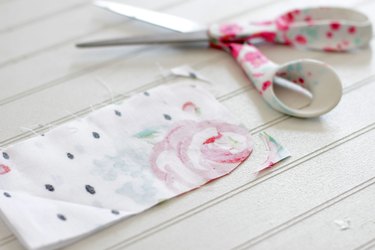
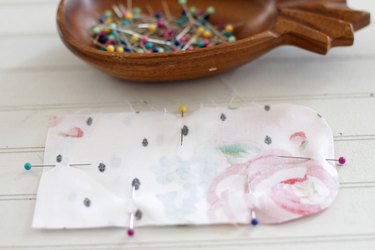
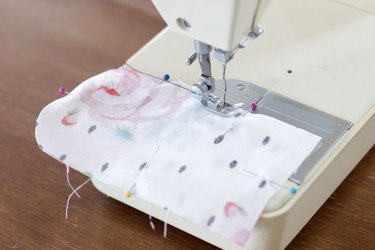
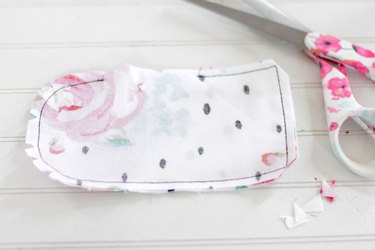
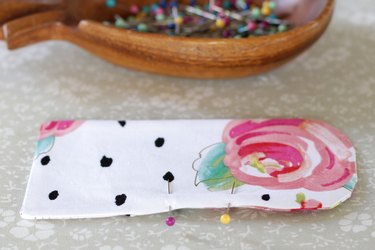
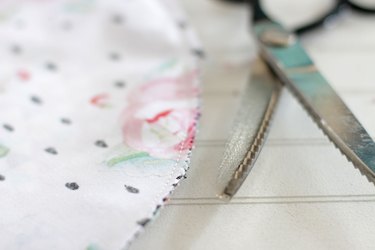
Step 1
Place the right sides together of the small pieces of fabric. Round two of the corners with a sharp pair of scissors. Pin and sew around the edges, leaving a 2-inch opening in one side.
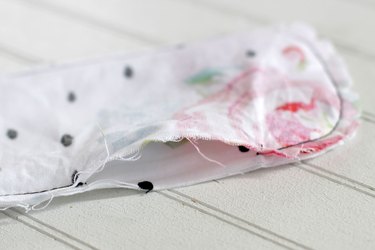
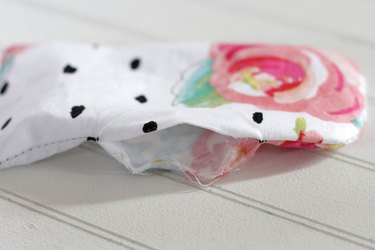
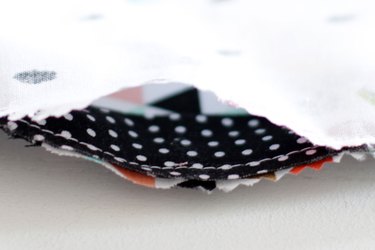
Step 2
Clip the corners and turn it right side out by pulling the fabric through the opening.
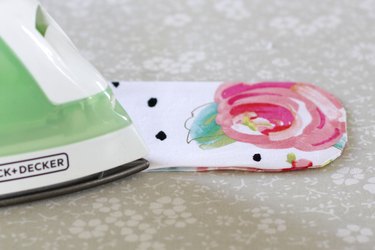
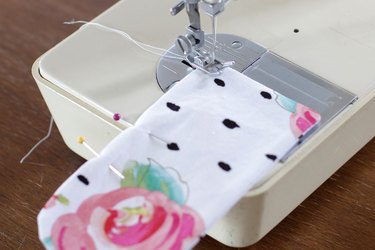
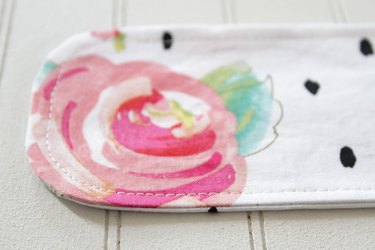
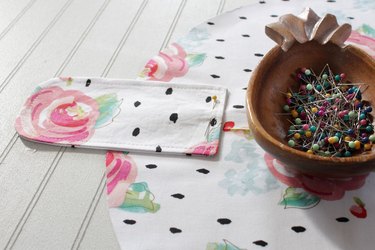
Step 3
Press, pin and topstitch around all the edges.
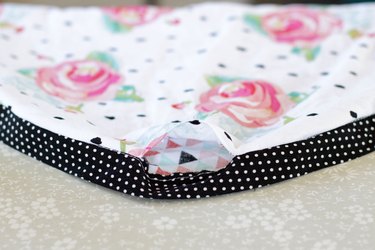
Step 4
Place the straight edge 3 inches in from edge of the outside lining of the bag. Pin and sew just across the straight edge.
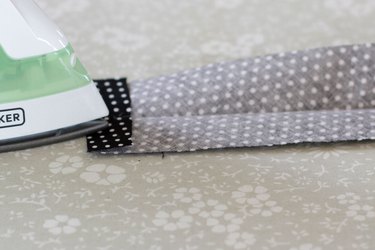
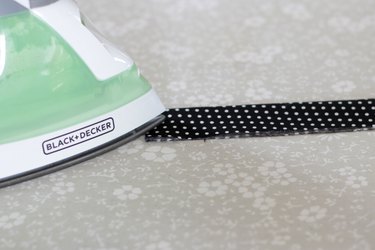
Step 5
Fold under and press both ends of the bias tape.
Tip
Bias tape is a narrow strip of fabric cut on the bias. It stretches and bends easily which makes it wonderful to use around corners. It comes in both single fold and double fold options. For this project, you'll need to use single fold bias tape. Single fold bias tape has both of the long raw edges folded in to the center with the wrong sides together and pressed in place. Wrights Bias Tape comes in almost any color to go with your project. To add a little pizazz to your project with a patterned bias tape, you could check out all of the handmade single fold bias tape. Or, if you can't find pre-made bias tape to match your project, try making your own bias tape. It's fun and simple to create plus, you can make it from any fabric you'd like. Click here for the step-by-step instructions.
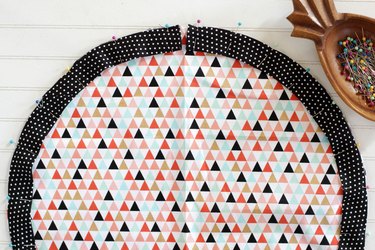
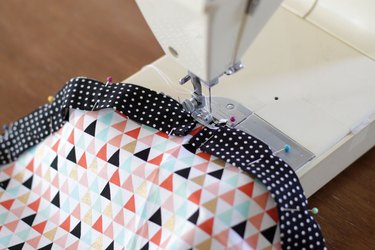
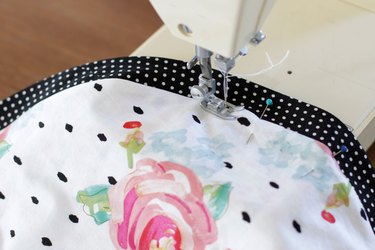
Step 6
Pin and sew the raw edge of the bias tape to the raw edge of the inner lining. Make sure the folded ends of the bias tape are a 1/2-inch apart when you pin and sew.
Step 7
Place and pin the outer lining of the makeup bag over the top of the inner lining with the right sides together. Leave a 2 1/2-inch opening in the side (not where the ends of the bias tape meet). Sew and trim the seam with pinking shears.

Step 8
Turn it right side out by pulling the fabric through the opening.

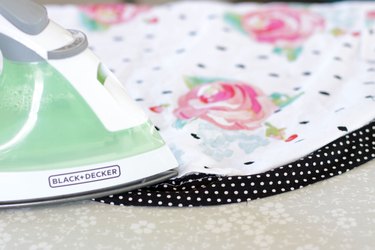
Step 9
Press with a hot iron and topstitch around the inside of the bias tape. This will close the opening and give the bag a finished look.
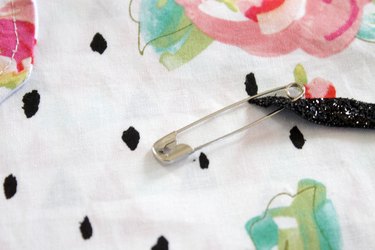
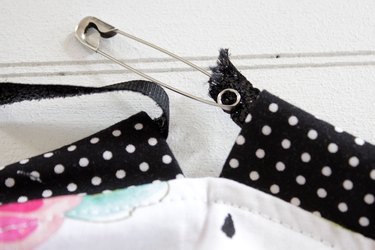
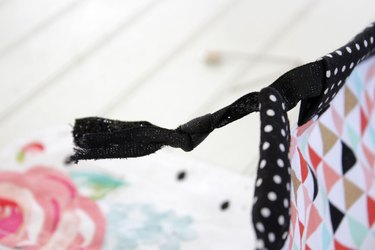
Step 10
Attach a safety pin to one end of the drawstring cord or ribbon. Thread it through the bias tape casing. Pull it all the way through, remove the pin and tie the ends together in a knot.
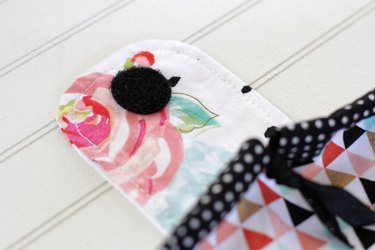
Step 11
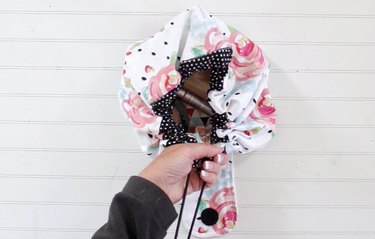
Attach the hook and loop closure pieces by placing them in the correct positions on the tab and body of the bag. Sew in place.
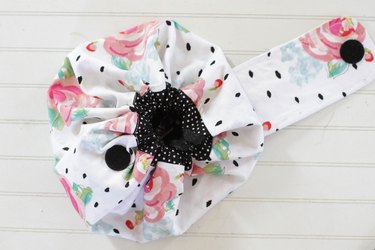
Step 12
Load up your makeup, pull the string, close the flap and you're on your way!