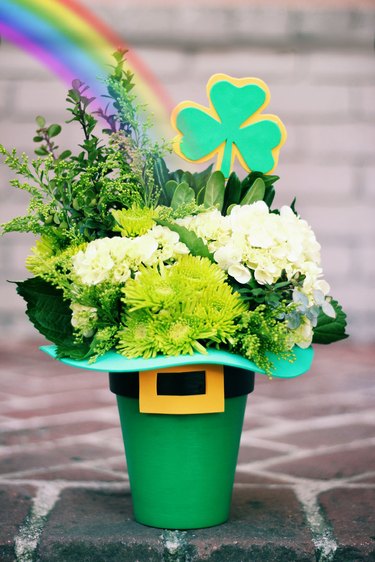
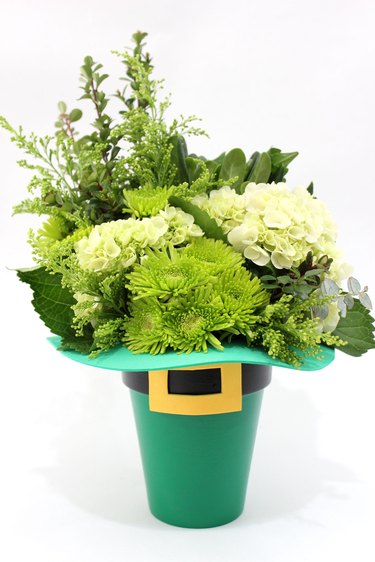
You don't need the luck of the Irish to make this St. Patrick's Day floral arrangement in a leprechaun hat. All you'll need is a clay pot, some basic arts and crafts supplies and flowers from the market. This bouquet would make an ideal centerpiece for a St. Patrick's Day party, or a special gift for your favorite lad or lassie. And since it's all green, you won't be pinched—unless you want to be.

Video of the Day
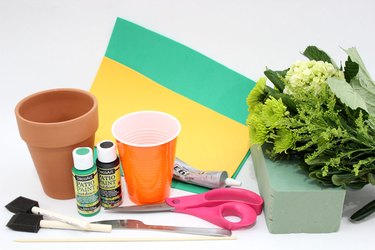
Things You'll Need
Clay pot, about 6 inches high
Green acrylic paint
Foam paint brushes
Black acrylic paint
Green craft foam
9-inch plate
Pencil
Scissors
Permanent glue
Yellow craft foam
Plastic cup
Wet floral foam
Knife
Green flowers and foliage
Wood skewer
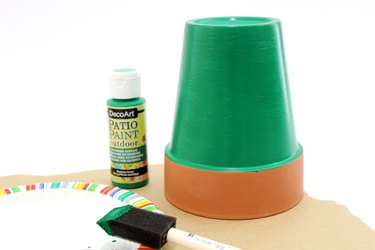
Step 1: Paint the Clay Pot Green
A clay pot provides the perfect shape for a leprechaun hat. Just turn it upside down and you'll see the resemblance. Using a foam paint brush, paint the clay pot with green acrylic paint. You'll only need to paint the main body of the pot, not the rim. Expect to apply about three coats for an even coverage.
Video of the Day
Tip
Select acrylic paint specially formulated for outdoor use. It's frequently in the crafts stores right next to the clay pots. This type of paint adheres well to terra cotta without cracking or peeling. Plus, it's weather-proof.
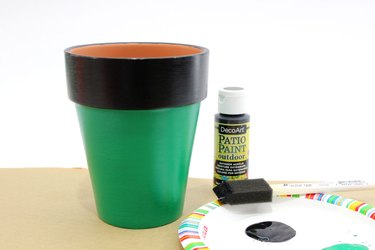
Step 2: Paint the Band
Paint the rim of the clay pot with black acrylic paint to create the band of the leprechaun hat. Black has excellent coverage over terra cotta, so you'll only need one or two coats.
Step 3: Add the Brim
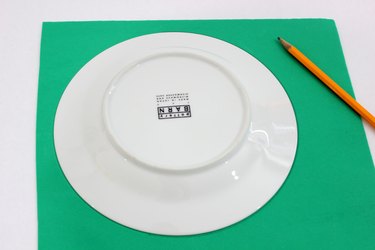
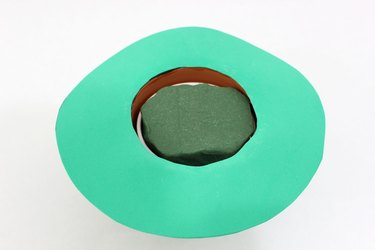
To make the brim of the leprechaun hat, start by tracing a circle on a sheet of green craft foam using a 9-inch plate and a pencil. Then cut out the circle with scissors.
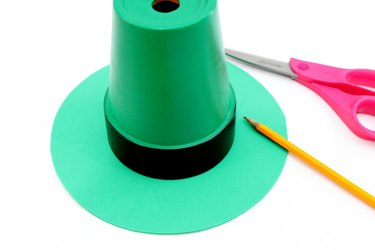
Position the clay pot upside down in the middle of the green circle and trace around the circumference of the pot. Cut out this inner circle about a quarter inch from the circle you traced, as this hole must be smaller than the rim of the pot. Otherwise, it will fall right through.
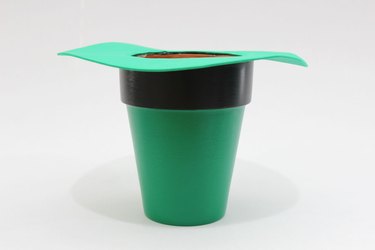
Turn the clay pot right side up, and rest the brim on top.
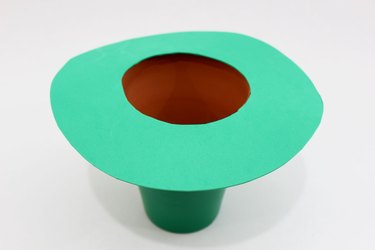
Glue the brim in place with permanent adhesive. Bend the brim as you're gluing it to so it curves slightly, giving it more character. This leprechaun's got personality!
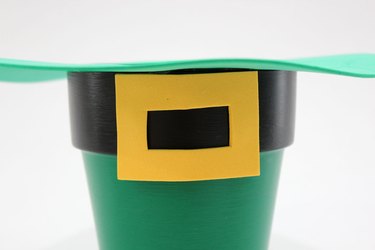
Step 4: Add the Buckle
Cut a rectangle that is approximately 2 inches by 3 inches out of a yellow or gold sheet of craft foam. Then cut out a rectangular hole within it, so you have a half-inch thick border.
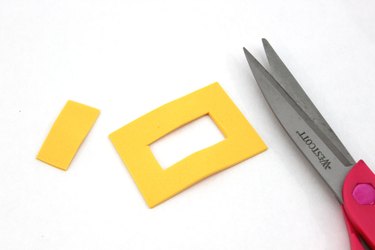
Glue this buckle to the black band of the leprechaun hat.
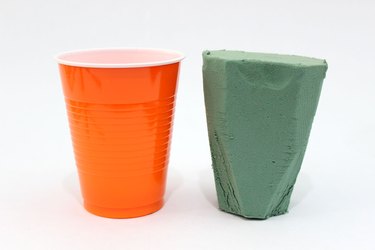
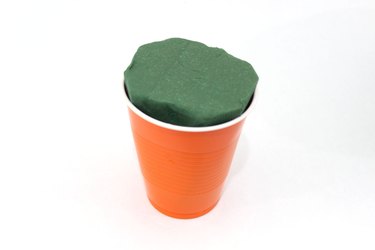
Step 5: Prepare the Floral Foam
The clay pot has a hole at the bottom, so we can't just pour water in it for the flowers. Instead, find a plastic cup or other water-tight container that fits in the pot. Then cut a piece of floral foam to fit inside the plastic cup. Floral foam comes in standard rectangular bricks at the crafts store. You can easily cut them down to size with a butter knife. Be sure to purchase the floral foam made for fresh flowers, rather than the one made for artificial blooms.
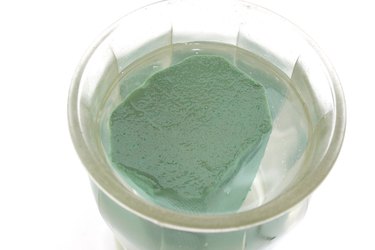
Place the floral foam in a large bowl of water, and let it soak up the water. When the foam is dark green and floats at the top, it's ready.
Step 6: Insert the Foam in the Pot
Place the wet floral foam into the plastic cup.
Drop the plastic cup with the floral foam into the pot. The top of the floral foam should be almost the same level as the brim of the hat, so stuff clumps of paper at the bottom of the pot to prop up the plastic cup if necessary.
Step 7: Insert the Flowers
Select an assortment of green flowers and foliage from the market. When choosing flowers, look for varying shades of green so they won't all blend together. In fact, including some flowers that are white or yellow makes the green pop even more. Cut the stems of the flowers and insert them into the floral foam.
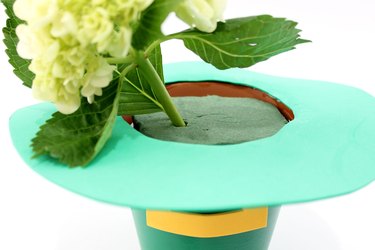
As you add the flowers, insert the stems deep enough in the foam so you see mainly flower blooms and not the stems. Add foliage to fill up any holes to make the arrangement look more full.
Step 8: Include a Shamrock Accent
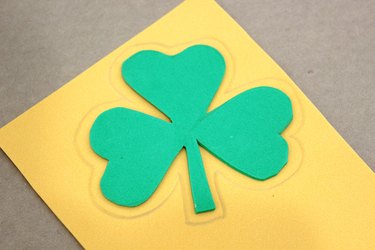
Draw a shamrock shape on a piece of the green craft foam and cut it out. Then place the green shamrock on top of a piece of the yellow craft foam and draw a bigger shamrock to make a yellow border. Cut out this yellow shamrock, and glue the green one on top.
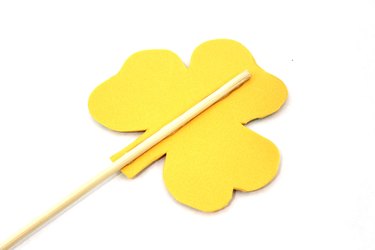
Glue a wood skewer to the back of the shamrock.
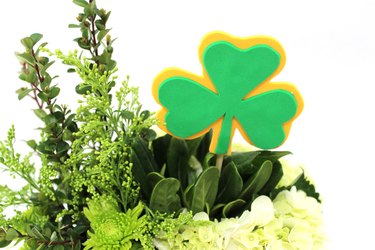
Insert the wood skewer into the floral foam to display the shamrock accent. Push it in deep enough so that the skewer is not visible among the flowers.
Your finished St. Patrick's Day arrangement could be the next best thing to a pot of gold.