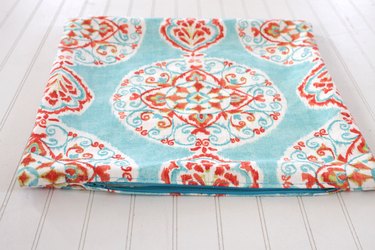
Throw pillows are an inexpensive and quick way to add some flair to your living space. Winter, spring, summer or fall, you can make pillow covers for every season. Add a zipper to make those design changes fast and easy. If your room is a high traffic area and prone to frequent spills, rest easy knowing you can just unzip the cover and throw it in the wash. All it takes is a pillow form, some fun fabric and a zipper to freshen up any room in your house.

Video of the Day
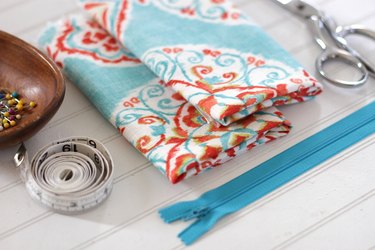
Things You'll Need
Pillow form
2 pieces of fabric the same size as your pillow form
Pins
Zipper
Zipper foot
Seam ripper
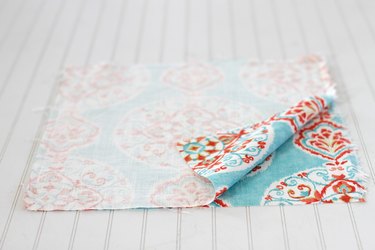
Step 1
Cut two pieces of fabric the same size as your pillow form. Place the right sides together with the pattern going the same direction.
Video of the Day
Step 2
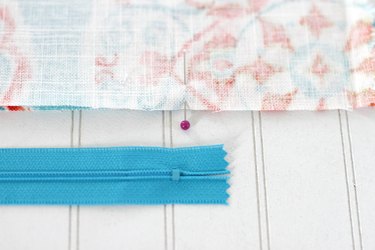
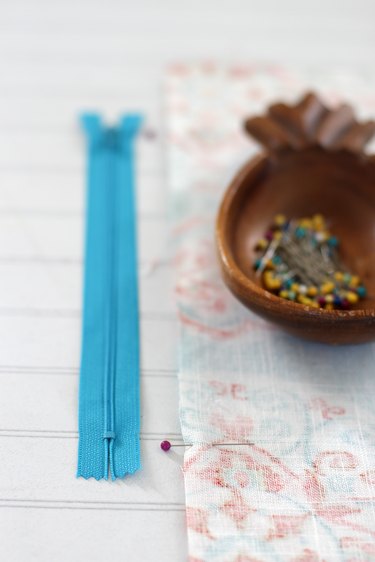
Center your zipper along one side and place pins in the fabric at the start and finish of the zipper.
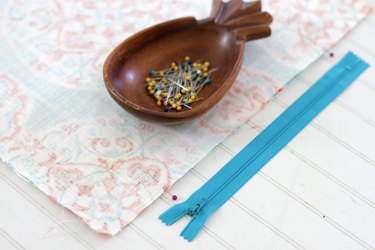
Make sure your pins are placed where the zipper starts and ends and not at the ends of the tape.
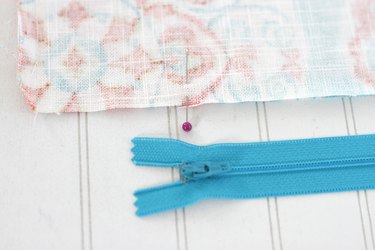
Step 3
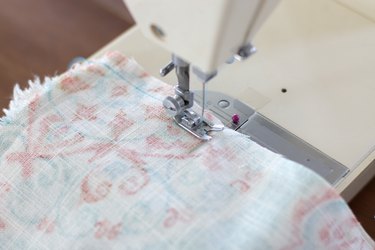
Start sewing a 1/2 inch seam with a regular stitch on the pinned side and stop when you get to the first pin.
Step 4
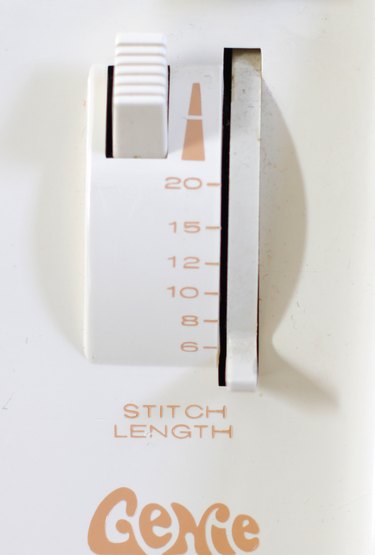
When you get to the first pin, change your stitch length to the longest stitch.
Step 5
Continue stitching with the longest stitch until you reach the next pin. Change your machine back to a regular stitch length and continue to sew until you reach the end of that side.

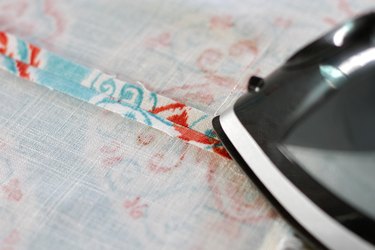
Step 6
Use a hot iron to press open the seam allowance.
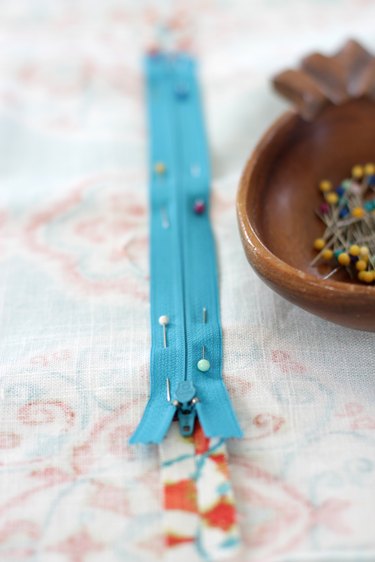
Step 7
Center the zipper again and place it face down on top of the longest stitches in the seam. The zipper teeth will be directly on top of the stitching. Pin in place.
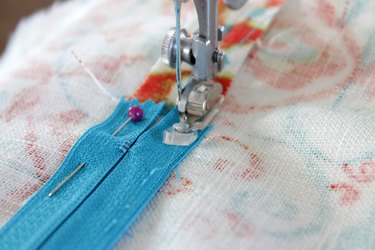
Step 8
Change the presser foot to a zipper foot. Sew down one side of the zipper.
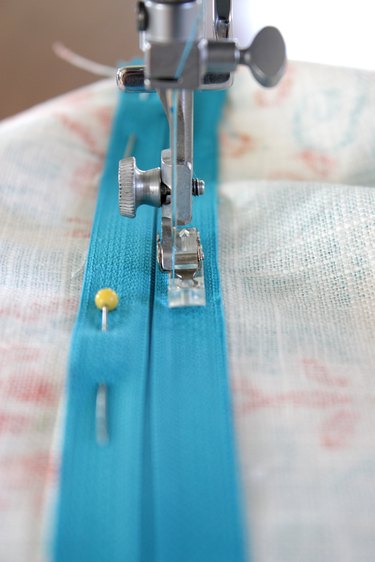
Step 9
When you get close to the end, open up the zipper to just past the zipper foot. Then continue to sew around both sides of the zipper, closing the zipper foot when you get to the other side.

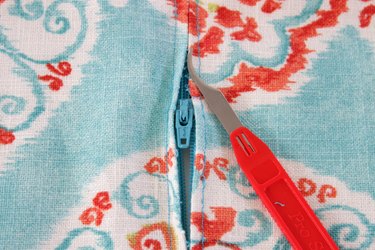
Step 10
Use a seam ripper to open up the long stitches to expose the zipper. Open the zipper all the way.
Step 11
Place the 2 fabric pieces together again with the right sides facing. Pin together along the 3 remaining sides.
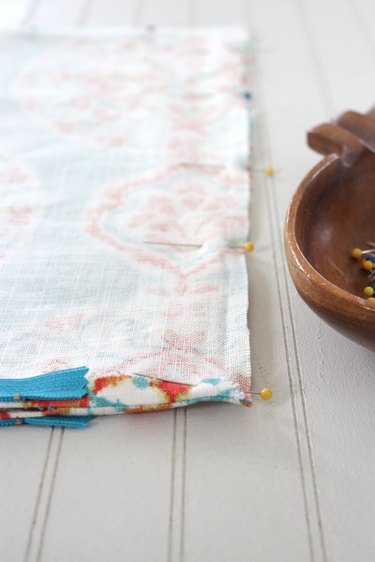
Step 12
Sew around the 3 sides with a 1/2 inch seam allowance. Be sure to remove the pins as you sew.

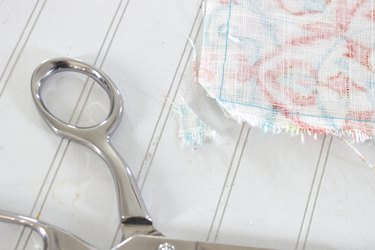
Step 13
Clip each corner at an angle to reduce bulk when you turn it right side out.
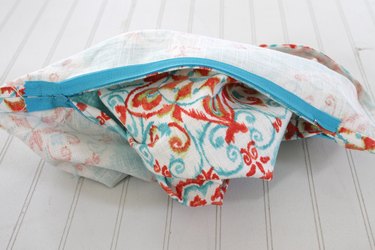
Step 14
Pull the fabric through the zipper opening to turn the pillow cover right side out.
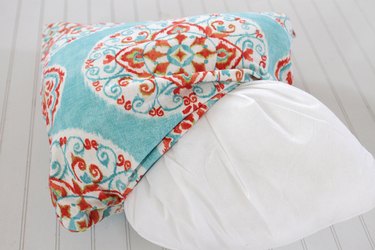
Step 15
Place the pillow into the pillow cover through the zipper opening. Close the zipper.
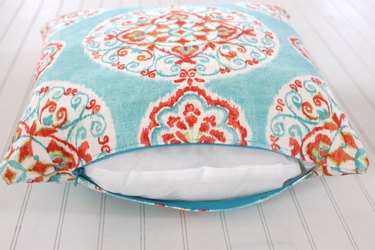
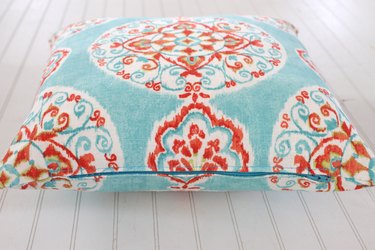
Now you're ready to refresh your space with some new pillows.