Sewing with elastic thread is a technique that is useful with a variety of different items. Often called shirring, it can be used for skirt or pant waists, sleeve cuffs, or to make a quick and easy sundress. On any size garment from doll clothing to women's wear, elastic thread creates comfortable stretch and an easy fit.
Read on to learn six simple steps to sewing with elastic thread successfully. Once you master these basic techniques, you can apply them to just about any item.
Video of the Day
Video of the Day
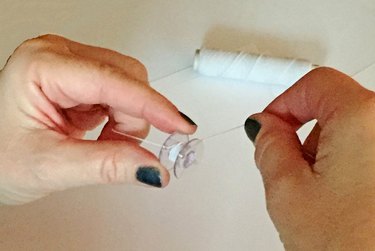
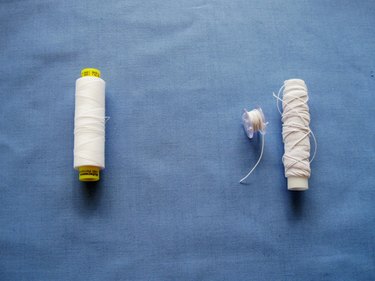
Step 1: Hand Wind the Thread on the Bobbin
Elastic thread must be wound by hand onto the bobbin. Insert the thread end into the hole in the bobbin to secure it, then slowly wind the thread onto the bobbin without stretching the elastic thread. If you are doing a more than a few rows of stitching with elastic thread, wind several bobbins before you begin sewing.
Step 2: Thread Your Machine
Thread your sewing machine with regular thread and then place the bobbin with elastic thread into the bobbin case. Leave a long tail of elastic thread and then use the sewing machine needle threaded with the regular thread to draw up the elastic thread. Pull up the bobbin thread and leave tails of both threads around 3 inches long.
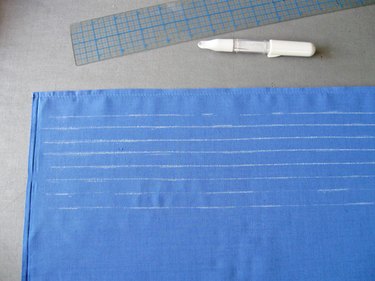
Step 3: Mark Your Rows of Stitching
Before marking, finish the edge of the garment where you will stitch your first row of elastic stitching. A small machine hem works well here.
Since the elastic thread goes in the bobbin and then is on the inside of the completed garment, you will be stitching on the right side (the outside facing side) of the garment.
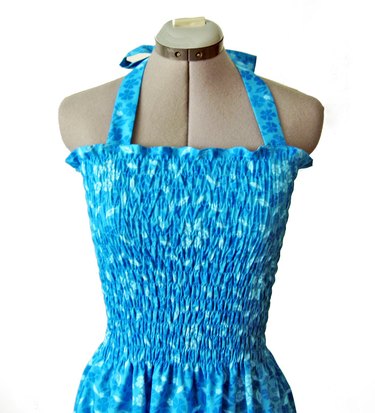
To create the type of shirring shown in the first photo, you will sew rows of stitching about 1/2 inch apart.
Tip
Test the look of the shirring on a practice piece of fabric first, and play around with row spacing and stitch length to see get the result you want. A long stitch length is recommended so start with that.
You can stitch the rows by just eyeing the distance, but if you want it to be very precise, mark the rows on the right side of fabric with chalk or disappearing fabric markers. Remember that these marks will be on the outside of the garment so you need to use something that you can remove.
Step 4: Sew Rows of Machine Stitching
Stitch from one side of your fabric to the other along the marked lines. Be sure to leave long tails of thread — both the upper regular thread and the elastic bobbin thread, as you will need to catch these into any seaming in later steps. You can have your rows of stitching continue to the edge of the fabric or all stop at a distance equal from the edge as shown.
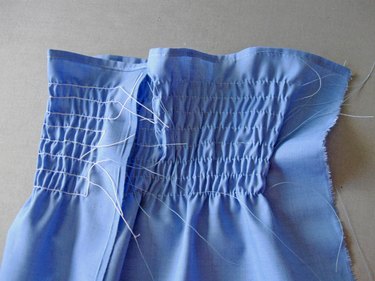
One tip for sewing with elastic thread in the bobbin: when you get to the end of any row, again pull out the elastic bobbin thread a good 4 to 5 inches and let the thread relax before snipping, otherwise the elastic thread is stretched and will snap back into the bobbin area. If your machine has an automatic thread cutter don't use it with elastic thread, as this will happen and you will be pulling up the bobbin thread after each row of stitching.
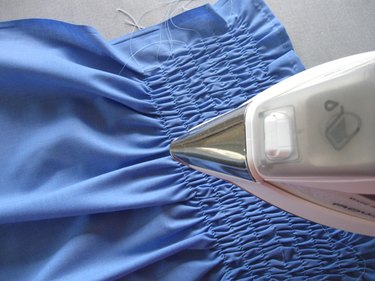
Step 5: Use Steam to Create Tighter Gathers
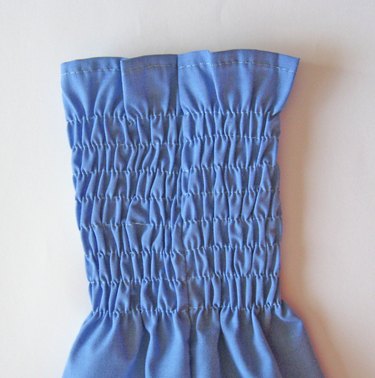
Once you have completed your rows of stitching, you are ready to shrink the gathers. It may appear that they are not gathered enough, however, when you apply steam the elastic thread will shrink slightly and tighten up the gathers. You don't need to place the iron directly on the fabric, you can just hover over the stitched section and use your iron to direct bursts of steam onto the section. It will shrink up slightly and create an evenly gathered effect.
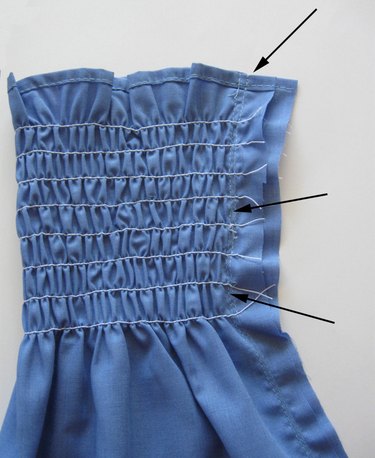
Step 6: Sew Your Seams
Now that the shirring is completed, you can sew the edges together in a seam to create a tube dress, cuff or other element. Remove the elastic thread bobbin and replace with a regular thread bobbin, then sew any seams, making sure to catch the thread tails of both the elastic and regular thread in your gathering rows. To make certain the elastic is secured, run a second row of stitching next to the first. Finish the seam by overlocking or pinking.
Get sewing supplies you'll love, fast!
Find top-selling yardage, tools & notions for your next project, at the right price.