If you like to make crafts that use fabric or ribbon, you are familiar with unfinished edges. When sewing, unfinished edges are typically hemmed under, which protects the edges from further fraying and keeps them out of view. However, for fabric crafts that do not require sewing, a clear liquid plastic can be applied to the unfinished edges to seal them and prevent fraying. These liquid plastic sealers are available under multiple brand names, including Fray Block. Fray Block is reputed to provide a more flexible finish than competitors' brands.
Step 1
Cut a small piece of fabric to use as a test sample.
Video of the Day
Step 2
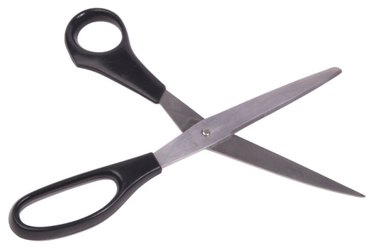
Use scissors to smoothly trim the edge of the test fabric. Trim any loose threads hanging from the edge.
Step 3
Shake the Fray Block gently, and squeeze the tube to apply a thin line of liquid along the test fabric's edge.
Step 4
Allow the Fray Block to dry.
Step 5
Examine the test sample for any discoloration. Fray Block should dry clear. If it has, proceed to apply Fray Block in the same manner to the remainder of your fabric. If it hasn't, try an alternate brand.
Tip
Use a cotton swab dipped in alcohol to remove unwanted Fray Block from fabric. Test the alcohol on a fabric sample first to ensure it will not discolor your fabric. When a tube of Fray Block is left unused for an extended period of time, it may begin to thicken in the tube. Leave the cap on the tube, and hold the tube under hot running water for 30 seconds to return Fray Block to its original state. Even if you have previously tested Fray Block on a fabric, old Fray Block should be retested before use.
Video of the Day