Things You'll Need
Length of paper (12" by 8") folded breadth wise into one inch accordion like folds
Piece of string or ribbon 6-8 inches in length
Glue
Simple Hand Drill
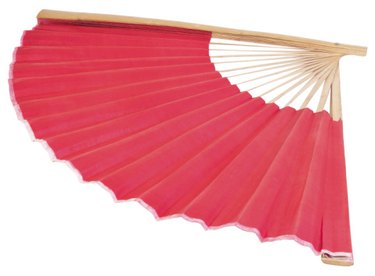
A hand fan is the simplest, most convenient cooling device you can make yourself. It is easy to carry since it can be folded and kept in a handbag -- it is also easy to make, or repair. Made usually out of paper, the typical hand fan is a folded piece of paper which is attached with string on one end and spreads out in a semi-circular shape. Although designs and materials may vary, the basic functionality of the hand fan comes from the simplicity of its design.
Stringing the Fan
Step 1
Place the folded paper on a flat surface and drill a hole into the bottom end. Make sure the folds are held firmly in place as any movement could disturb the alignment of the shape of the fan. To make sure the paper sticks together, glue approximately 2 inches of the folded area before drilling the hole. The rest of the fan should easily spread out when it is opened.
Video of the Day
Step 2
Take one end of the string or length of ribbon and pass it through the hole in the bottom of the fan. Repeat to secure it firmly in place. Tie the string or ribbon once it has been passed twice and tightened. Make a firm knot and if desired, make a bow with the free ends of the ribbon.
Step 3
Holding the fan from the tied and strung end, open the other end of it into its full semi-circular breadth to check if the string is securely holding it together. Hold the gathered end in your palm and enjoy the light breeze your hand fan now gives you.
Video of the Day