Things You'll Need
White glue
Cup
Wax paper
Yarn
Scissors
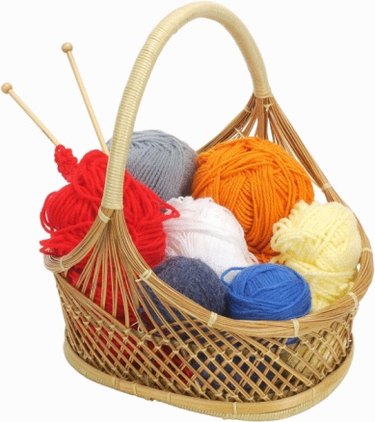
Yarn comes in many different bright colors and it can be hardened to create shapes as they dry. Hardening yarn so that it holds its form uses items found in the home, and though the project is slightly messy, the end result is a charming ornament that is suitable for hanging in a Christmas tree or a window. Yarn ornaments are excellent projects for young children, and they can be created during the holidays as a special homemade gift.
Step 1
Place about 1 inch of white glue in a cup.
Video of the Day
Step 2
Spread out a large sheet of wax paper to use as your working surface.
Step 3
Cut up yarn into 1-foot lengths.
Step 4
Dip 1 piece of yarn into the white glue. Make sure that the yarn is thoroughly covered.
Step 5
Lay the yarn onto the wax paper, shaping it into the design that you wish. You may choose to create an abstract design or a simple shape, like a star or the outline of an angel.
Step 6
Add more strands of glue-soaked yarn to your design to give it more stability.
Step 7
Set the design aside to dry on the wax paper for one full day. When the design is entirely dry, it will be a stiff shape.
Tip
Wrap glue-soaked yarn around a balloon and then pop the balloon after the glue is dry. This allows you to create round ornaments.
Sprinkle the still-wet glue with glitter to give them some sparkle.
Mix food coloring into the white glue to add some color, too.
Video of the Day