Things You'll Need
Vinyl fabric
Medium weight cut-away stabilizer
Temporary spray adhesive
Embroidery hoop
Sewing embroidery machine
7/11 needle
Scissors
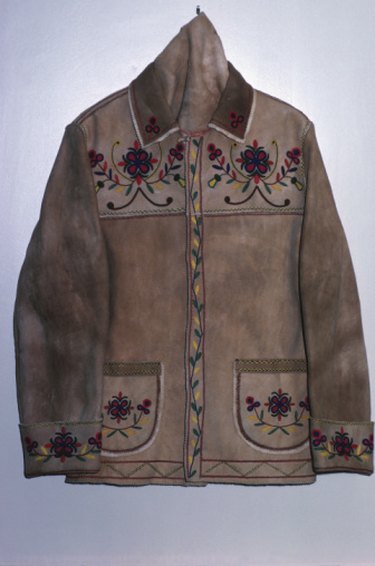
Vinyl fabric is usually made of PVC -- like plumbing pipes -- that is adhered to a knit fabric. This makes vinyl flexible and slightly stretchy. There are many types of vinyl fabrics; some are shiny, some are molded to look like leather and some are thin. The thicker vinyls are better for embroidery and it is a good idea to select a design that has a lot of open space to retain the fabric's stability. Adding embroidery to the vinyl takes a few minutes to prepare and then it is just a matter of stitching the design.
Step 1
Determine the area where you want to embroider. Turn the vinyl face side down and spray the back with temporary spray adhesive. Press medium weight cut-away stabilizer fabric large enough to cover the area of the embroidery plus 2 to 4 inches on each side. Allow the adhesive 15 minutes to dry.
Video of the Day
Step 2
Place the vinyl and stabilizer inside an embroidery hoop. Tighten the hoop so that the fabric is taut.
Step 3
Position the hoop in the sewing/embroidery machine in the position and orientation you want for the design.
Step 4
Install a 7/11 size sewing needle to reduce the size of perforations. Thread the machine and embroider the vinyl.
Step 5
Remove the vinyl. Remove the hoop. Turn the fabric upside down and pull up the edges of the stabilizer. Trim the stabilizer close to the design.
Tip
You can hand embroider using a smaller sharp needle. Follow the same process with the stabilizer.
Video of the Day