Things You'll Need
Plywood
Saw
Wood glue
Drill and bits
Dry wall screws, 1 1/4 inches
Ruler
T square
2 hinges
Small screws
Paint or wood stain
Latch
Handles (optional)

Military foot lockers are used as storage boxes where soldiers can keep their belongings. The term "foot locker" came around because the boxes look like small lockers and are kept at the foot of the bed. Military foot lockers are built to be very sturdy so they last for a long time and keep your belongings safe. They add a rugged, historical look to any room and offer extra storage space. You can find an old military foot locker at an antique store, garage sale or estate sale, or you can build your own.
Step 1
Cut the plywood. Use plywood that is 3/4 inch thick and check to make sure the wood is not warped. Cut two pieces that are 38 1/2 inches by 17 inches, two pieces that are 17 inches by 17 inches, two pieces that are 15 1/2 inches by 15 1/2 inches, two pieces that are 10 inches by 15 1/2 inches, one piece that is 15 1/2 inches by 38 1/2 inches and one piece that is 17 3/4 inches by 40 inches.
Video of the Day
Step 2
Assemble the box. Use the 38 1/2 inches by 17 inches and the 17 inches by 17 inches pieces to create a rectangle with the long pieces sandwiched between the short sides. Apply wood glue to each side and press together. Secure the rectangle with at least five drywall screws on each corner.
Step 3
Apply glue around all the edges of the 15 1/2 inches by 38 1/2 inches piece of plywood. This piece will fit snugly in the bottom of the box you just created. Secure it with drywall screws.
Step 4
Make the compartments. On the 15 1/2 inches by 15 1/2 inches pieces of plywood, measure from one edge and make marks at 7 3/8 inches and 8 1/8 inches. Use a T square to draw lines parallel to the edge. Apply glue to the long edges of the 10 inches by 15 1/2 inches pieces of plywood and place between the square pieces at the lines drawn. Drop these inside the foot locker against the sides for compartments that slide.
Step 5
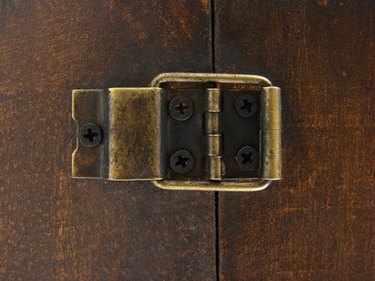
Attach the lid. Decide where you want your hinges based on their size and measure to make sure they are evenly placed from the sides. The 17 3/4 inches by 40 inches piece of plywood is the lid to your foot locker. Secure the hinges in place using screws that fit your hardware.
Step 6
Personalize your footlocker. Add a latch in the front center and handles on the side and secure according to the manufacturer's instructions. You can paint or stain your foot locker. For a rustic, antique look, you can distress the wood after painting with sandpaper and a hammer.
Video of the Day